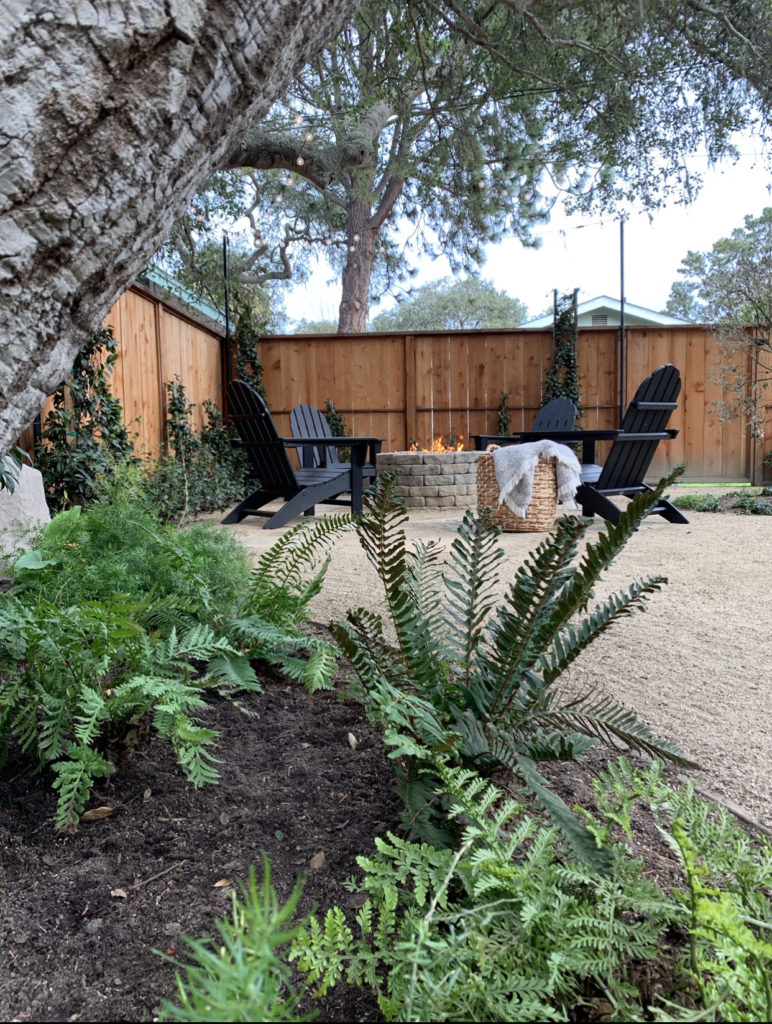
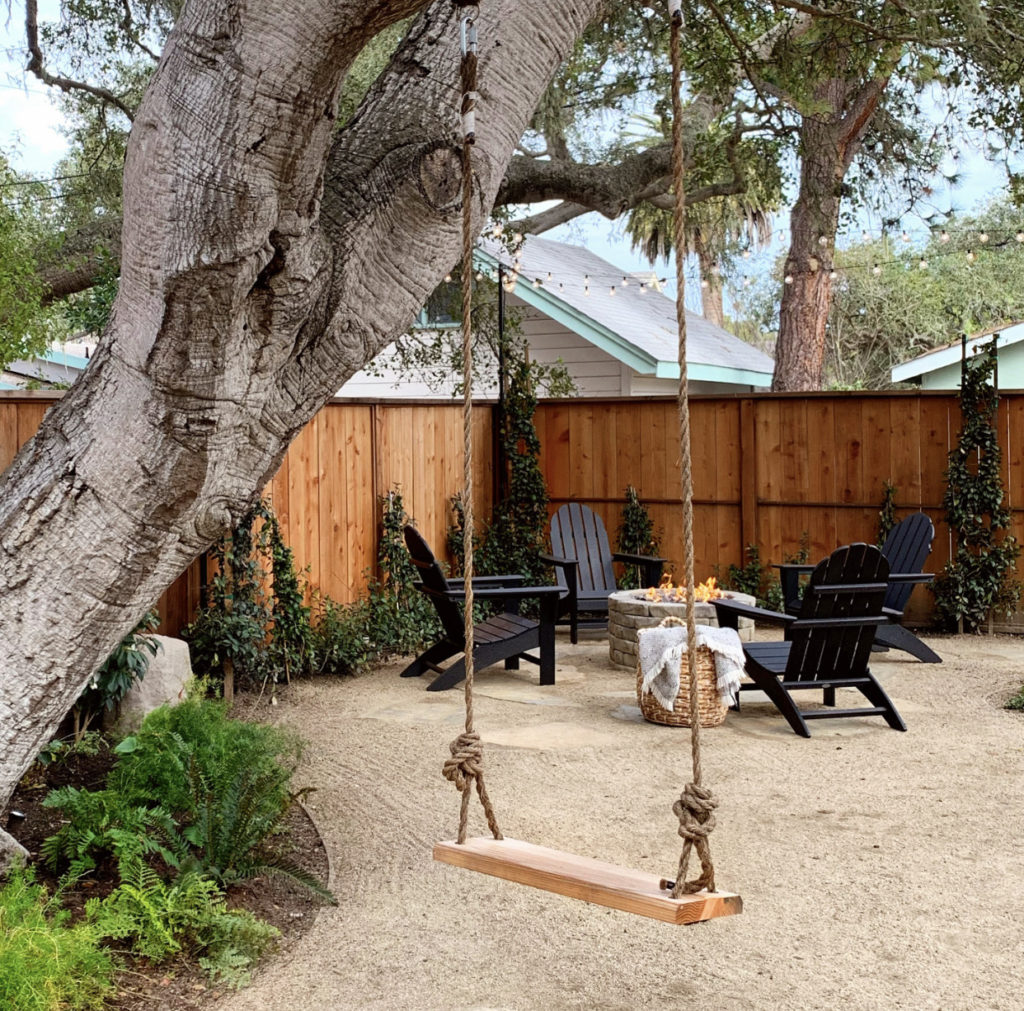
We created this DIY propane fire-pit for an underutilized corner of our yard and it was the best decision ever. We use this DIY fire-pit constantly and our only regret is not doing it sooner. Here are the step by step instructions for making your very own. We will list the exact burner and system we used *however they are more expensive* you can swap out for something to fit your budgetary needs.
Tools Needed
- Chanel lock pliers
- Pipe wrench
- Digging equipment for the trench (shovel, pick, hoe, etc)
- Caulk gun
- 4 foot level
- Small level
- PVC Cutter
- Standard screw driver
Supplies Needed
- Concrete retaining wall blocks *or stacked stone of your choice*
- Home-Flex underground polyethelyne gas pipe- 3/4 inch
- Two Home-Flex 90 degree elbows- 3/4 inch
- Two Home-Flex transitions- 3/4 inch (this is poly to metal pipe)
- Two 3/4 inch black iron pipe elbows
- Two 1/2 inch hose clamps
- Teflon gas tape
- 1/2 inch brass union
- Two brass 3/4 inch threaded to 3/8 inch barbed fittings
- Only Fire all in one propane gas fire-pit ignition system kit
- Golden Flame 24″ round flat fire-pit pan
- Golden Flame 18″ round fire-pit burner
- Loctite landscape adhesive
- Margo-Garden dragon glass lava pebbles *we bought 60lbs worth
- Emsco Group landscape rock, size L, natural sandstone
- BBQ Propane bottle
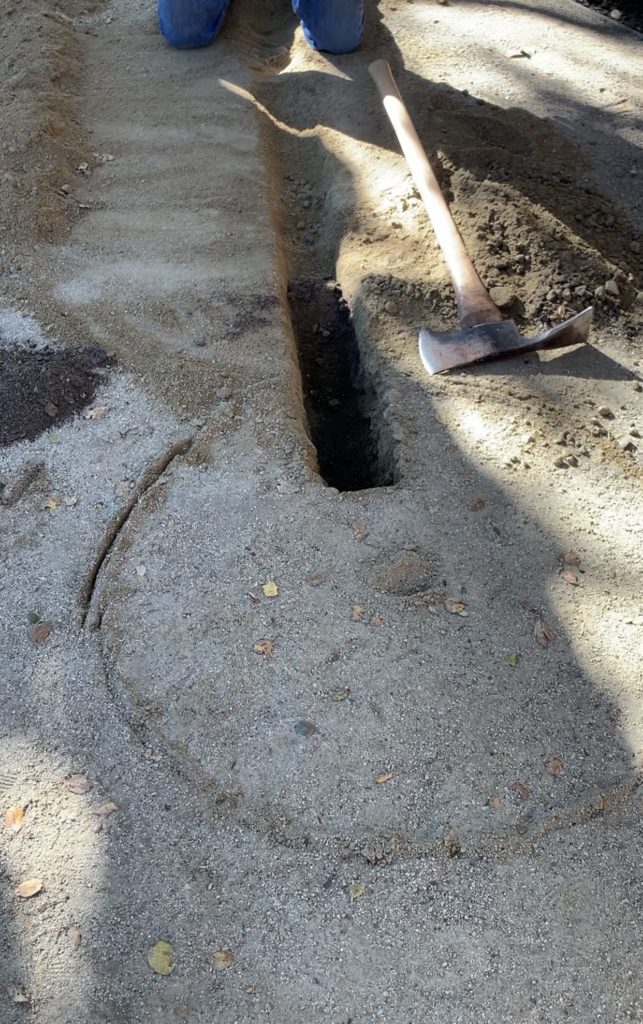
Step One:
Trench. Using our pick axe we dug an 18″ deep trench from interior ring of the proposed fire-pit location, to the flower bed where propane tank will hide.
Step Two:
Measure the distance needed of your polyethylene underground gas pipe. This is the distance from the fire-pit to the propane tank. Cut pipe to size using PVC cutter.
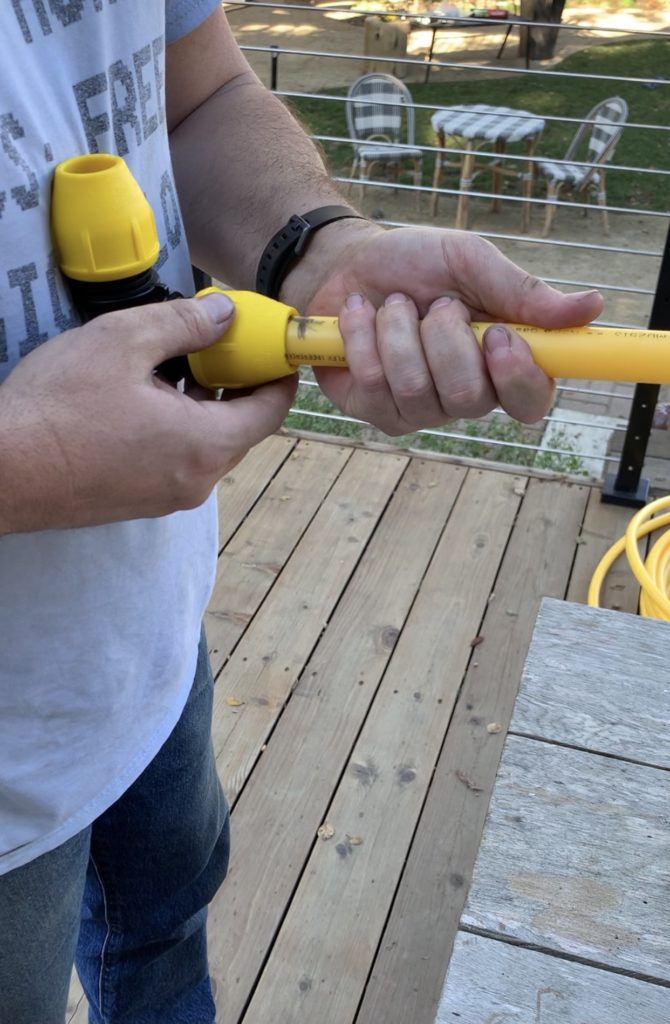
Step Three:
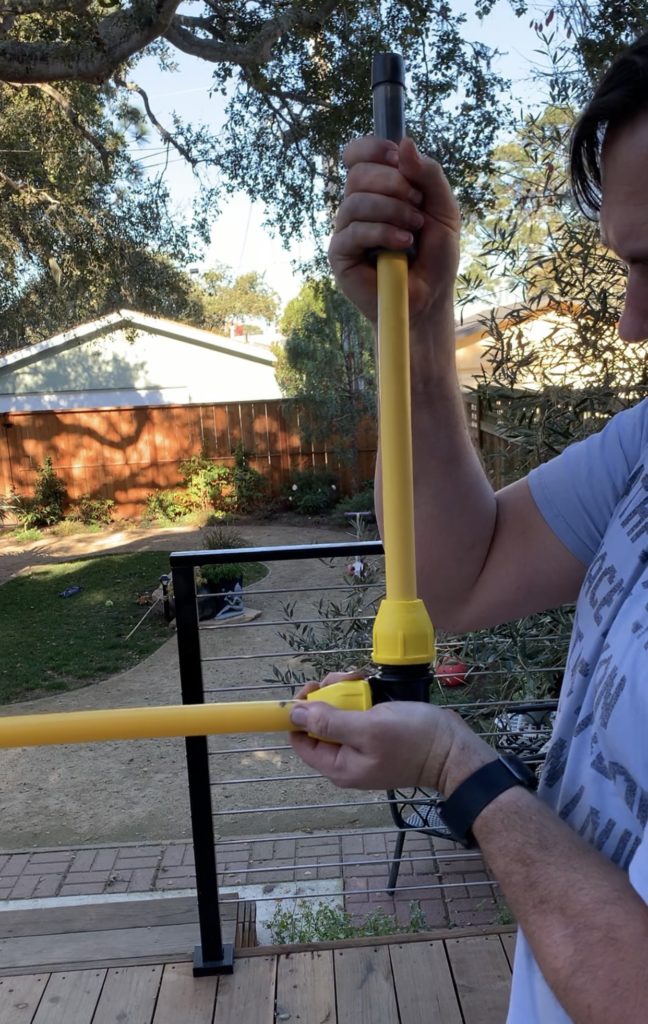
Attach the Home-Flex 90 degree elbows to either end of the now pre-measured and pre-cut polyehthelne pipe. Make sure both elbows are facing upward in same direction. *follow instructions on packaging*
Step Four:
Attach the Home-Flex transitions to the Home-Flex 90 degree elbows
Step Five:
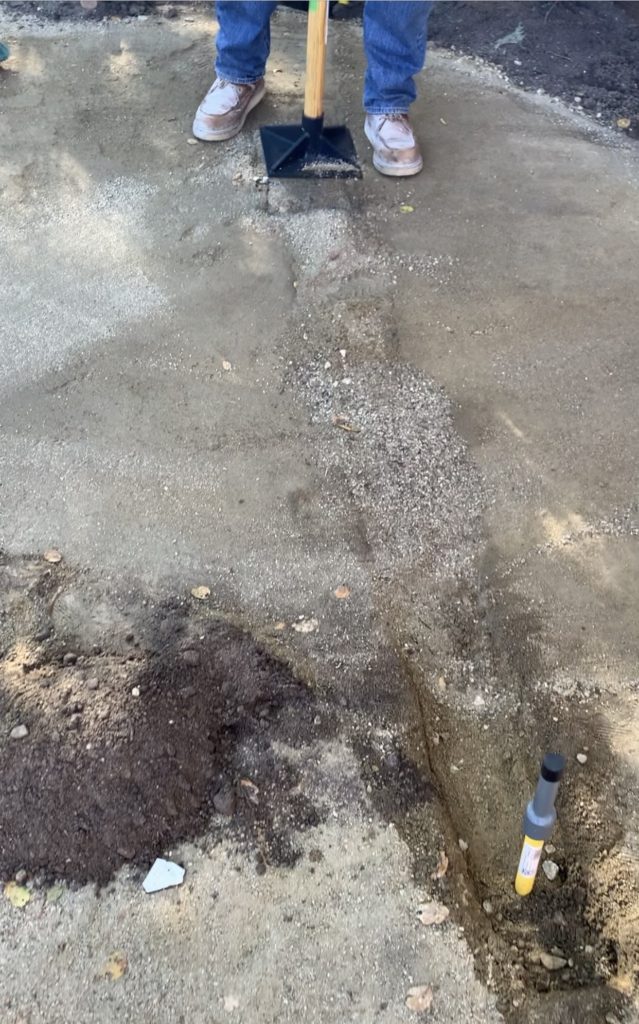
Place this assembled Home-Flex poly gas pipe in the trench. Make sure the elbows are facing upward.
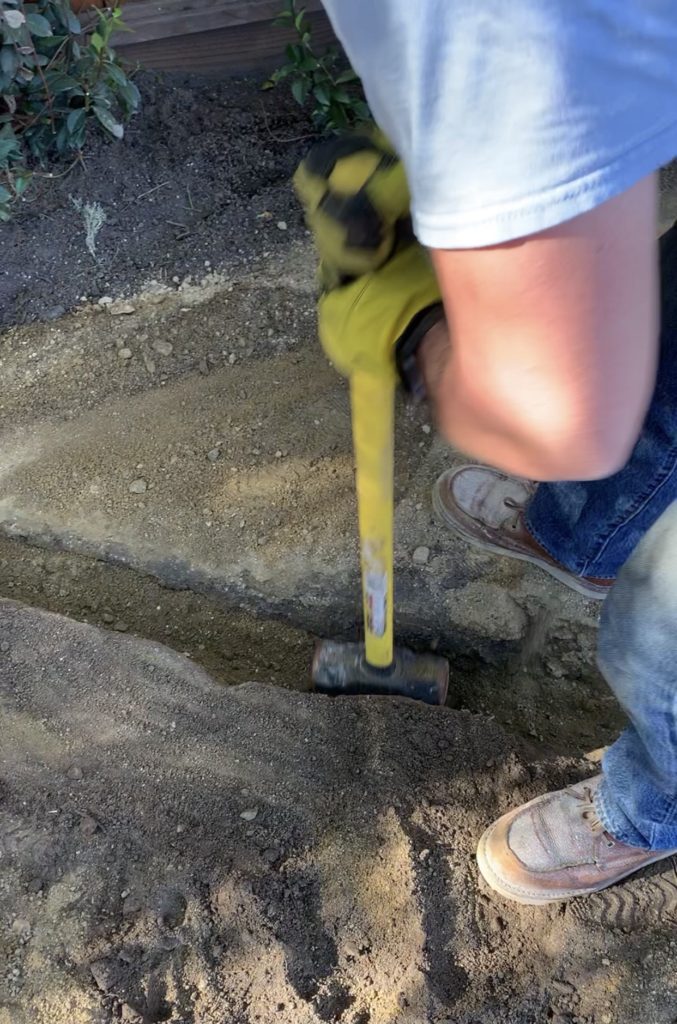
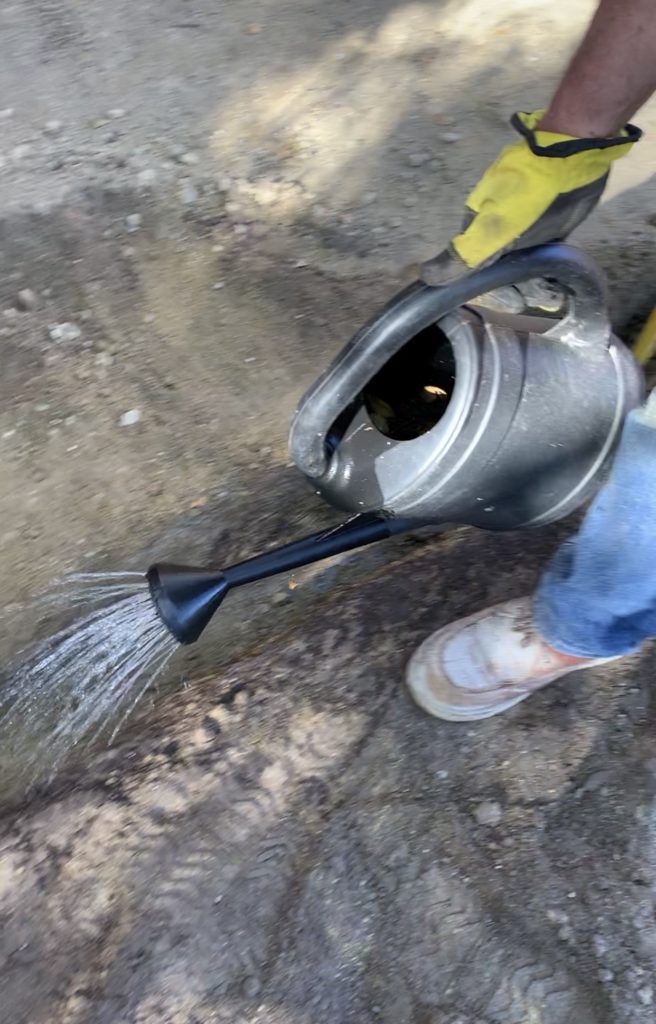
Step Six:
Fill and compact your trench. Do this a few inches of earth at a time to ensure its well compacted and secure. We used a bit of water on each layer between compacting to help stabilize the soil.
Step Seven:
Assemble one layer of your fire-pit stone/retaining wall blocks. Be sure that the Home-Flex transition is set inside this stone ring. This transition only needs to be a few inches inside the interior of the fire-pit ring, it should not be centered.


Step Eight:
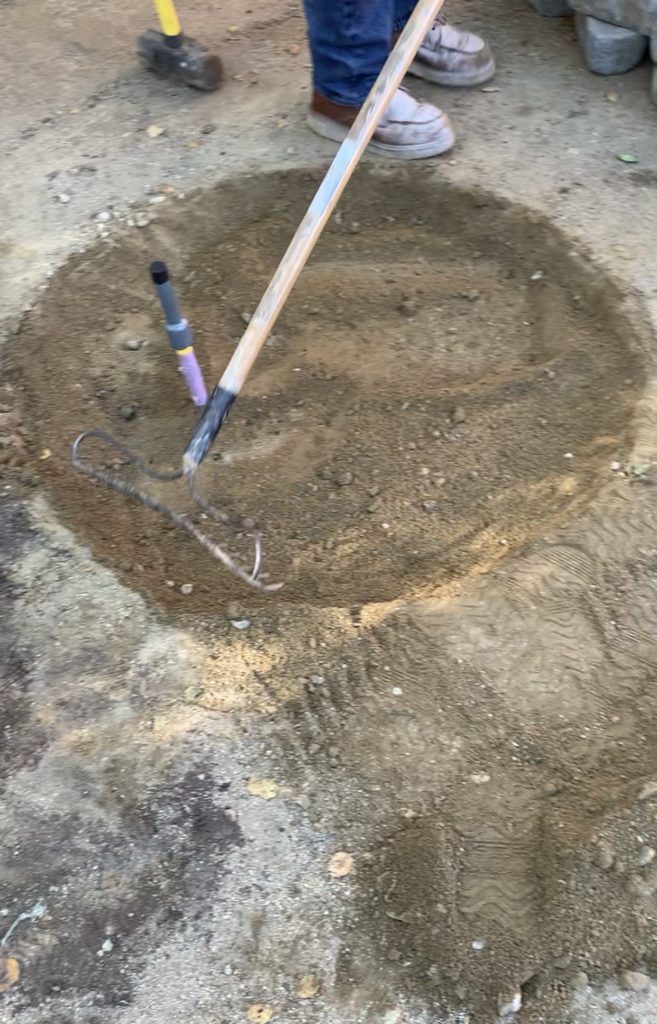
Use your shovel to mark the exterior of the stone ring you have just set. Now remove those stones and dig down about 2 inches into the ground. Using your small level you will level and compact this area. This ensures your fire pit will be level as you build dit up.
Step Nine:
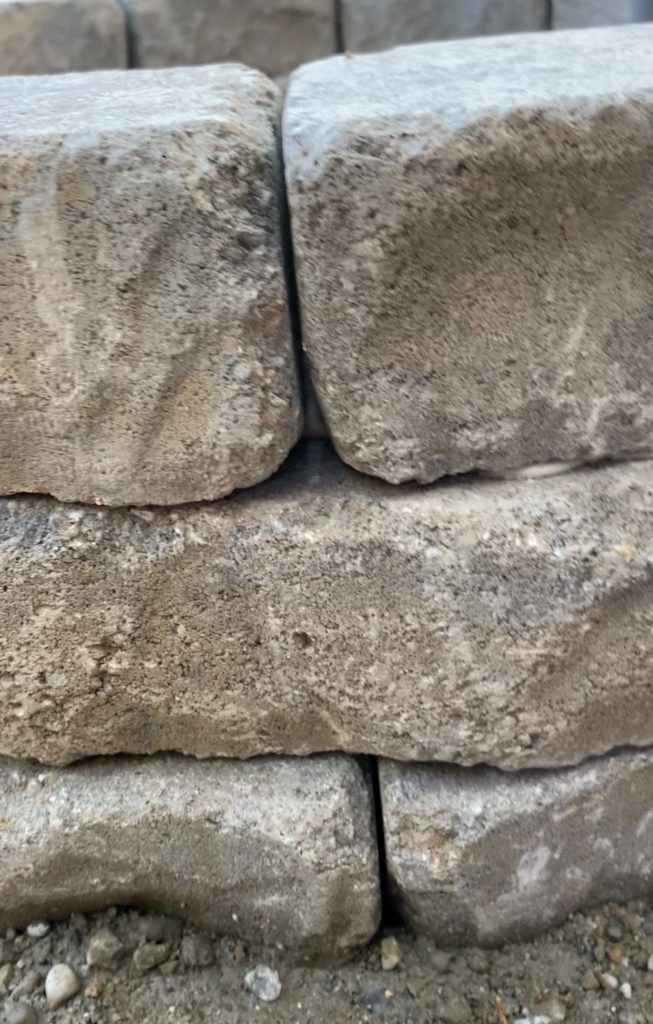
Set your first ring of stones/retaining wall blocks down in the leveled ring you created in step 8. Note: as you build up this stone fire-pit you will need to make sure you’re leaving one 1/4 inch air gap between 2 of your stones per-row.
Step Ten:
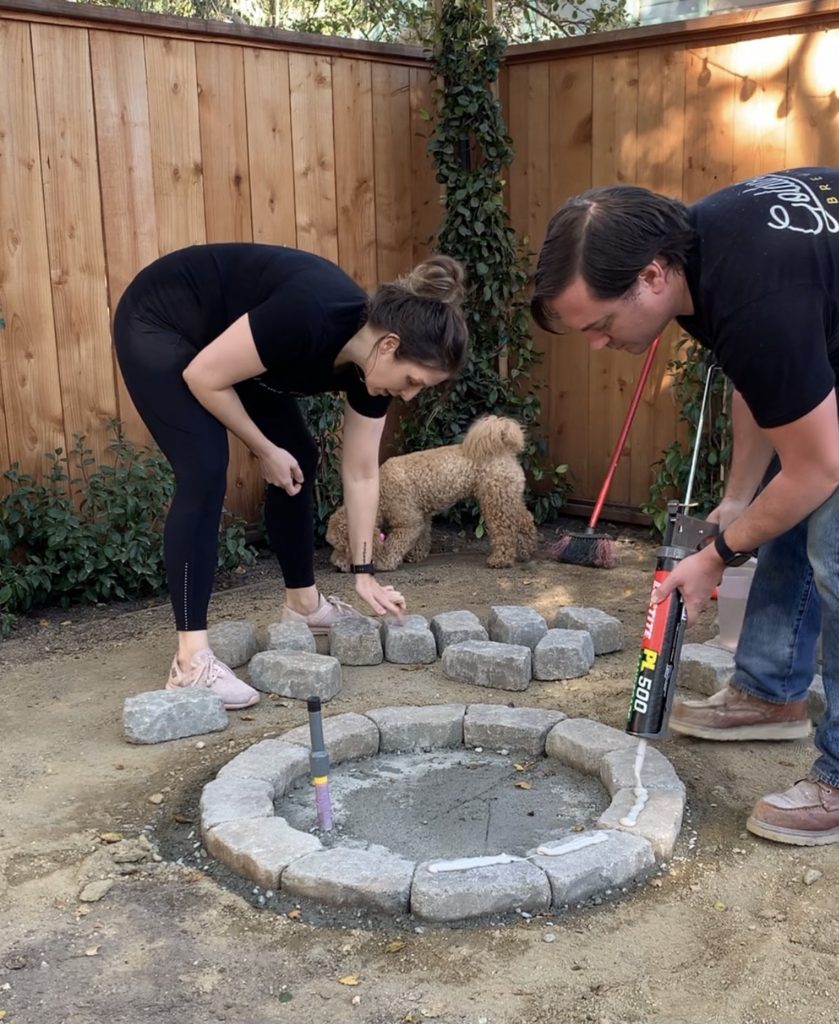
Apply a generous bead of your Loctite landscape adhesive, using your caulk gun, to the top of the ring of stones you have just set. This adhesive should be placed about center, so when the next layer is applied it does not squeeze out of the front/sides. Repeat this process in a staggered pattern to create the stone fire-pit ring. Use your 4 foot level each layer you add to make sure you are keeping level.
Step Eleven :
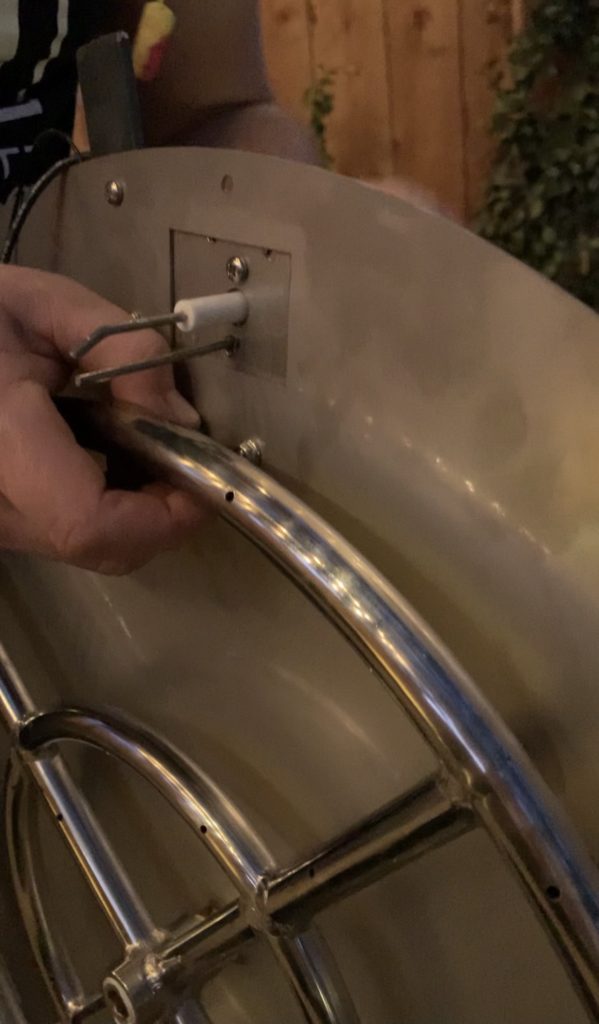
Stop stacking stones on row 3 of your fir-pit ring and set the control panel on this third row to make sure the panel looks inset. Once you determine panel placement you will glue it down just like one of the stones and continue the process outlined in step 10. We personally had to alter two of the retaining wall bricks in order for the control panel to sit flush. We did this with a masonry grinding wheel

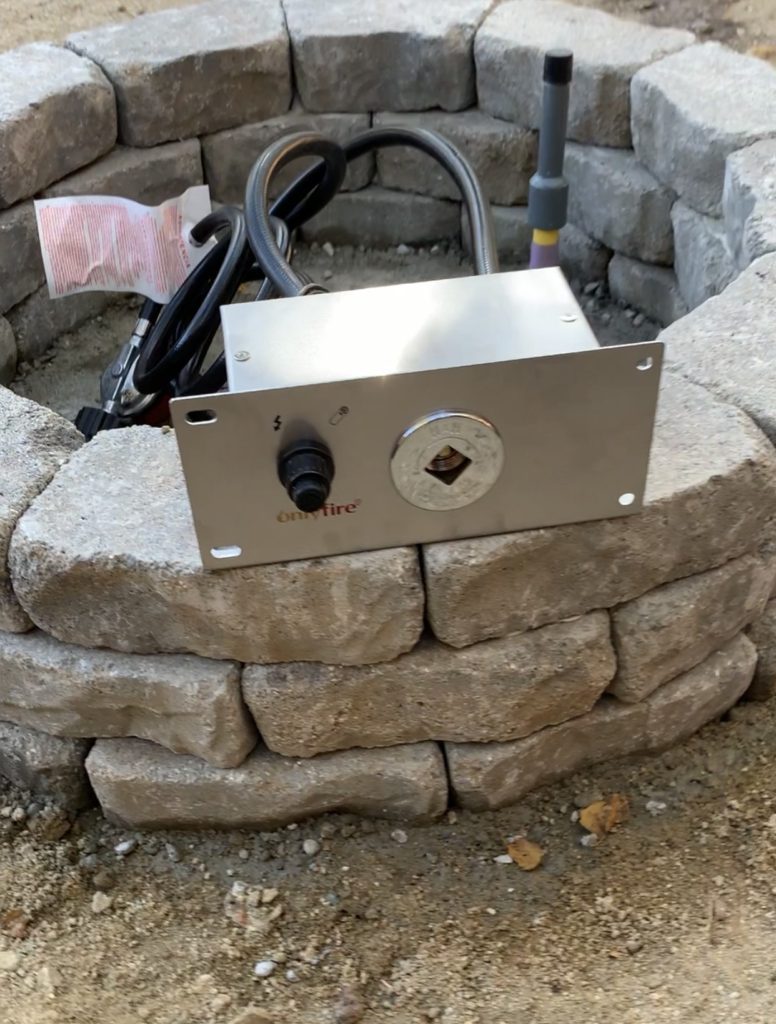
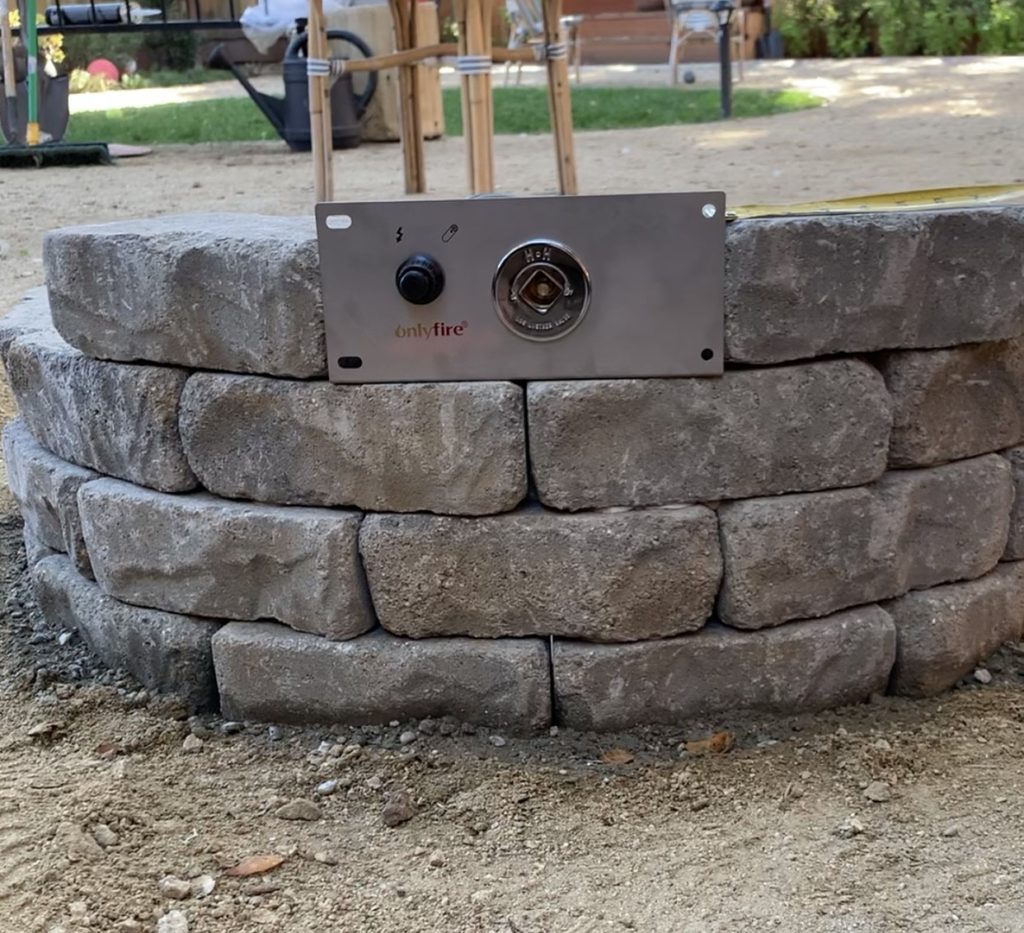
NOTE: Our fire pit is 6 rows tall. Row 3 houses the control panel. The burner pan sits on top of row 5. Row 6 is the finish row to ensure everything looksclean and to provide a basin for the lava rocks to sit inside hiding the burner
Step Twelve:
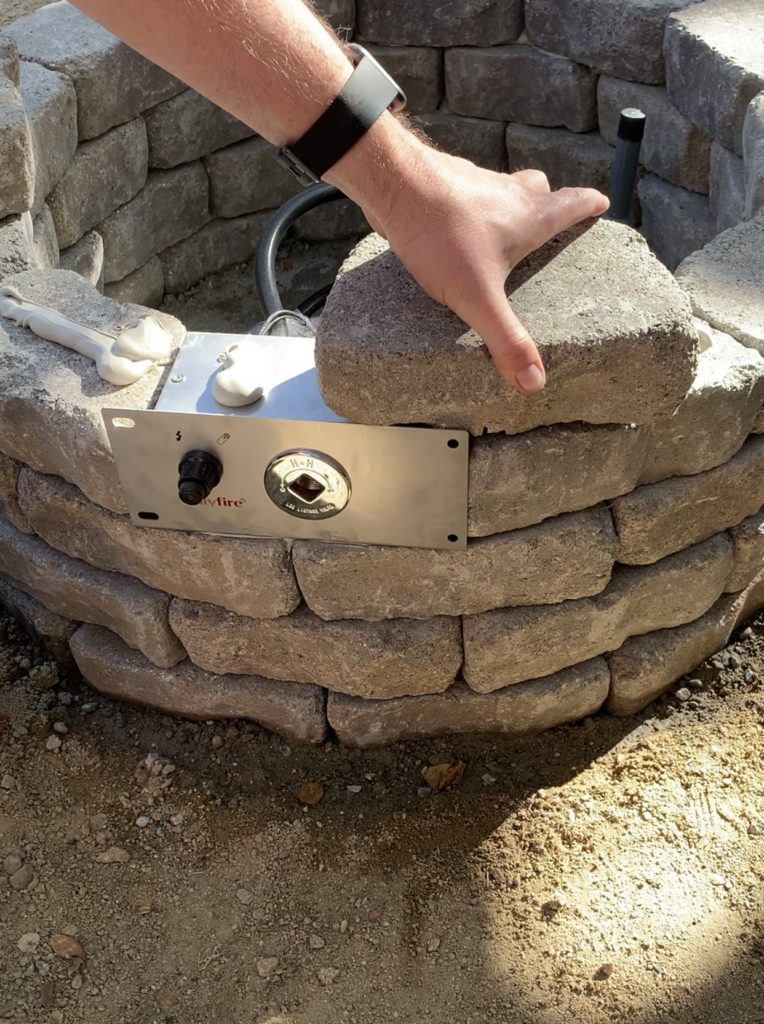
Stop stacking your stones/retaining wall blocks once you get to row 5. You need to let the adhesive cure overnight before doing these next steps.
NOTE: We are going to assemble the burner, make all necessary connections and set burner plate once you have let the adhesive cure overnight. After you finish these next steps you will come back to set your and final layer of stones using the instruction already outlined above.
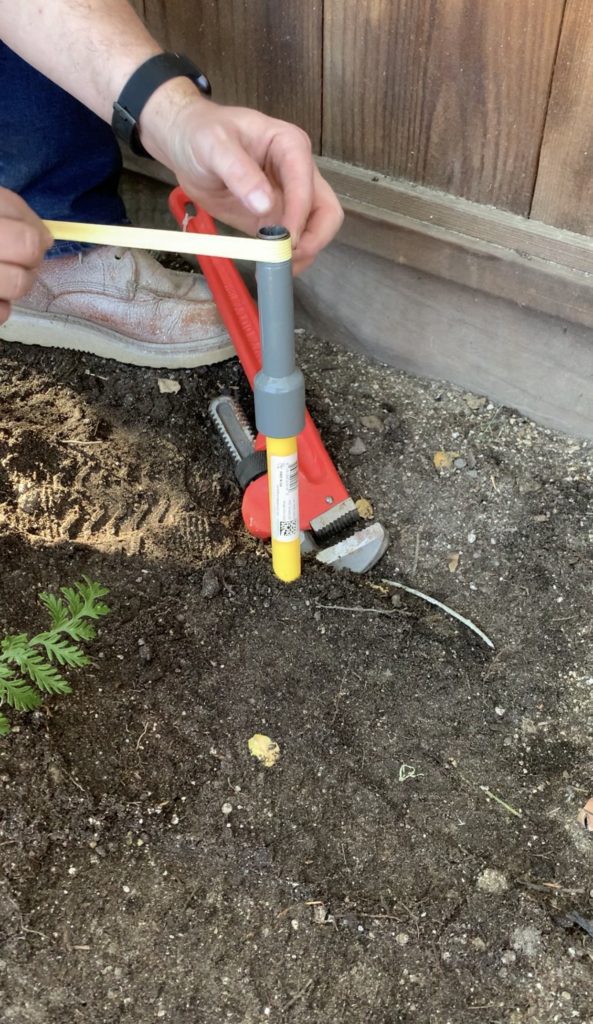
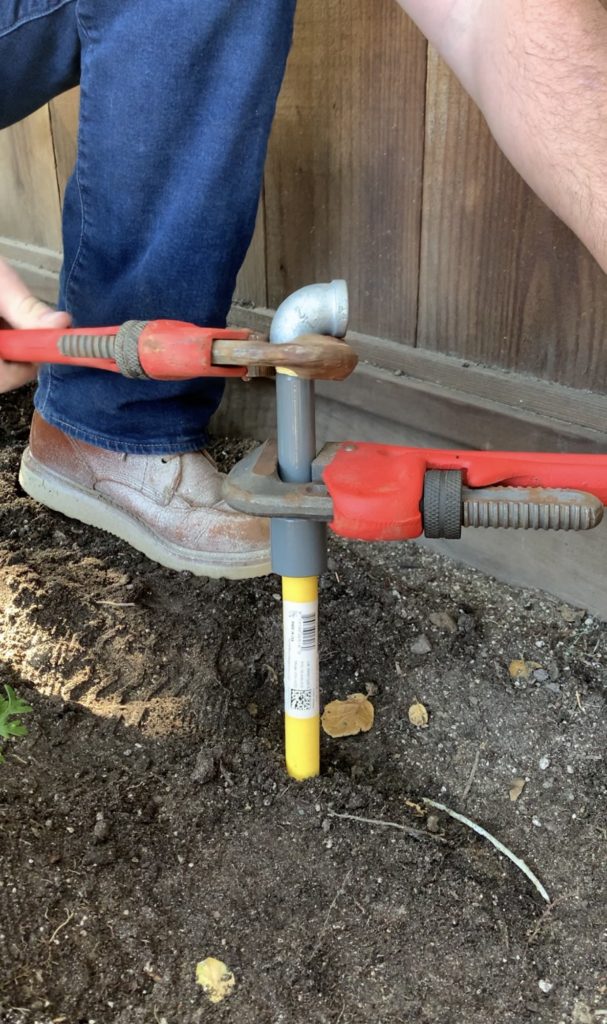
Step Thirteen:
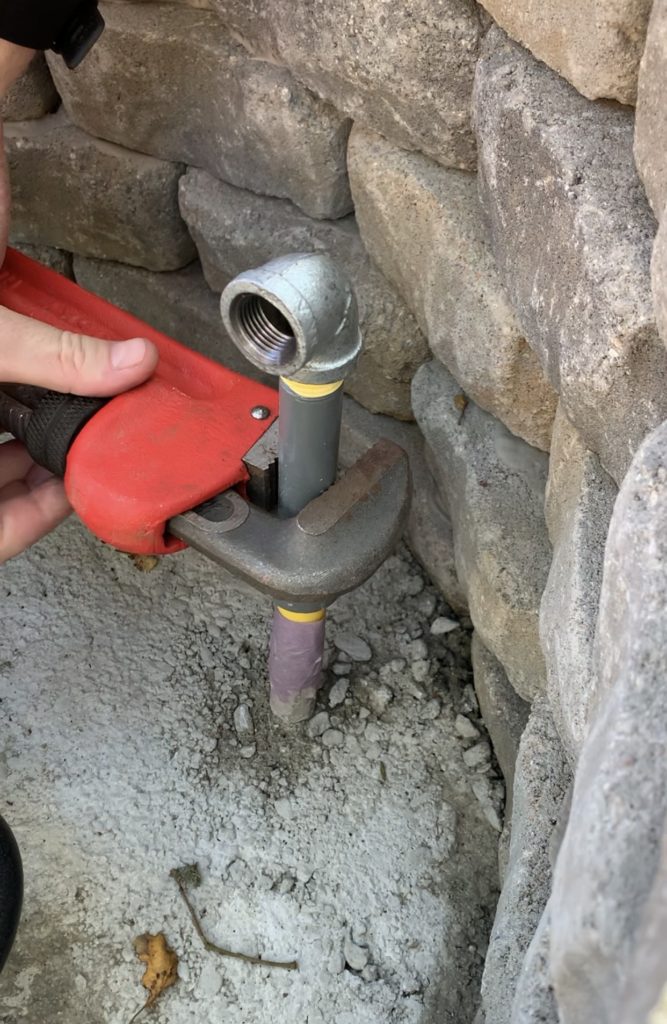
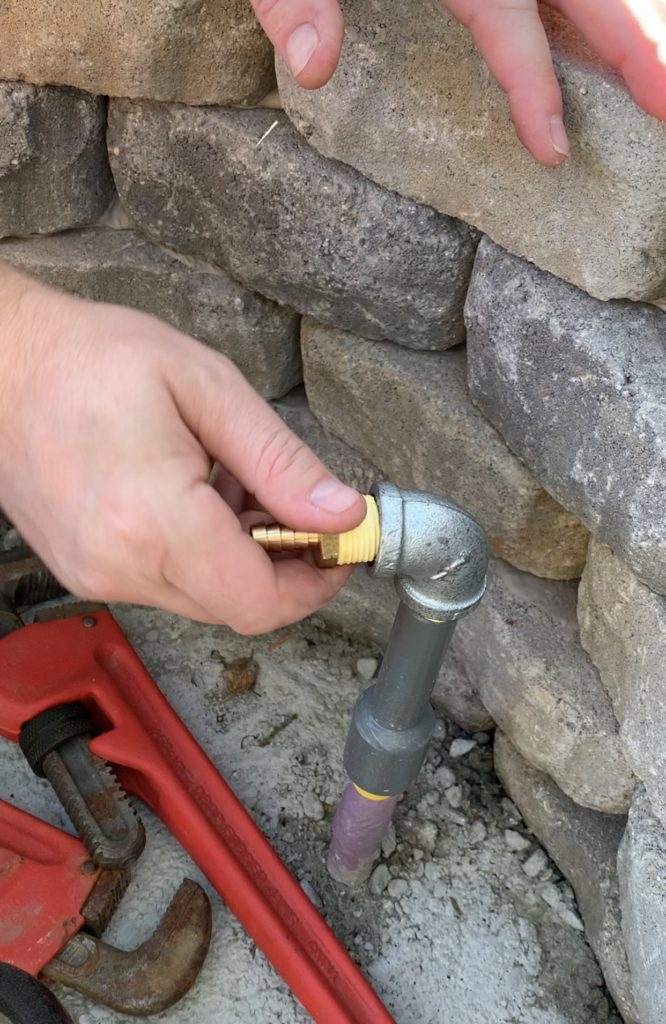
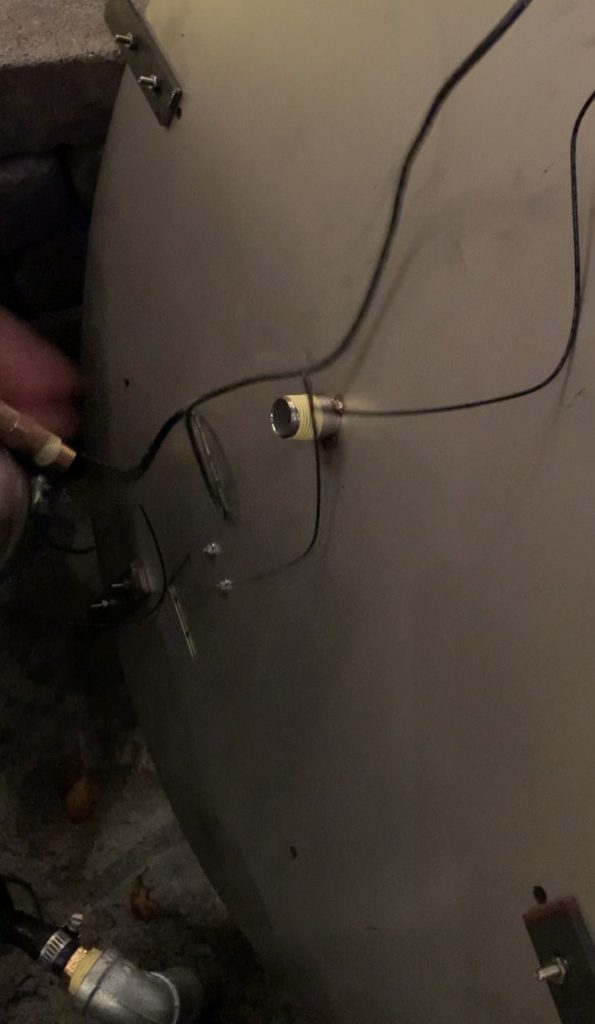
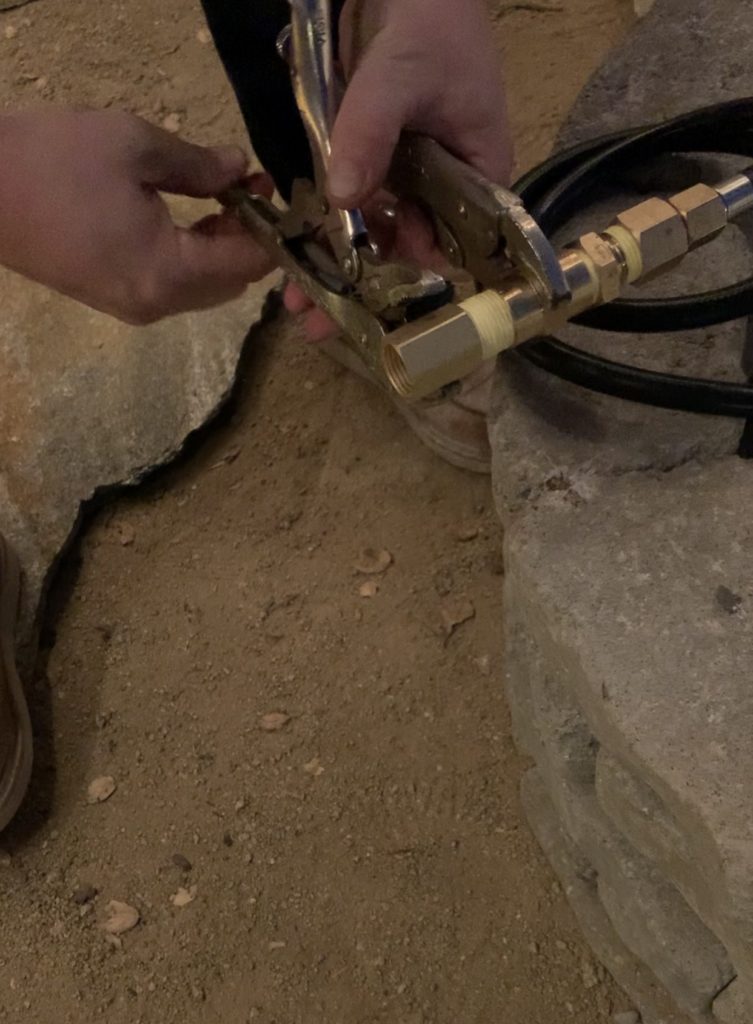
Take one black iron pipe elbow and attach it to the Home Flex transition that is inside your stone ring. Apply teflon gas tape to the threads of the transition. Then, using your pipe wrench, thread the black iron pipe to the transition. *Use your pliers to hold the transition still so it does not spin as you’re attempting to tighten. Try to make sure the elbow ends up facing the back of your control panel
Step Fourteen:
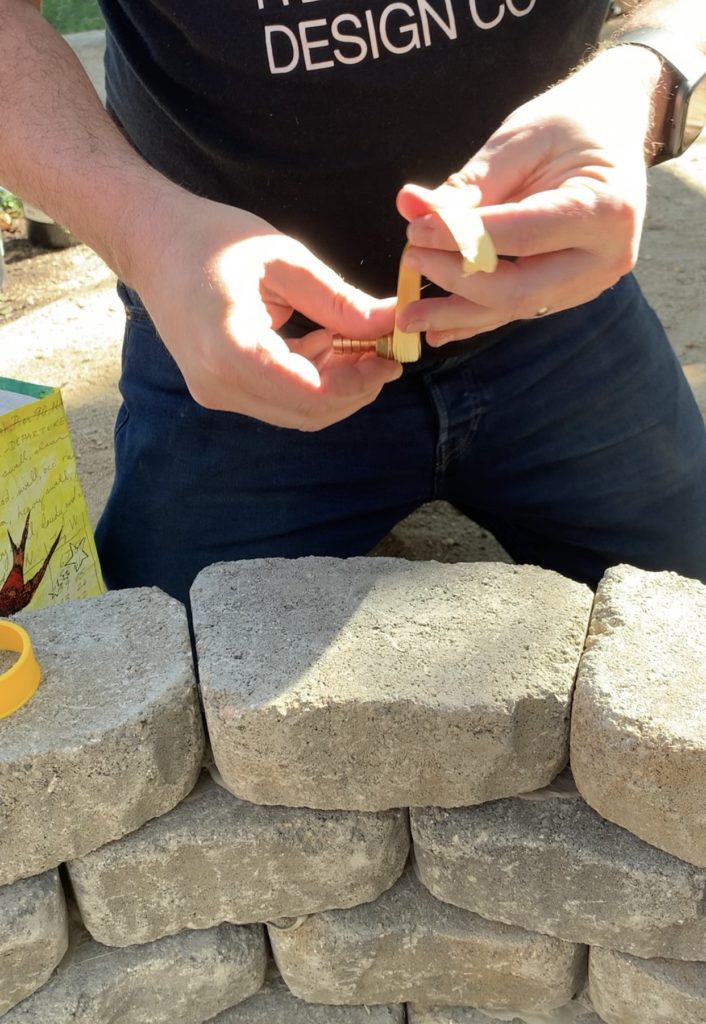
Thread your 3/4 inch to 3/8 inch barbed brass fitting into the elbow you just set in step 13. Be sure to use teflon gas tape and tighten with your wrench.
NOTE: repeat steps 13 & 14 on the other end of your gas line *where the propane tank will ultimately connect*


Step Fifteen:
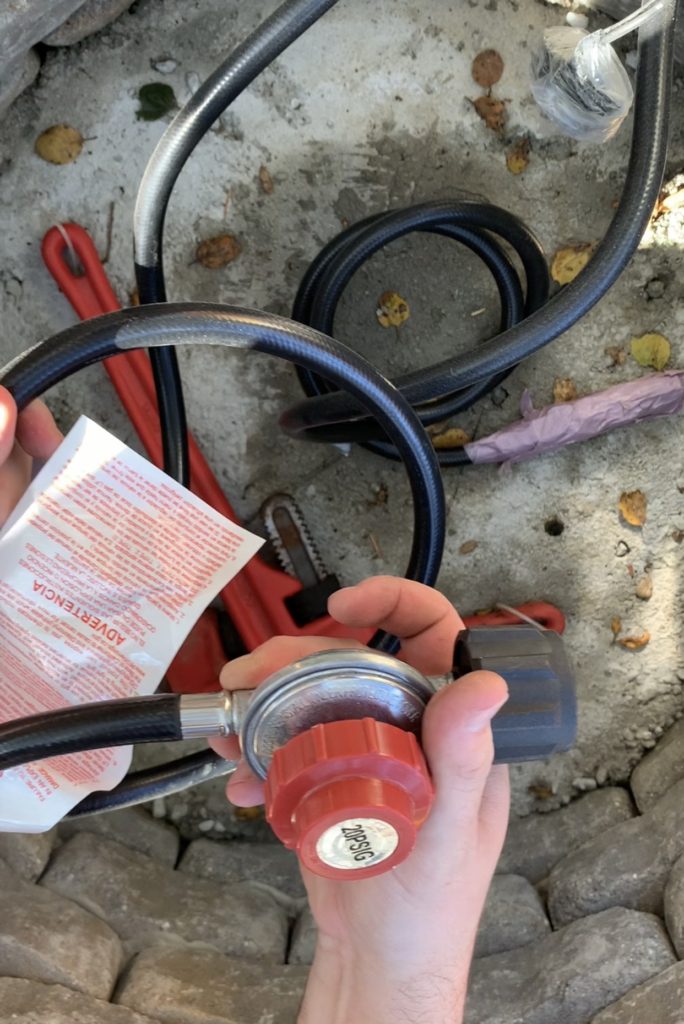
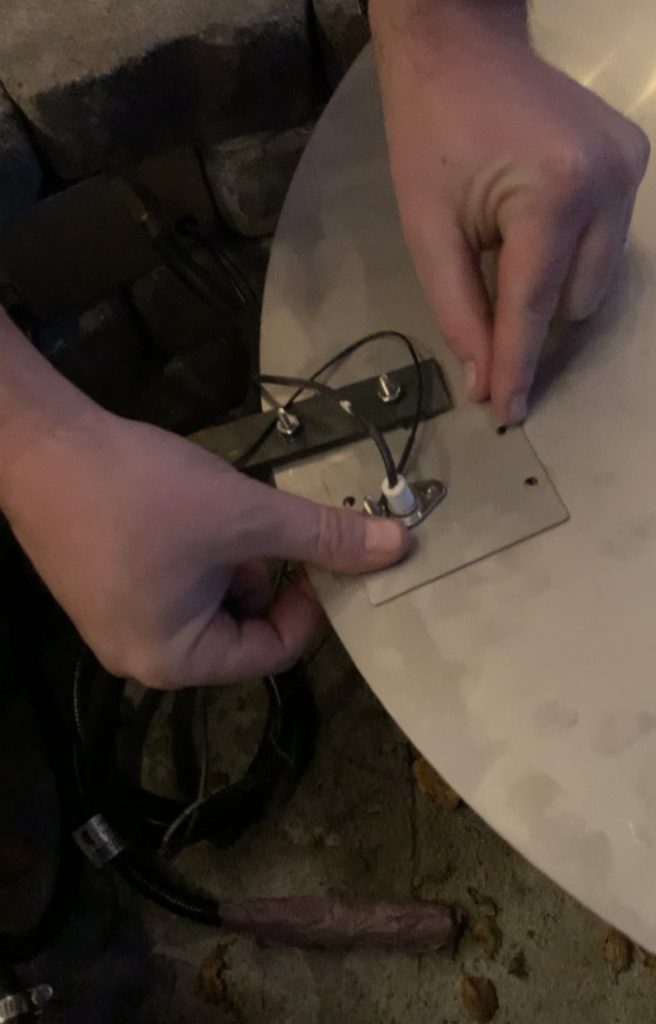
Locate the back of your control panel. You will see 2 gas lines and some electrical wiring. In this nest step we are focused on the gas line that is attached to the regulator.
Step Sixteen:
Determine the distance between the back of the control panel and the transition elbow. Now cut your gas line *the one connected to the regulator* You need this line to be end ups being long enough to connect the back of the panel to the transition with slack. SET ASIDE the portion you just cut off that is connected to the regulator you will need that in a later step.
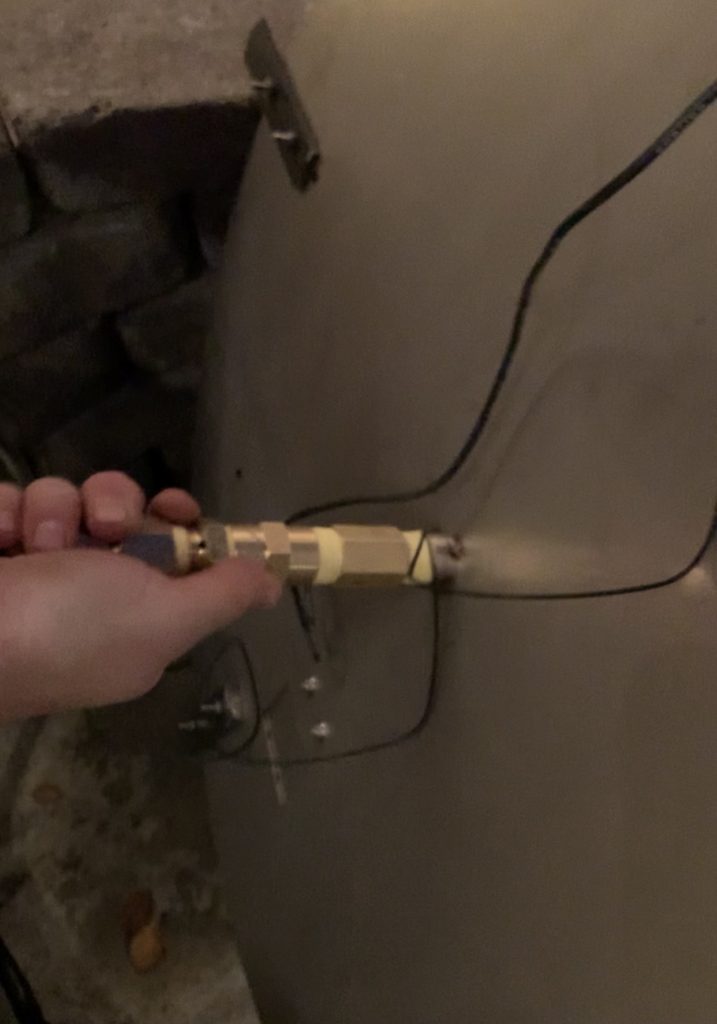
Step Seventeen:
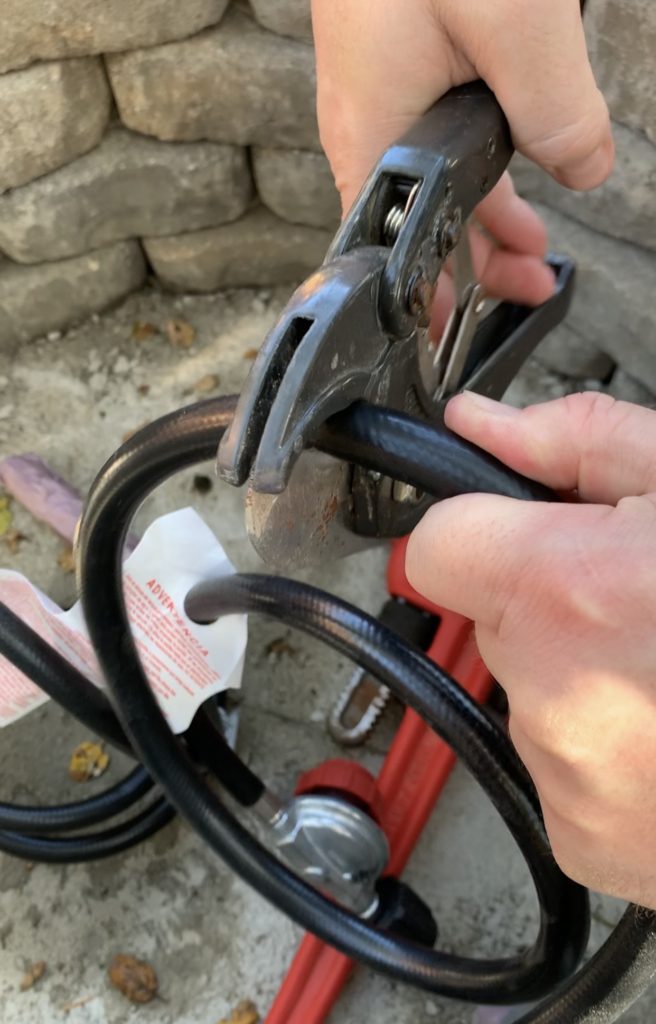
Take your hose clamp and slide it onto the cut end of your freshly cut end of the gas line.
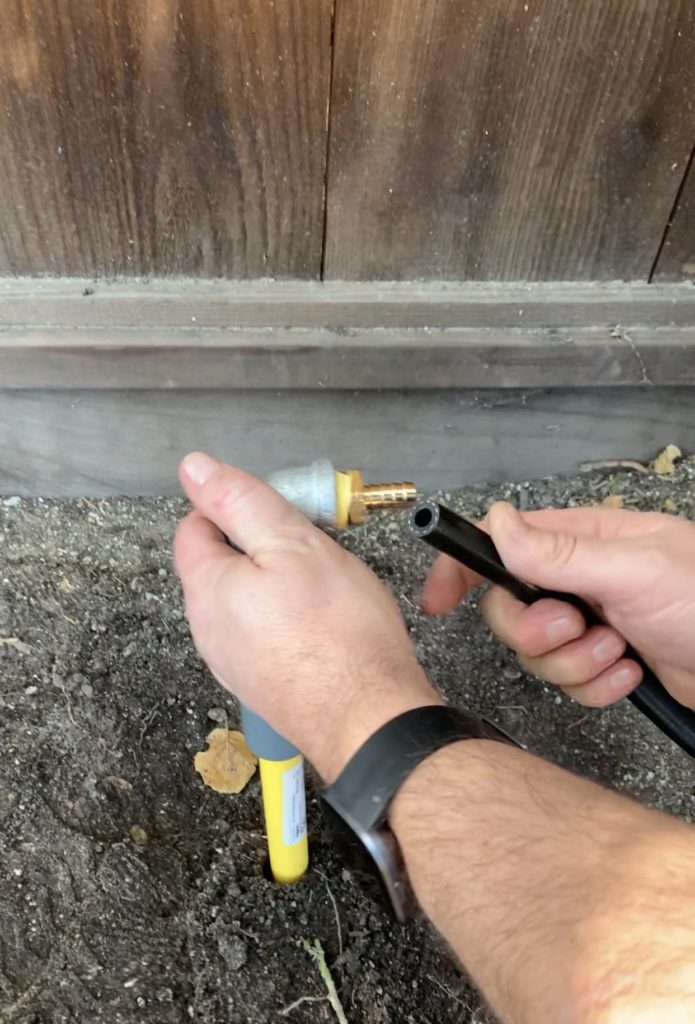
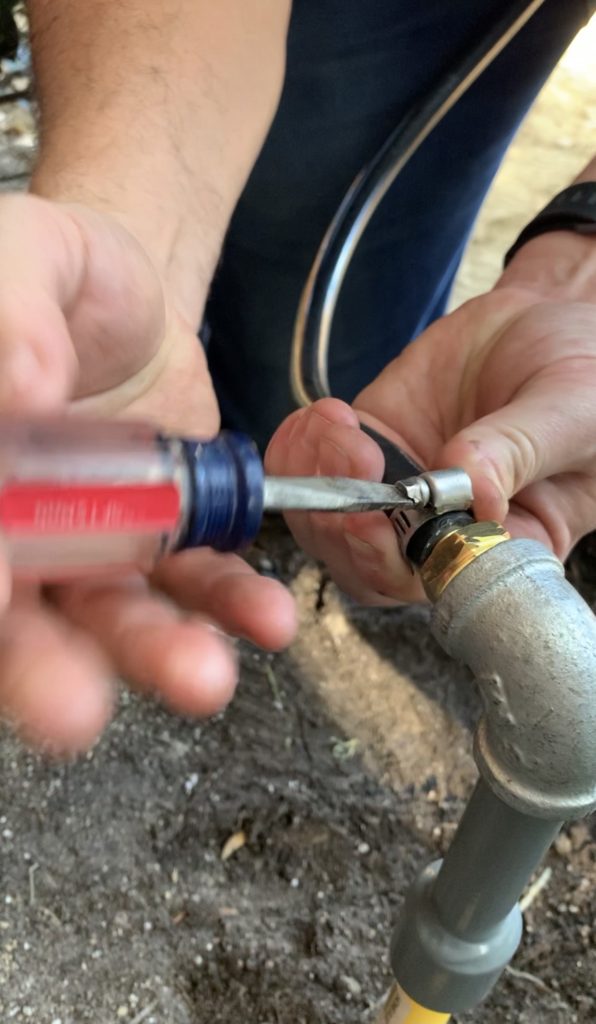
Step Eighteen:
Slide the gas line onto the barbed fitting (on your transition elbow). Move the hose clamp into place and tighten using your screw driver.
Step Nineteen:
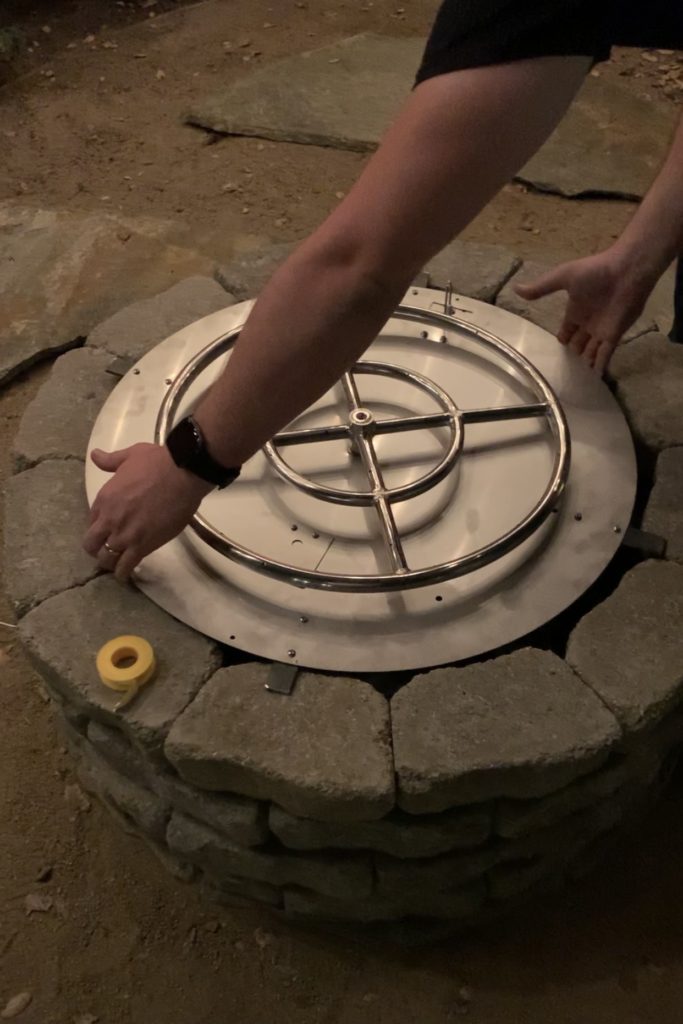
Assemble your burner and pan. Follow instructions provided by manufacturer.
Step Twenty:
Locate the wiring (ignitor) on the back of your control panel. The burner/pan we used *listed in supplies above* had pre-made attachment points for the ignitor so we simply screwed them into place.
Step Twenty One:
On the underside of your burner/pan you will see a threaded fitting. Wrap this fitting with teflon gas tape and screw on your 1/2 inch brass union.
Step Twenty Two:
Locate the second gas line on the back of your control panel, this has a threaded brass end. You will attach/thread this brass end onto the brass union you just applied to the back of your burner.
Step Twenty Three:
Double check ALL of your connections to make sure they are secure and tightly in place. Especially on the back of your control box *ours were lose* so make sure to double check. Once everything is secure, set your burner on the current top layer (layer 5) of your stones. DO NOT glue in place yet. We need to do a test run before making permanent.
Step Twenty Four:
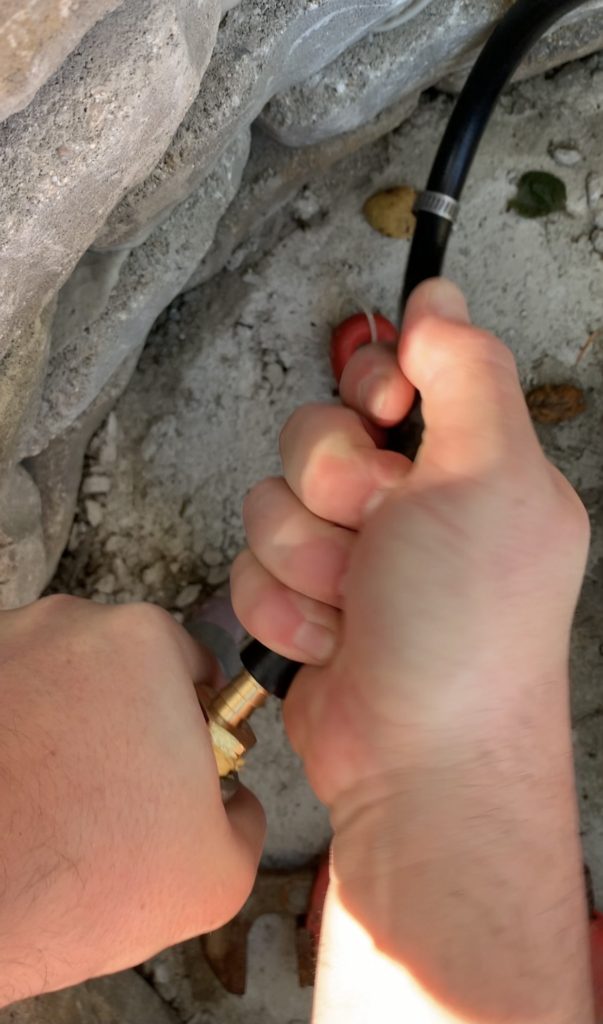
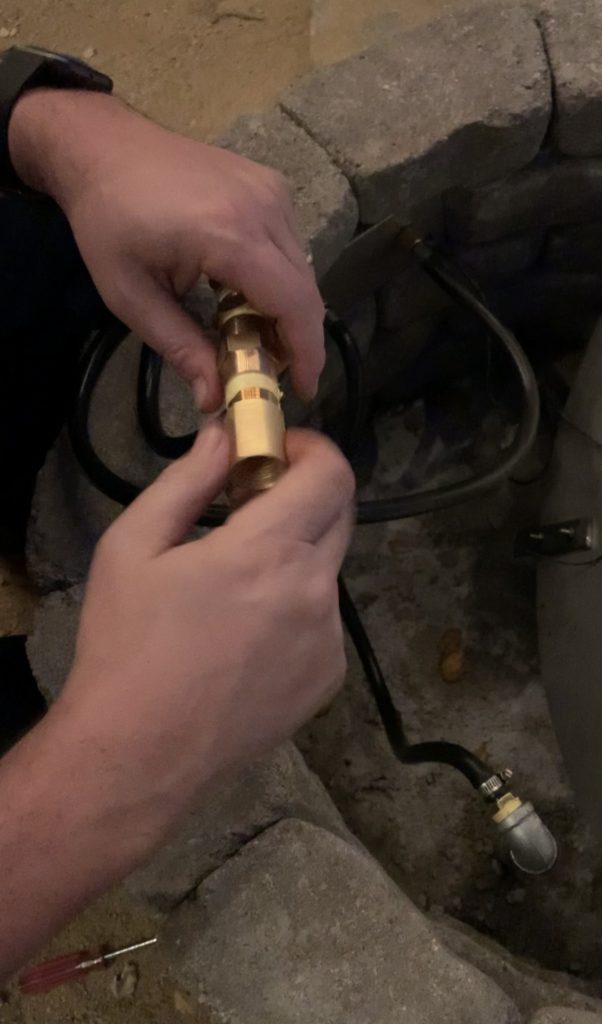
Take your gas line with attached regulator (that you cut back in step 16) over to your propane tank. Slide a hose clamp onto the cut end of the gas line. Slide your gas line onto the barbed fitting/elbow transition. Screw hose clamp in place.

Step Twenty Five:
Test it. a) Open the propane tank. b) Look, smell and listen for leaks. c) Go to your control panel turn the valve very slightly to open up the flow of gas *listen for sound of gas flow. d) using the ignition switch or a bbq lighter introduce a flame to the gas. It should light up.
Step Twenty Six:
Glue the pan in place on the 5th layer of stones. Then add the 6th and final layer of stones/retaining wall blocks.
Step Twenty Seven:
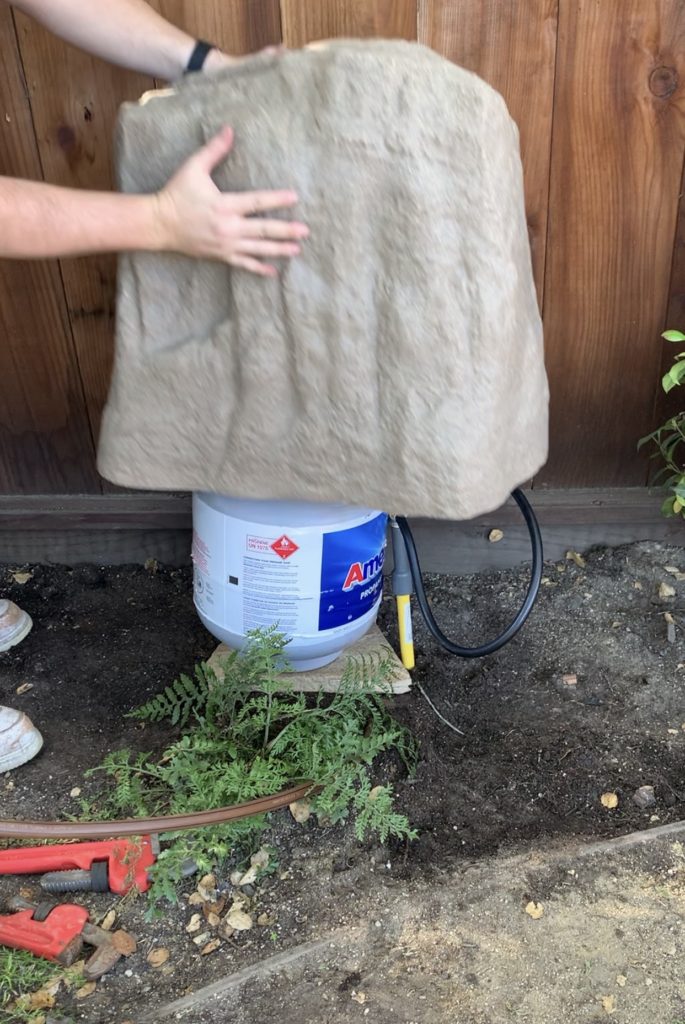
Pour in your lava pebbles inside the fire pit. Set your landscape boulder over the tank to hide it… and you’re done!
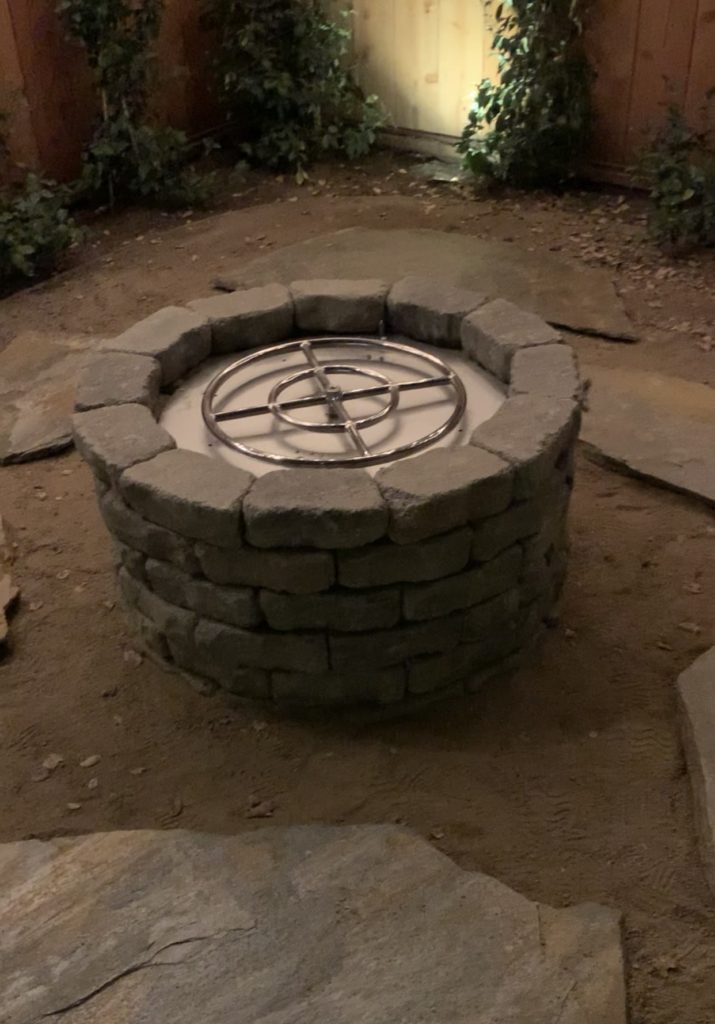
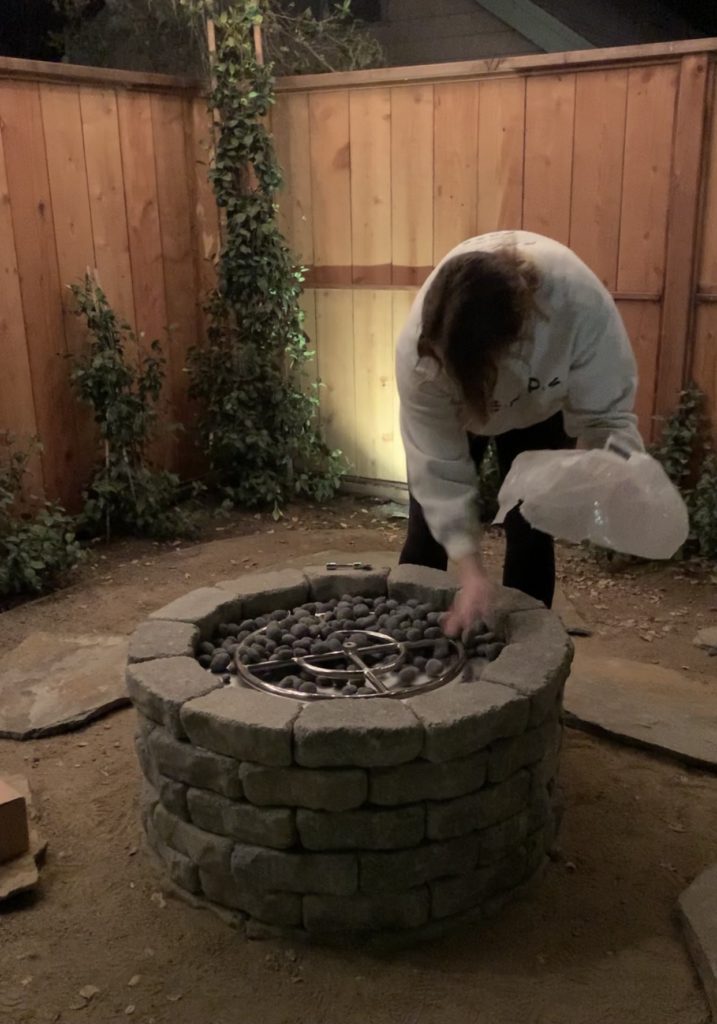
We LOVE it and spend so much time out here now!!