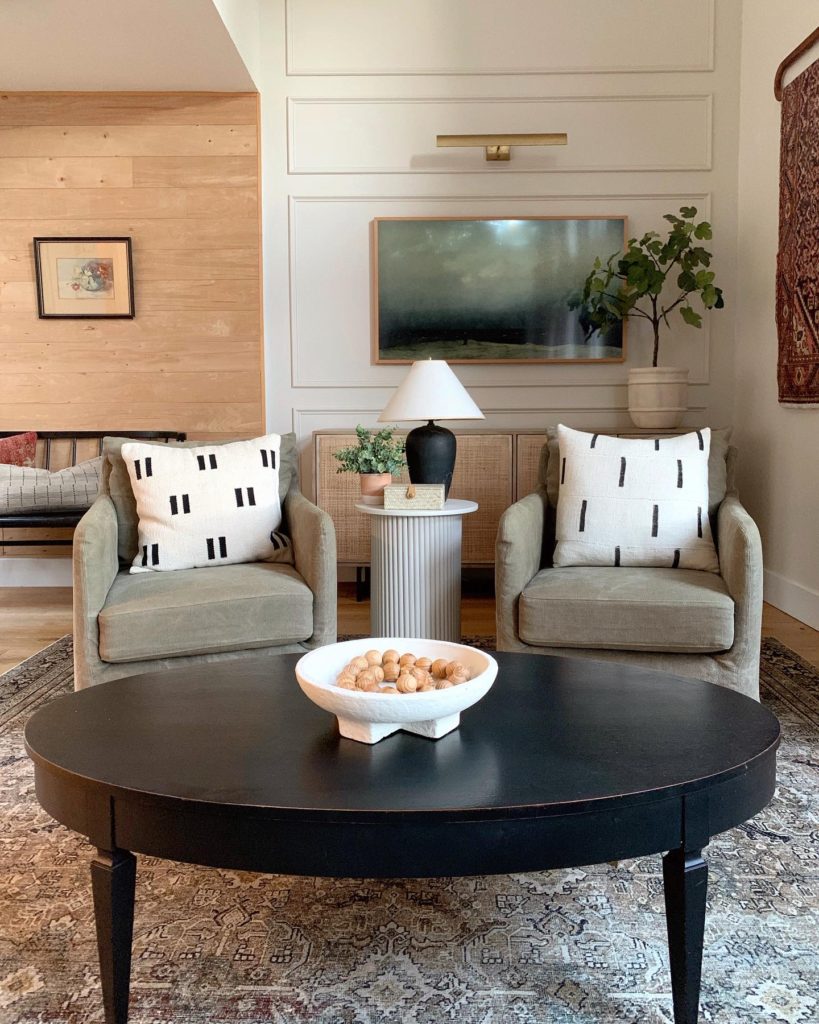
Sharing our DIY fluted side table today! Fluted furniture, door panels, walls… you name it, they are “in” and they are in- in a big way! Unfortunately with high demand comes high price tags. When I fell for this stunning fluted side table (below) I couldn’t bring myself to shell out $479 on it, but couldn’t get it out of my head…

…which brings us here. I opted for the DIY route. While this DIY is more expensive than we had hoped, coming in at a total cost of $140 (cost of the dowels was higher than expected). It’s STILL a hefty chunk of change less than any of the store bought options I fell for. Bonus, this DIY is EASY. The only part that requires skill part is cutting the dowels to size with the miter saw. However, I think Home Depot would cut the dowels for you!?! Definitely worth asking.
Okay, lets tackle this DIY. You will need the following tools:
- Miter Saw
- Razor knife
…and supplies:
- 30- 5/8 wood Dowels
- 10 inch diameter concrete form tubing
- 16 inch diameter wood craft medallion
- All purpose adhesive (super glue)
Step One:
Determine the height you want your table. We went with 23 inches tall. The dowels are 48 inches long; so in choosing this measurement (23in) we were able to cut each dowel in half utilize both ends and leave a small margin for error.
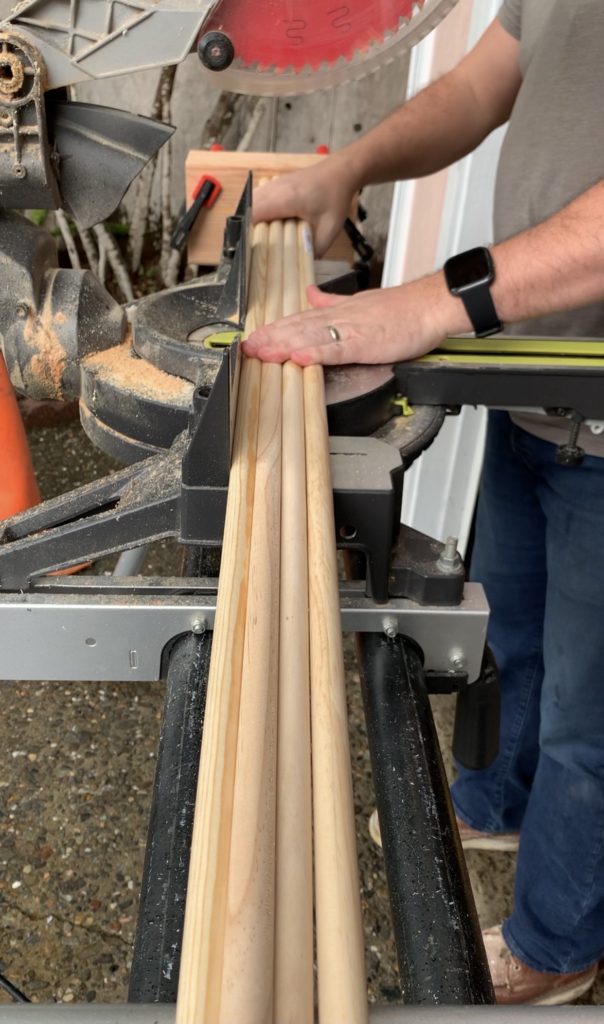
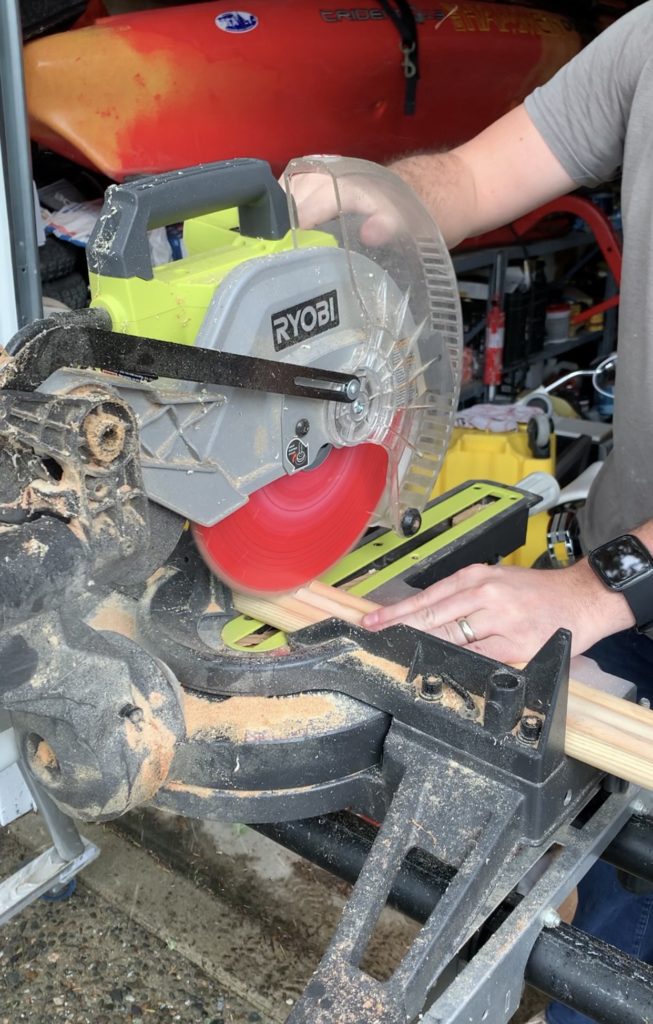
Step Two:
Cut all of the dowels to the exact height needed using your miter saw.
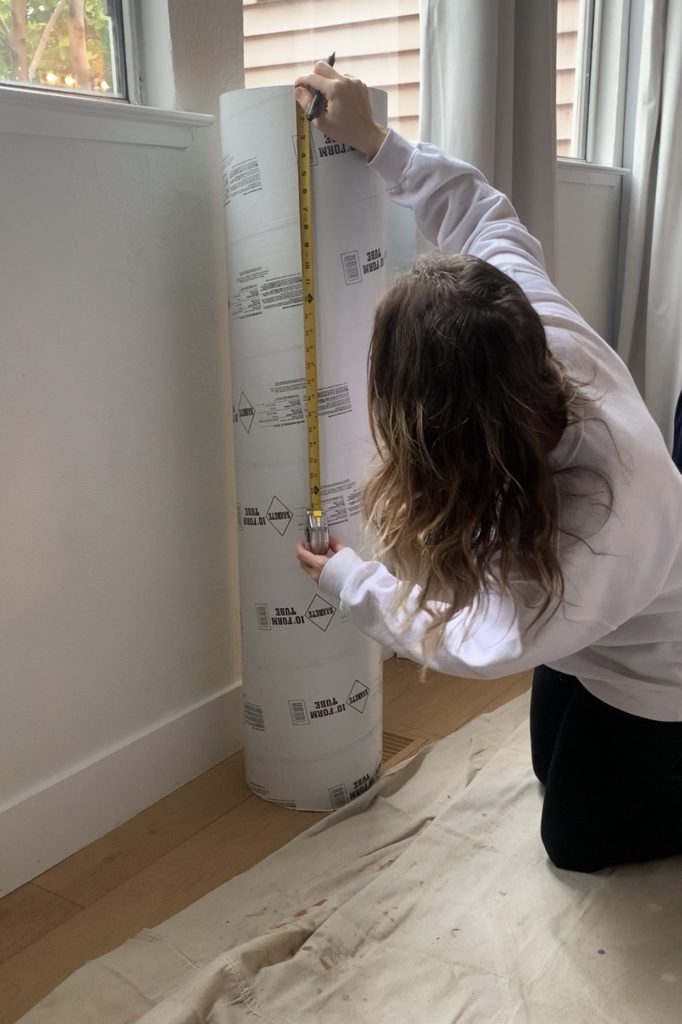
Step Three:
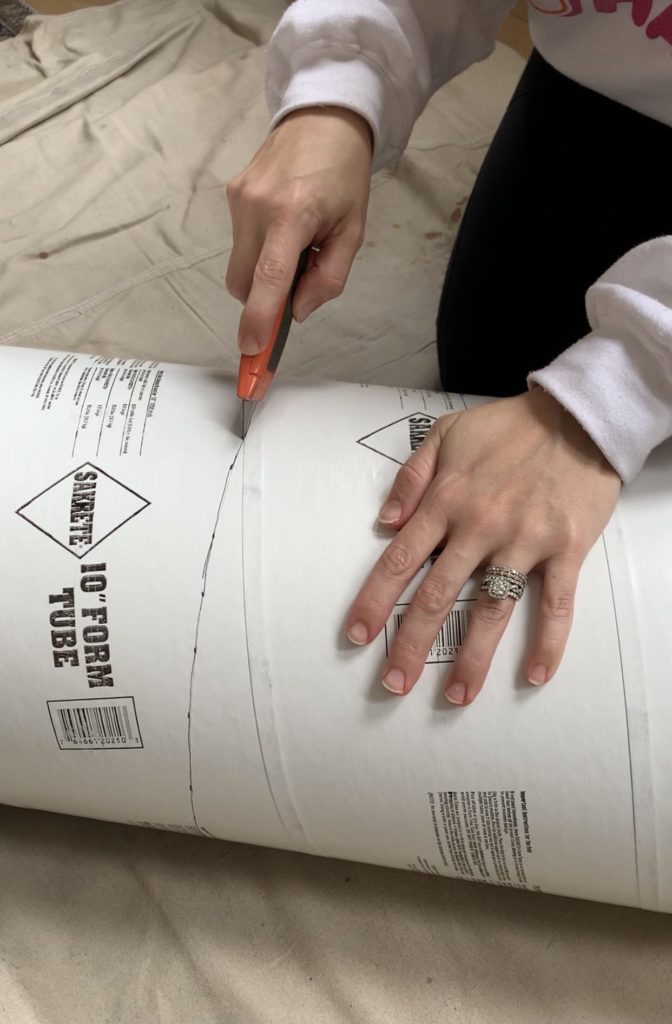
Measure and make marks all around the diameter of the tubing. Mark the line you will need to trace and cut with your razor knife. The tubing should be the exact same length as the dowels. This way it is completely hidden once dowels are glued on.
Step Four:
Cut the tubing with your razor knife. This is a slow and steady handed process. You need to make sure you get it right. Took me three precise passes over the tubing until the cut went all the way through.
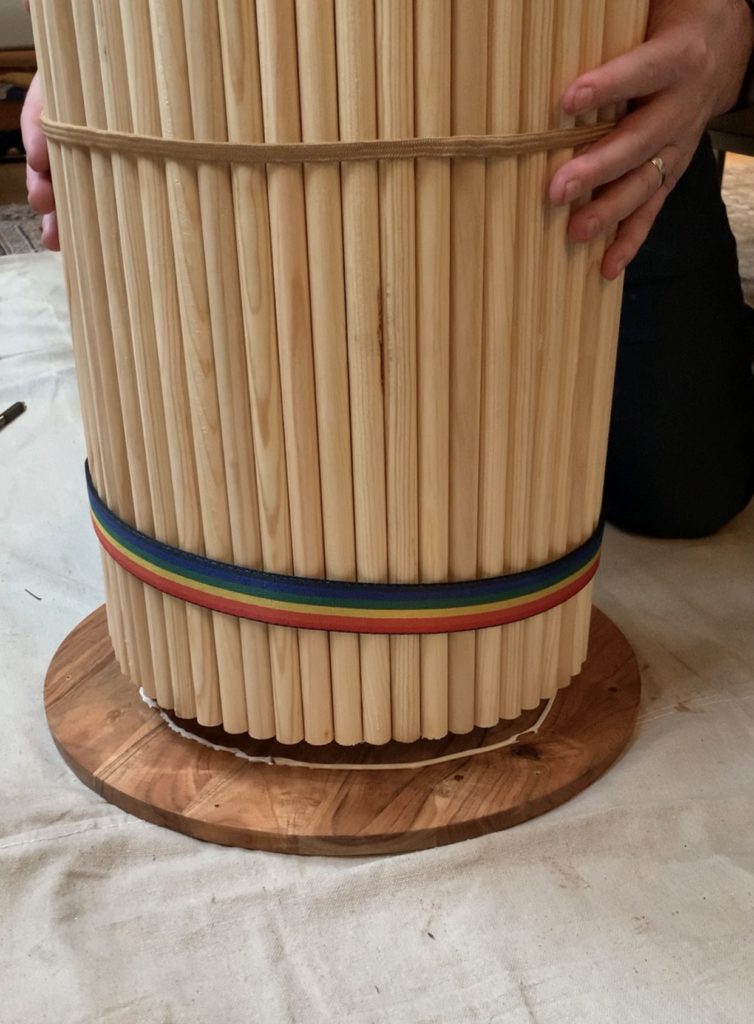
Step Five:
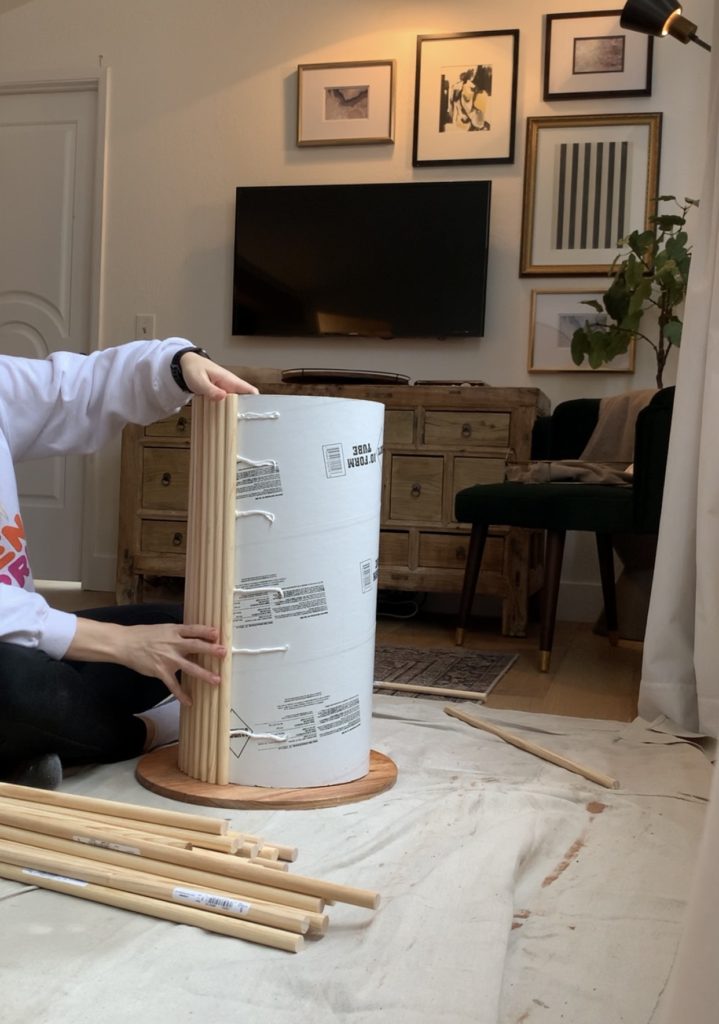
Start adding super glue to the sides of the tubing and lay your dowels on one by one. It helps to have the tubing stabilized on a flat base so you can level each dowel up against this surface (see image for clarification). This is not necessarily a 2 man job but it does help to have one person squeezing glue while the other places the dowels.
Step Six:
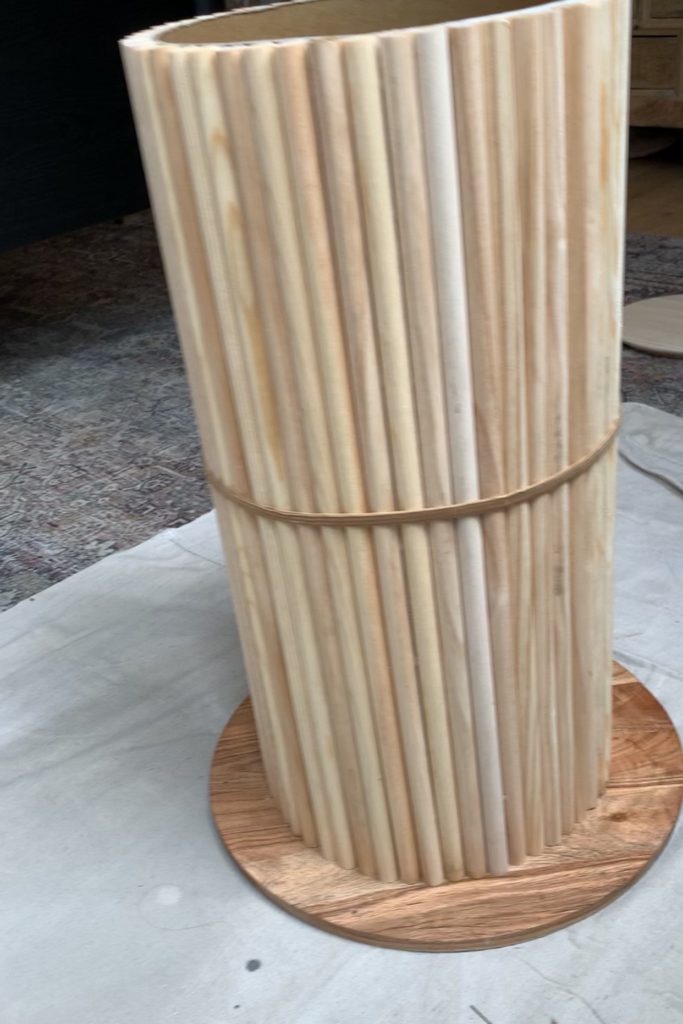
Dry. Let the dowels dry for a minimum of one hour. Secure them in place with bungee bands if you have them. We literally used 2 elastic head bands and a belt LOL. Anything to help really hold them tight while glue stabilizes.
Step Seven:
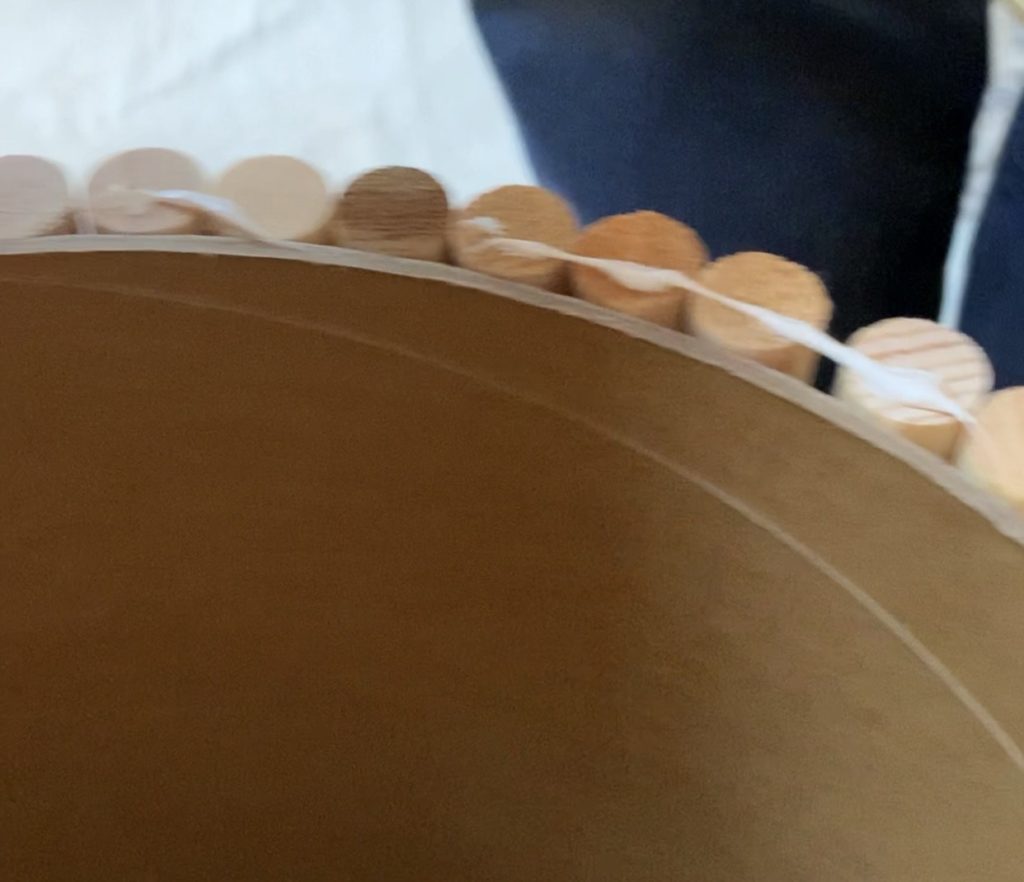
Draw glue guide. Determine the center placement of your table top with the base. Set table topper, under-side up, on the ground. Place the base on top of it and adjust until base is centered on topper. Then draw a pencil line around the base onto the underside of topper. This pencil line will be the guide for where to place glue. Remove the base once pencil line has been made.

Step Eight:
Glue. Add glue to the underside of table topper (inside your pencil line guide). Next, add glue to the top of your base/dowels (the side of that will adhere to the table topper). Once glue is in place on both table topper and base/dowels, set the base (glue side down) onto the topper- which is glue side up. Let it dry overnight.

Step Nine:
Next day- remove any and all bungees, make sure your table is solid, and glue is dry.
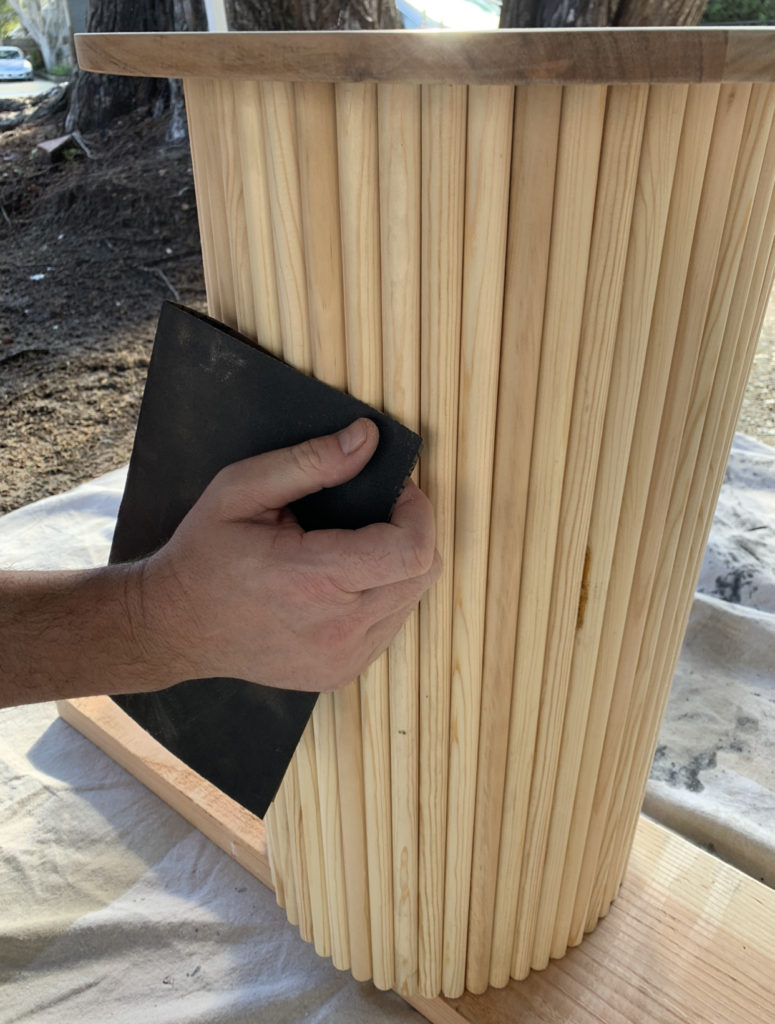
Step Ten:
Sand. Super light overall sanding to remove any rough patches on the table topper or dowels. Very minimal sanding and you can skip this step if you don’t mind imperfections.
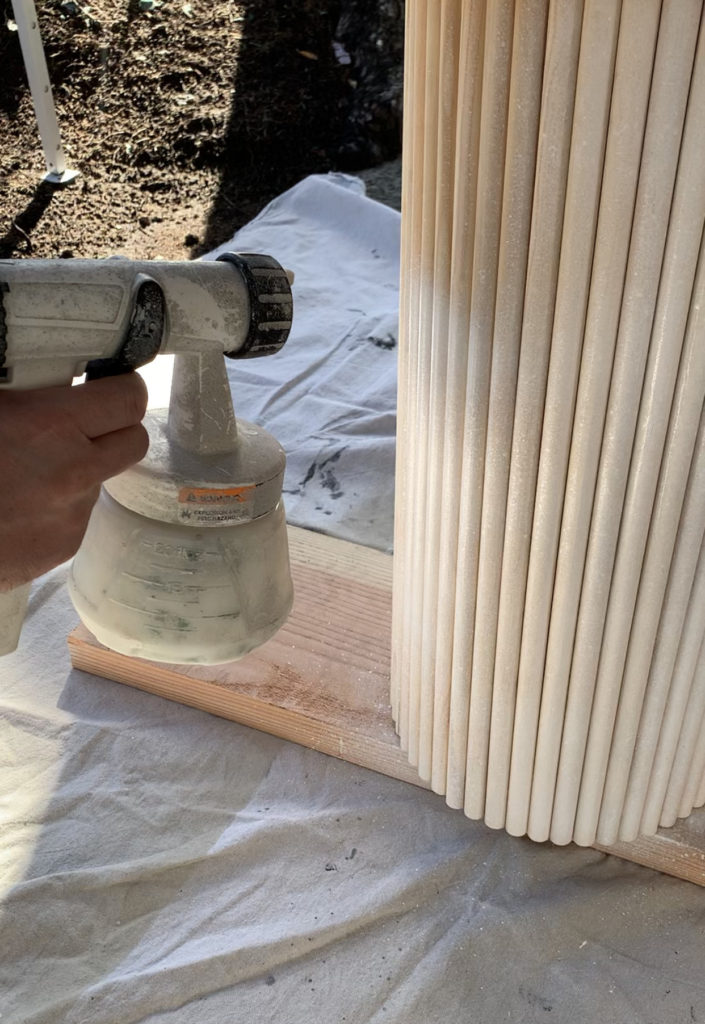
Step Eleven:
Paint. First a primer coat to ensure an even base for the paint. Next paint on the color. We went with Accessible Beige by Sherwin Williams because we already had it lol. Apply 2 coats of paint!
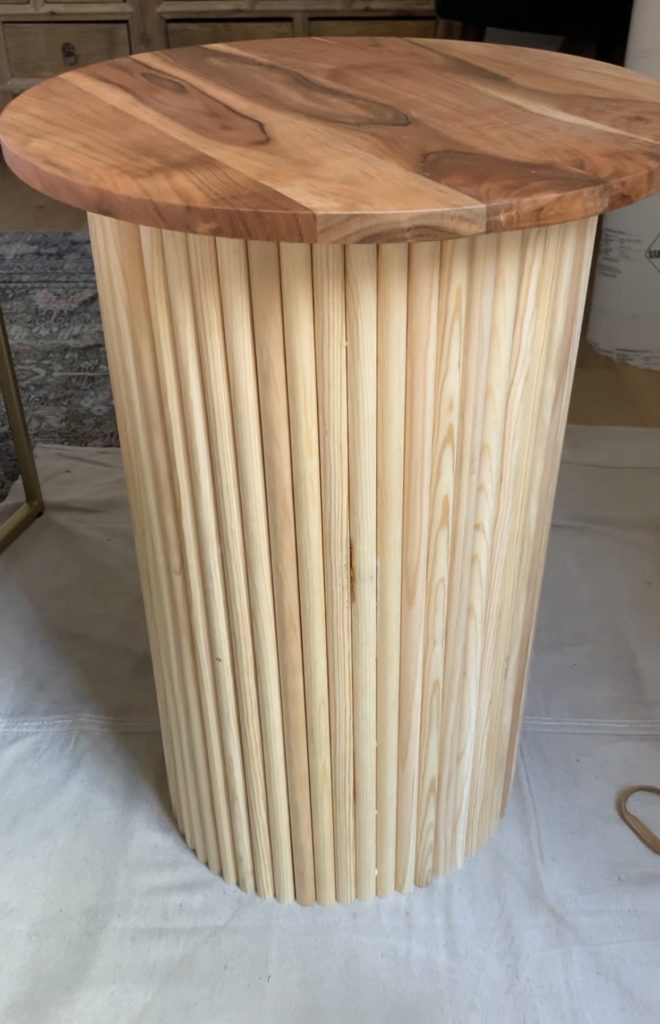
You’re done! Now you get to enjoy it. Also YES it is stable and solid. My husband thought I was nuts when I presented the idea. He was sure that it would be flimsy or topple over. It’s not flimsy, at all. Instead it’s surprisingly sturdy and stout. I’m crazy happy with how this little fluted DIY side table turned out.
This is a fun and fast 2 day DIY project. It’s only 2 days for dry time. Total time working under three hours. The end result is a fab and very on trend, I’m obsessed. Although this DIY was just as pricey as many side tables that you can buy from a big box store. It is far less costly than the fluted tables I was coveting; so I have NO regrets! Let me know if you plan to try it too, or tag us in your posts on TikTok or Instagram so we can see your finished project. Happy DIY-ing!