


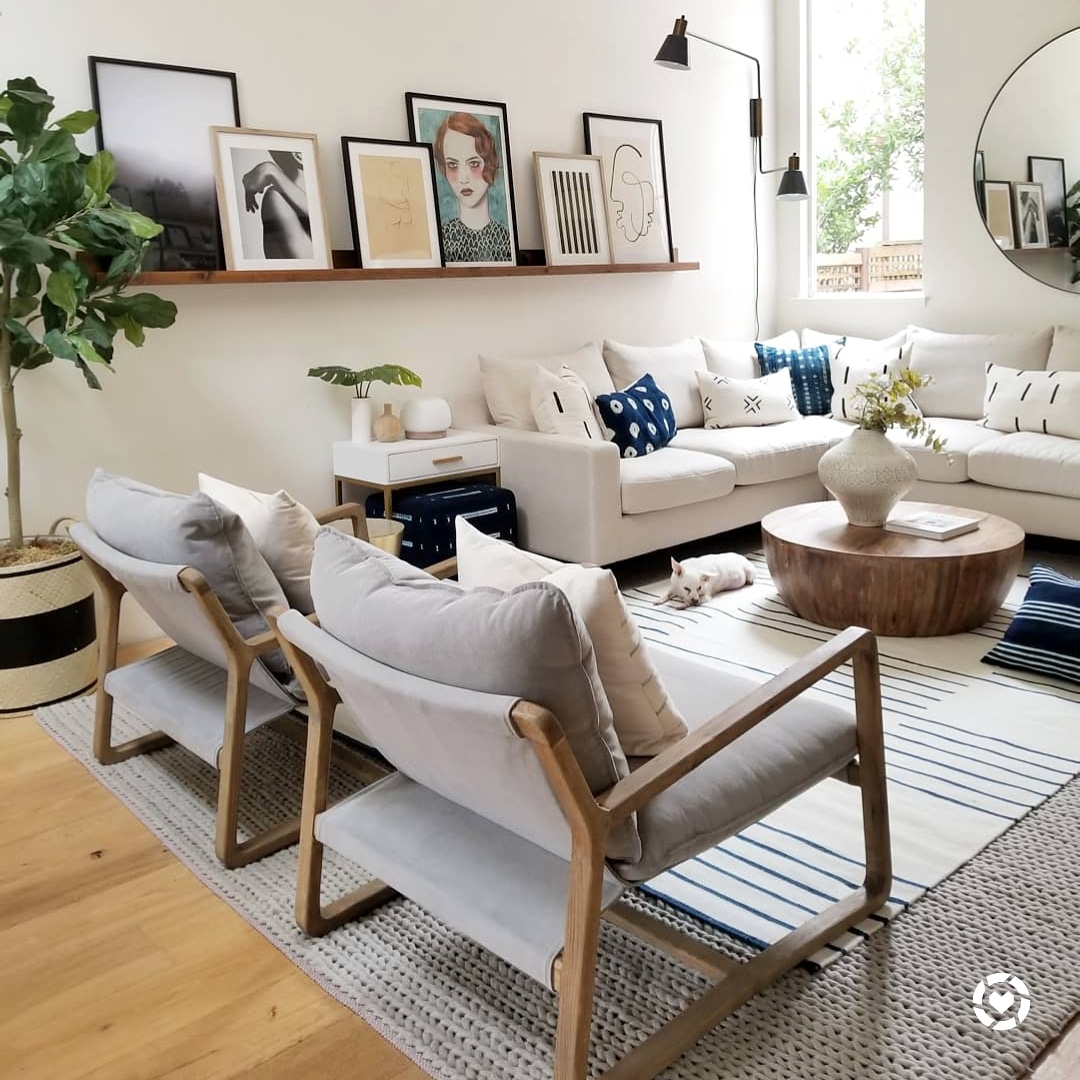
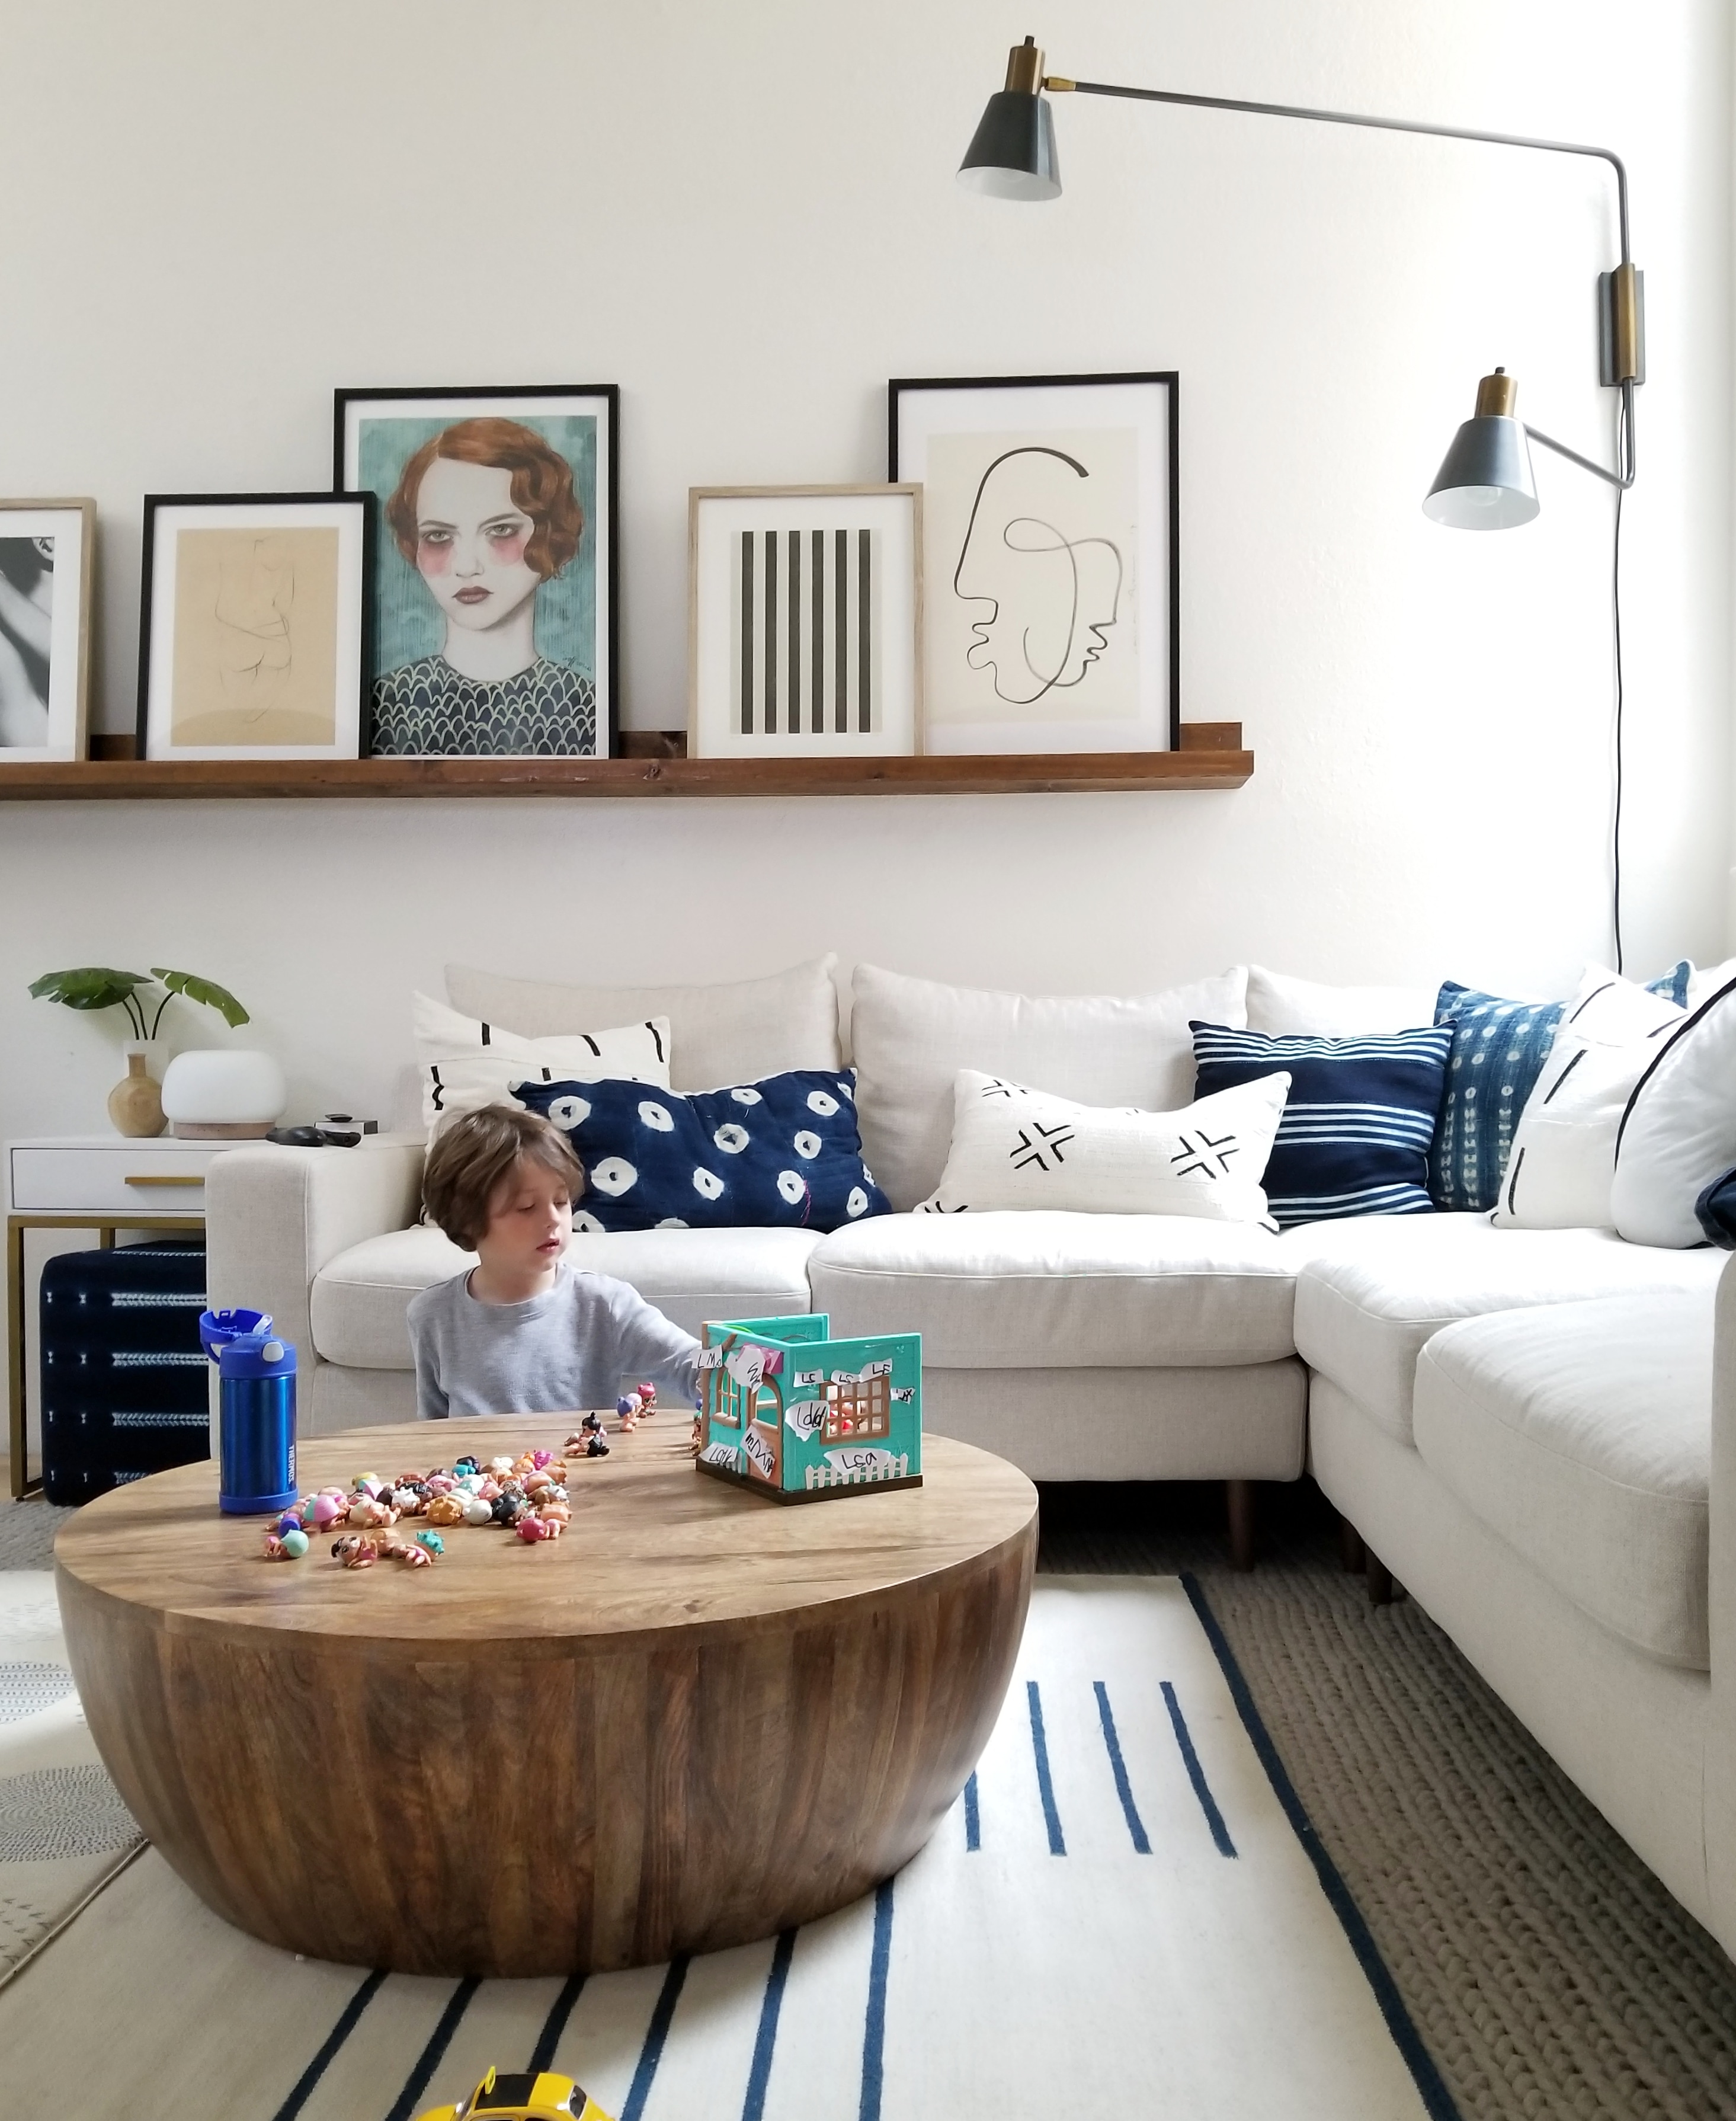
Some say the gallery wall is dead. I think some are wrong. However, if you are looking for a more “on trend” way to display a curated collection of family pictures and beautiful prints, that’s NOT a gallery wall, a picture ledge may be the perfect thing for you. They sell picture ledges at stores like Ikea and Target pre-made but none were long enough for our needs. I wanted a 10 foot ledge and a very specific color. Mostly I did not want to see the seams from multiple shelves being hung in a row. Solution: a DIY picture ledge for under $50 bucks.
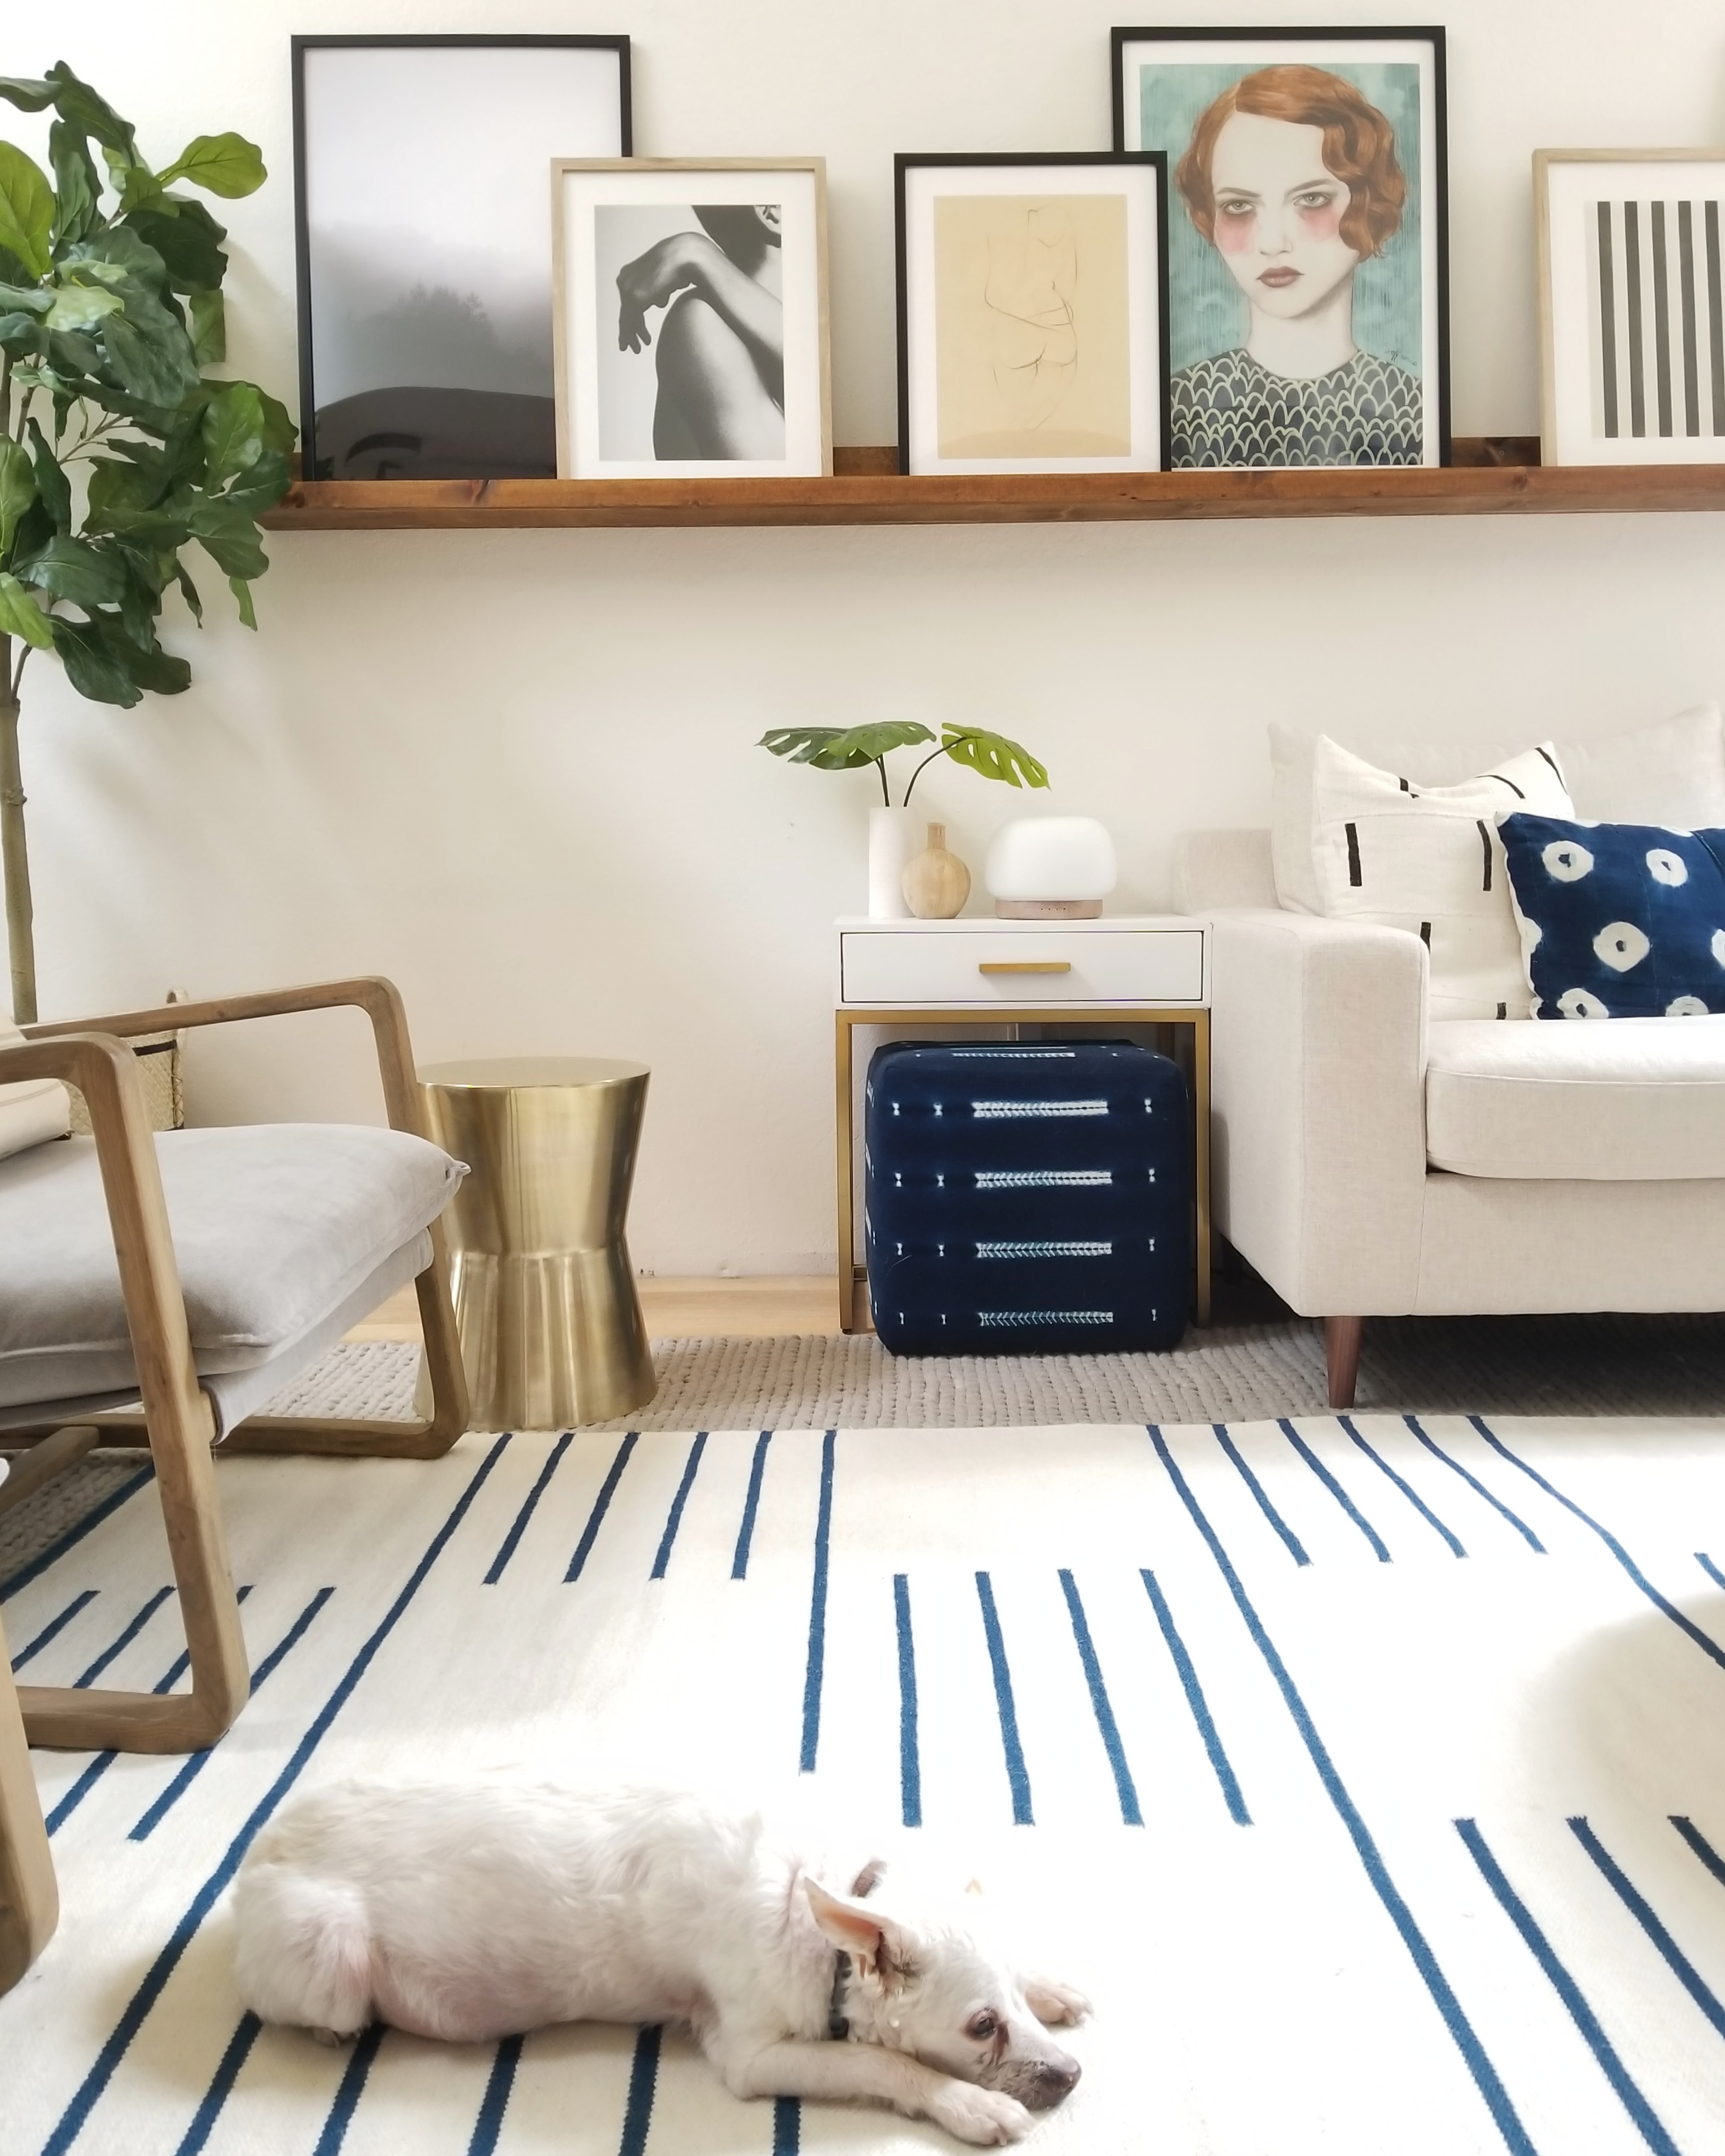
Enter handy husband! He built me a 10 foot long picture ledge and stained it to match the coffee table. Hot dang! It turned out so amazing you guys, next level! So obviously I need to share the how-to on here for you to recreate it. Here are 10 easy steps to recreate our 10 foot picture ledge for under $50 bucks.
MATERIALS
1 inch x 12 inch x 10 foot pine (common board)
Elmer’s Wood Glue
Finishing Nails
1 1/2 inch screws
3 inch screws
Sand Paper, 220 grit
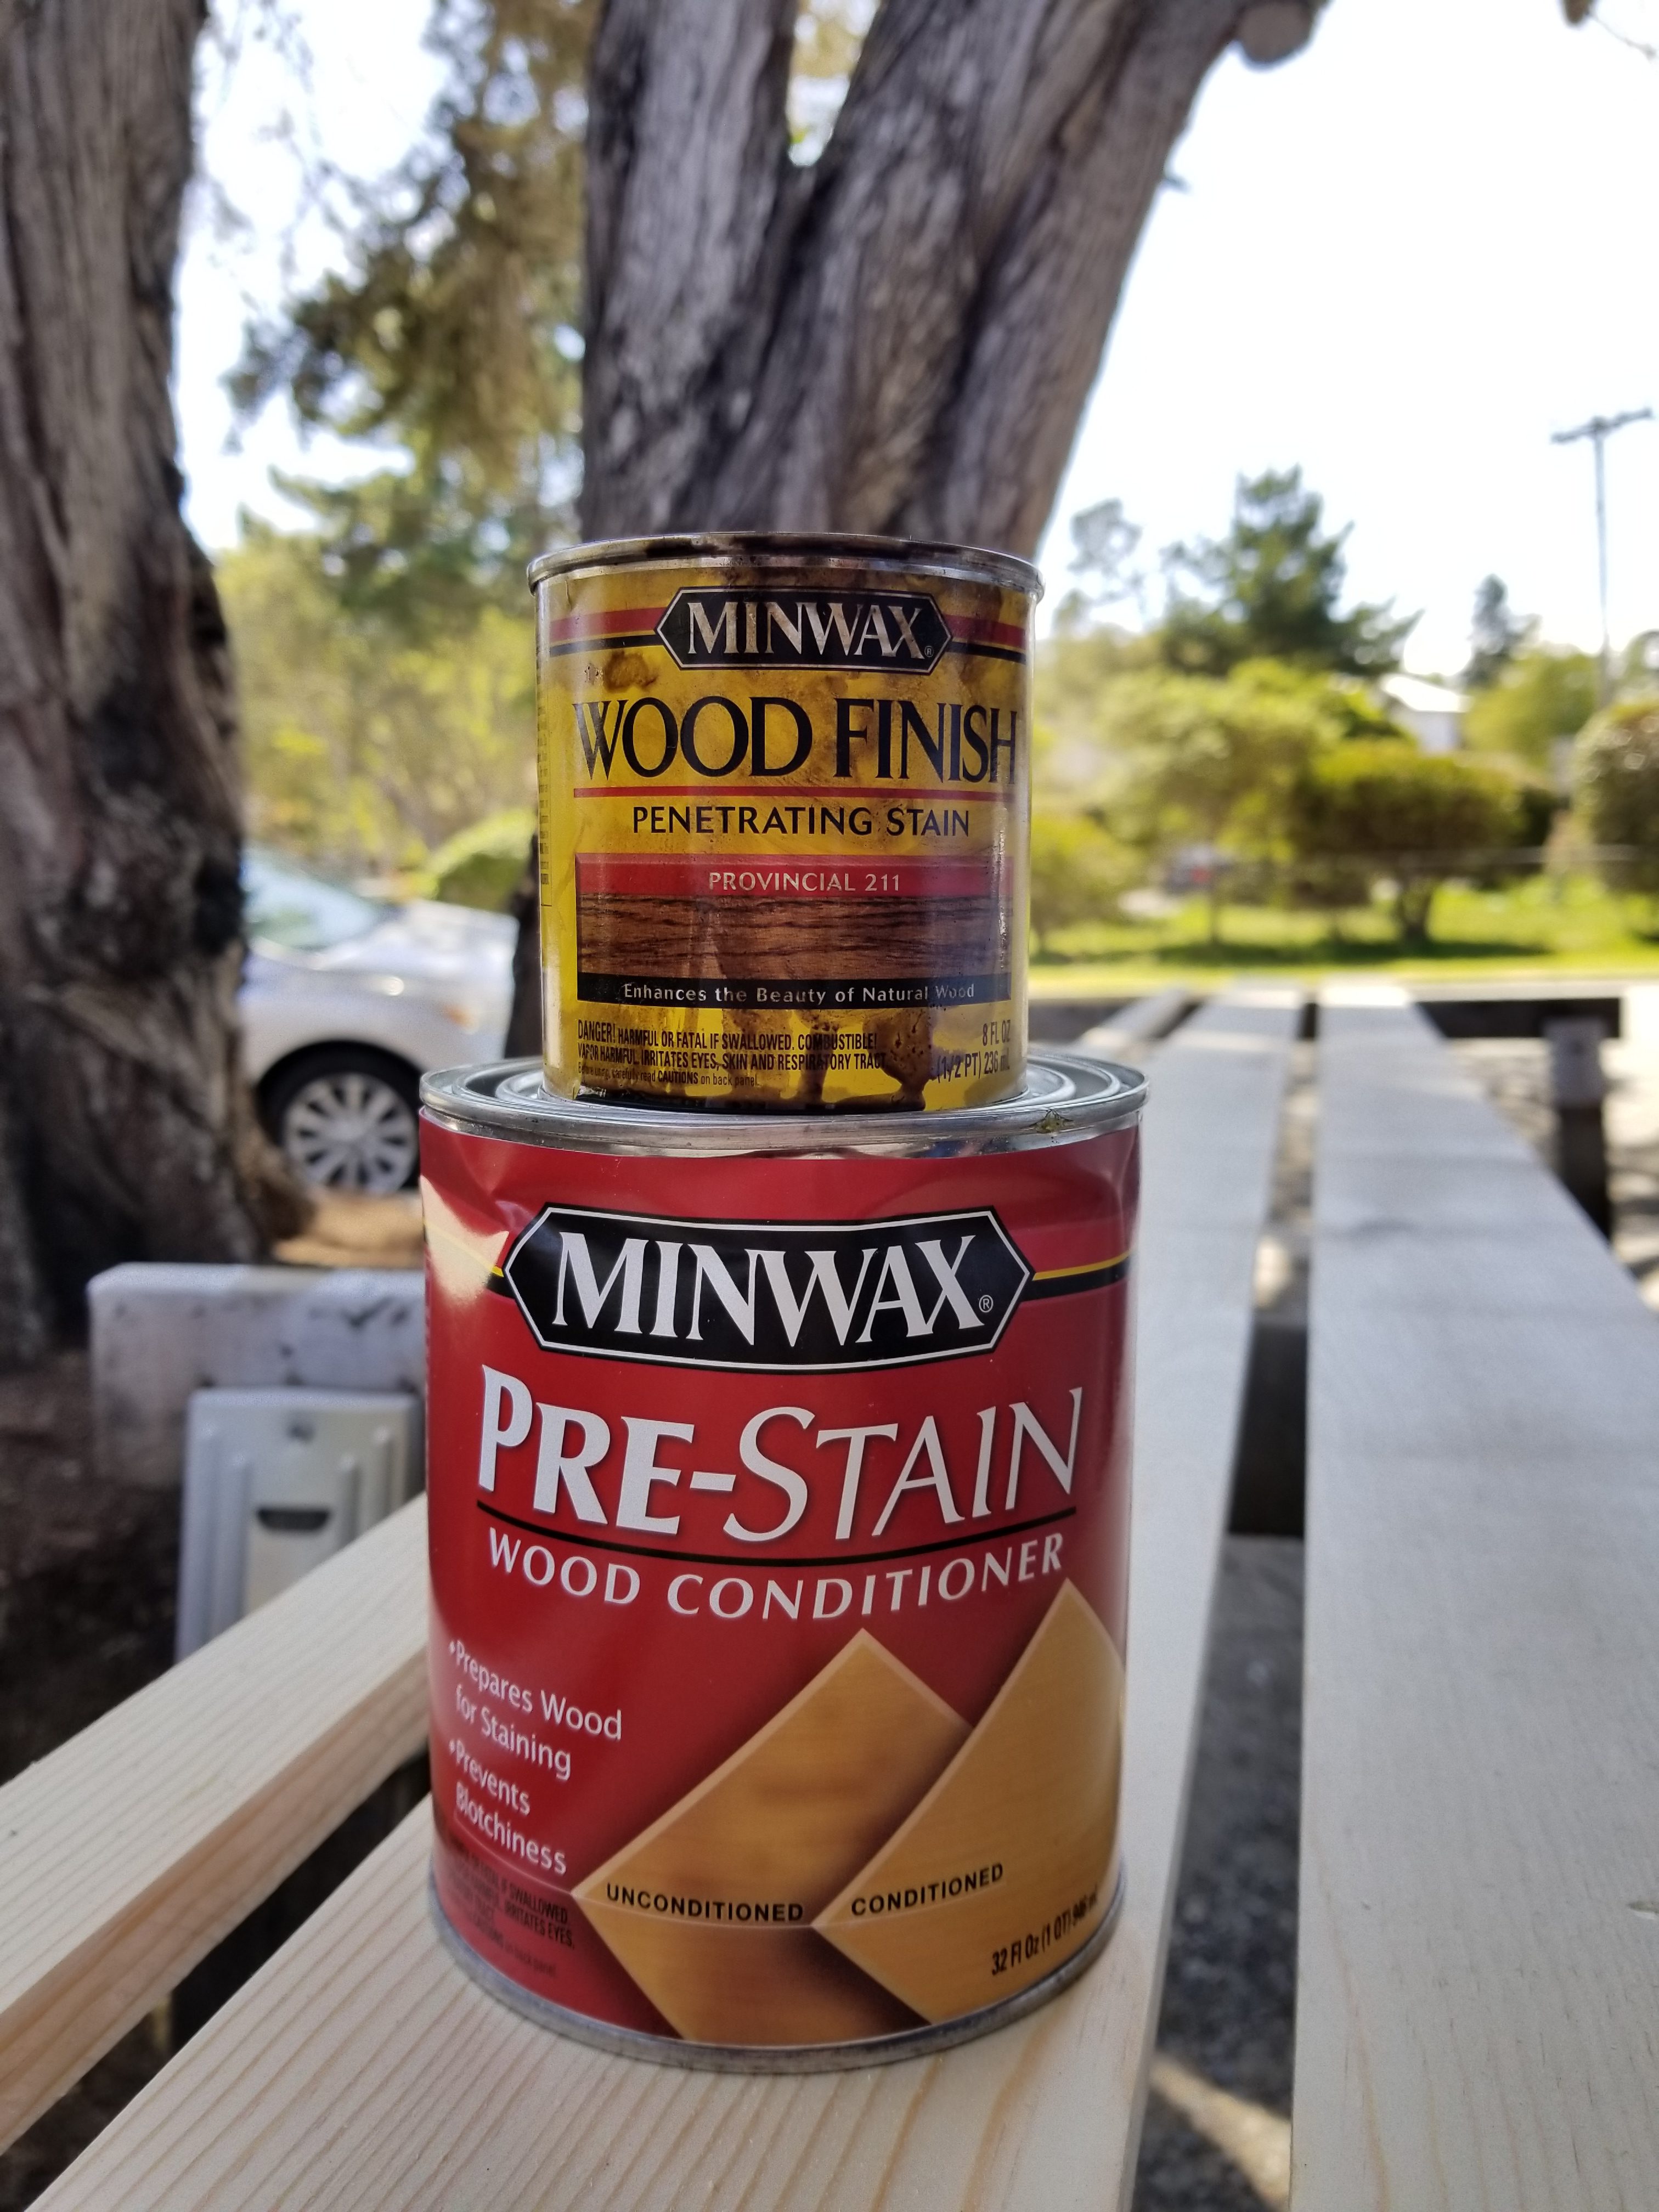
Minwax Pre-stain or Wood Conditioner (same thing)
Minwax Provincial Stain (the color we used)
TOOLS
Table Saw
(you can have Home Depot pre-cut the wood if you don’t have a saw or don’t feel skilled enough to cut yourself)
Nail Gun or hammer and nails
Drill
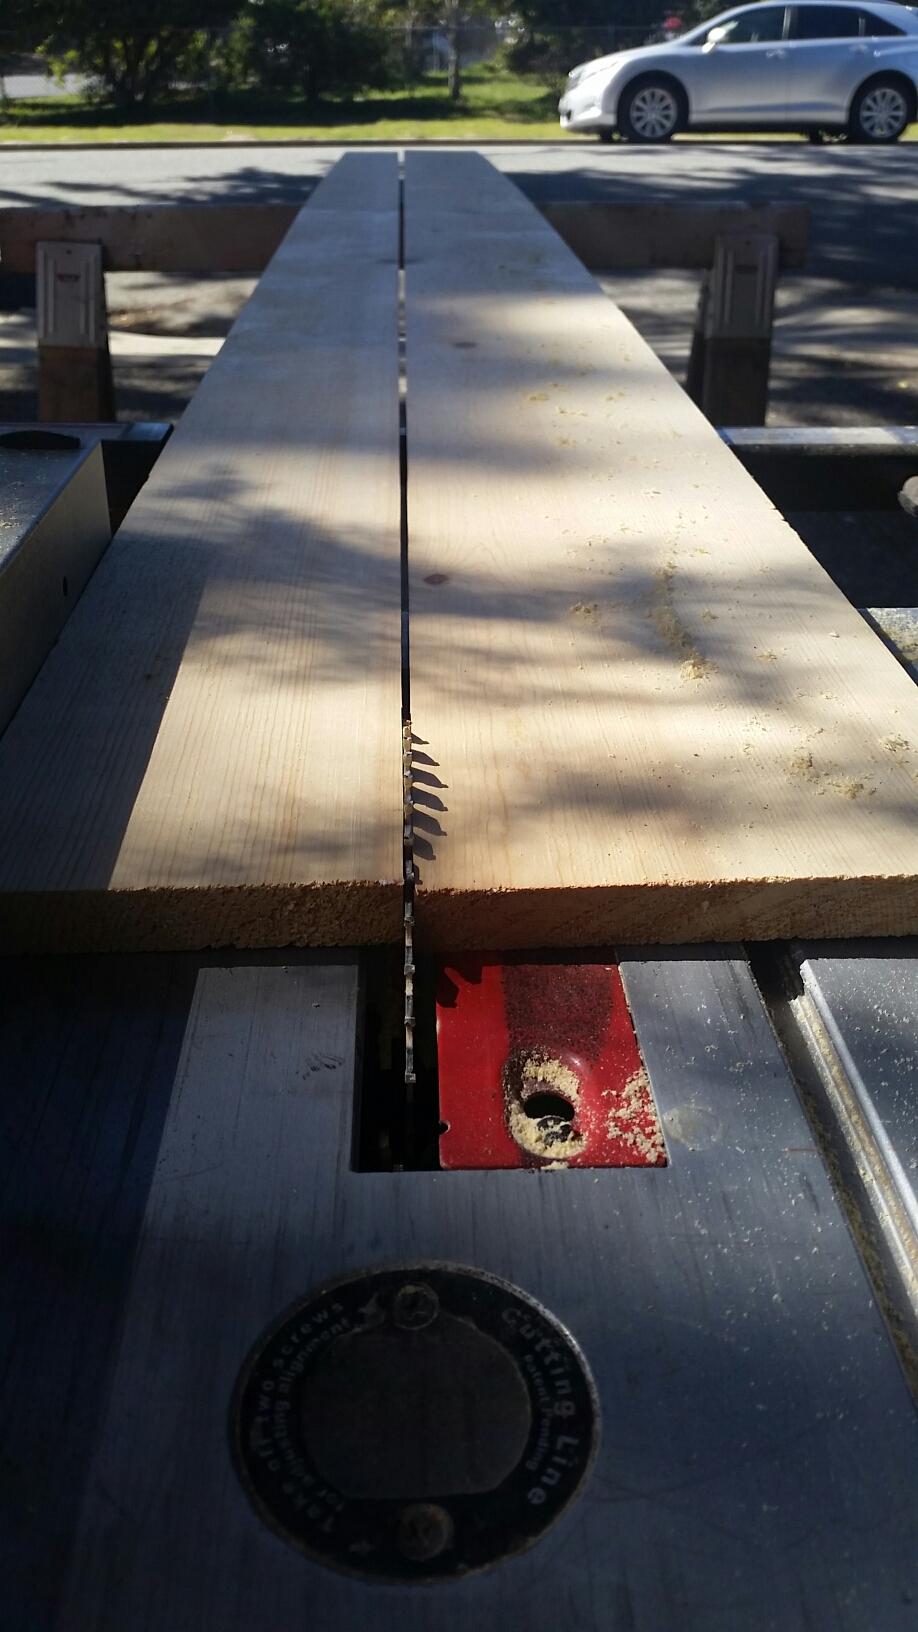
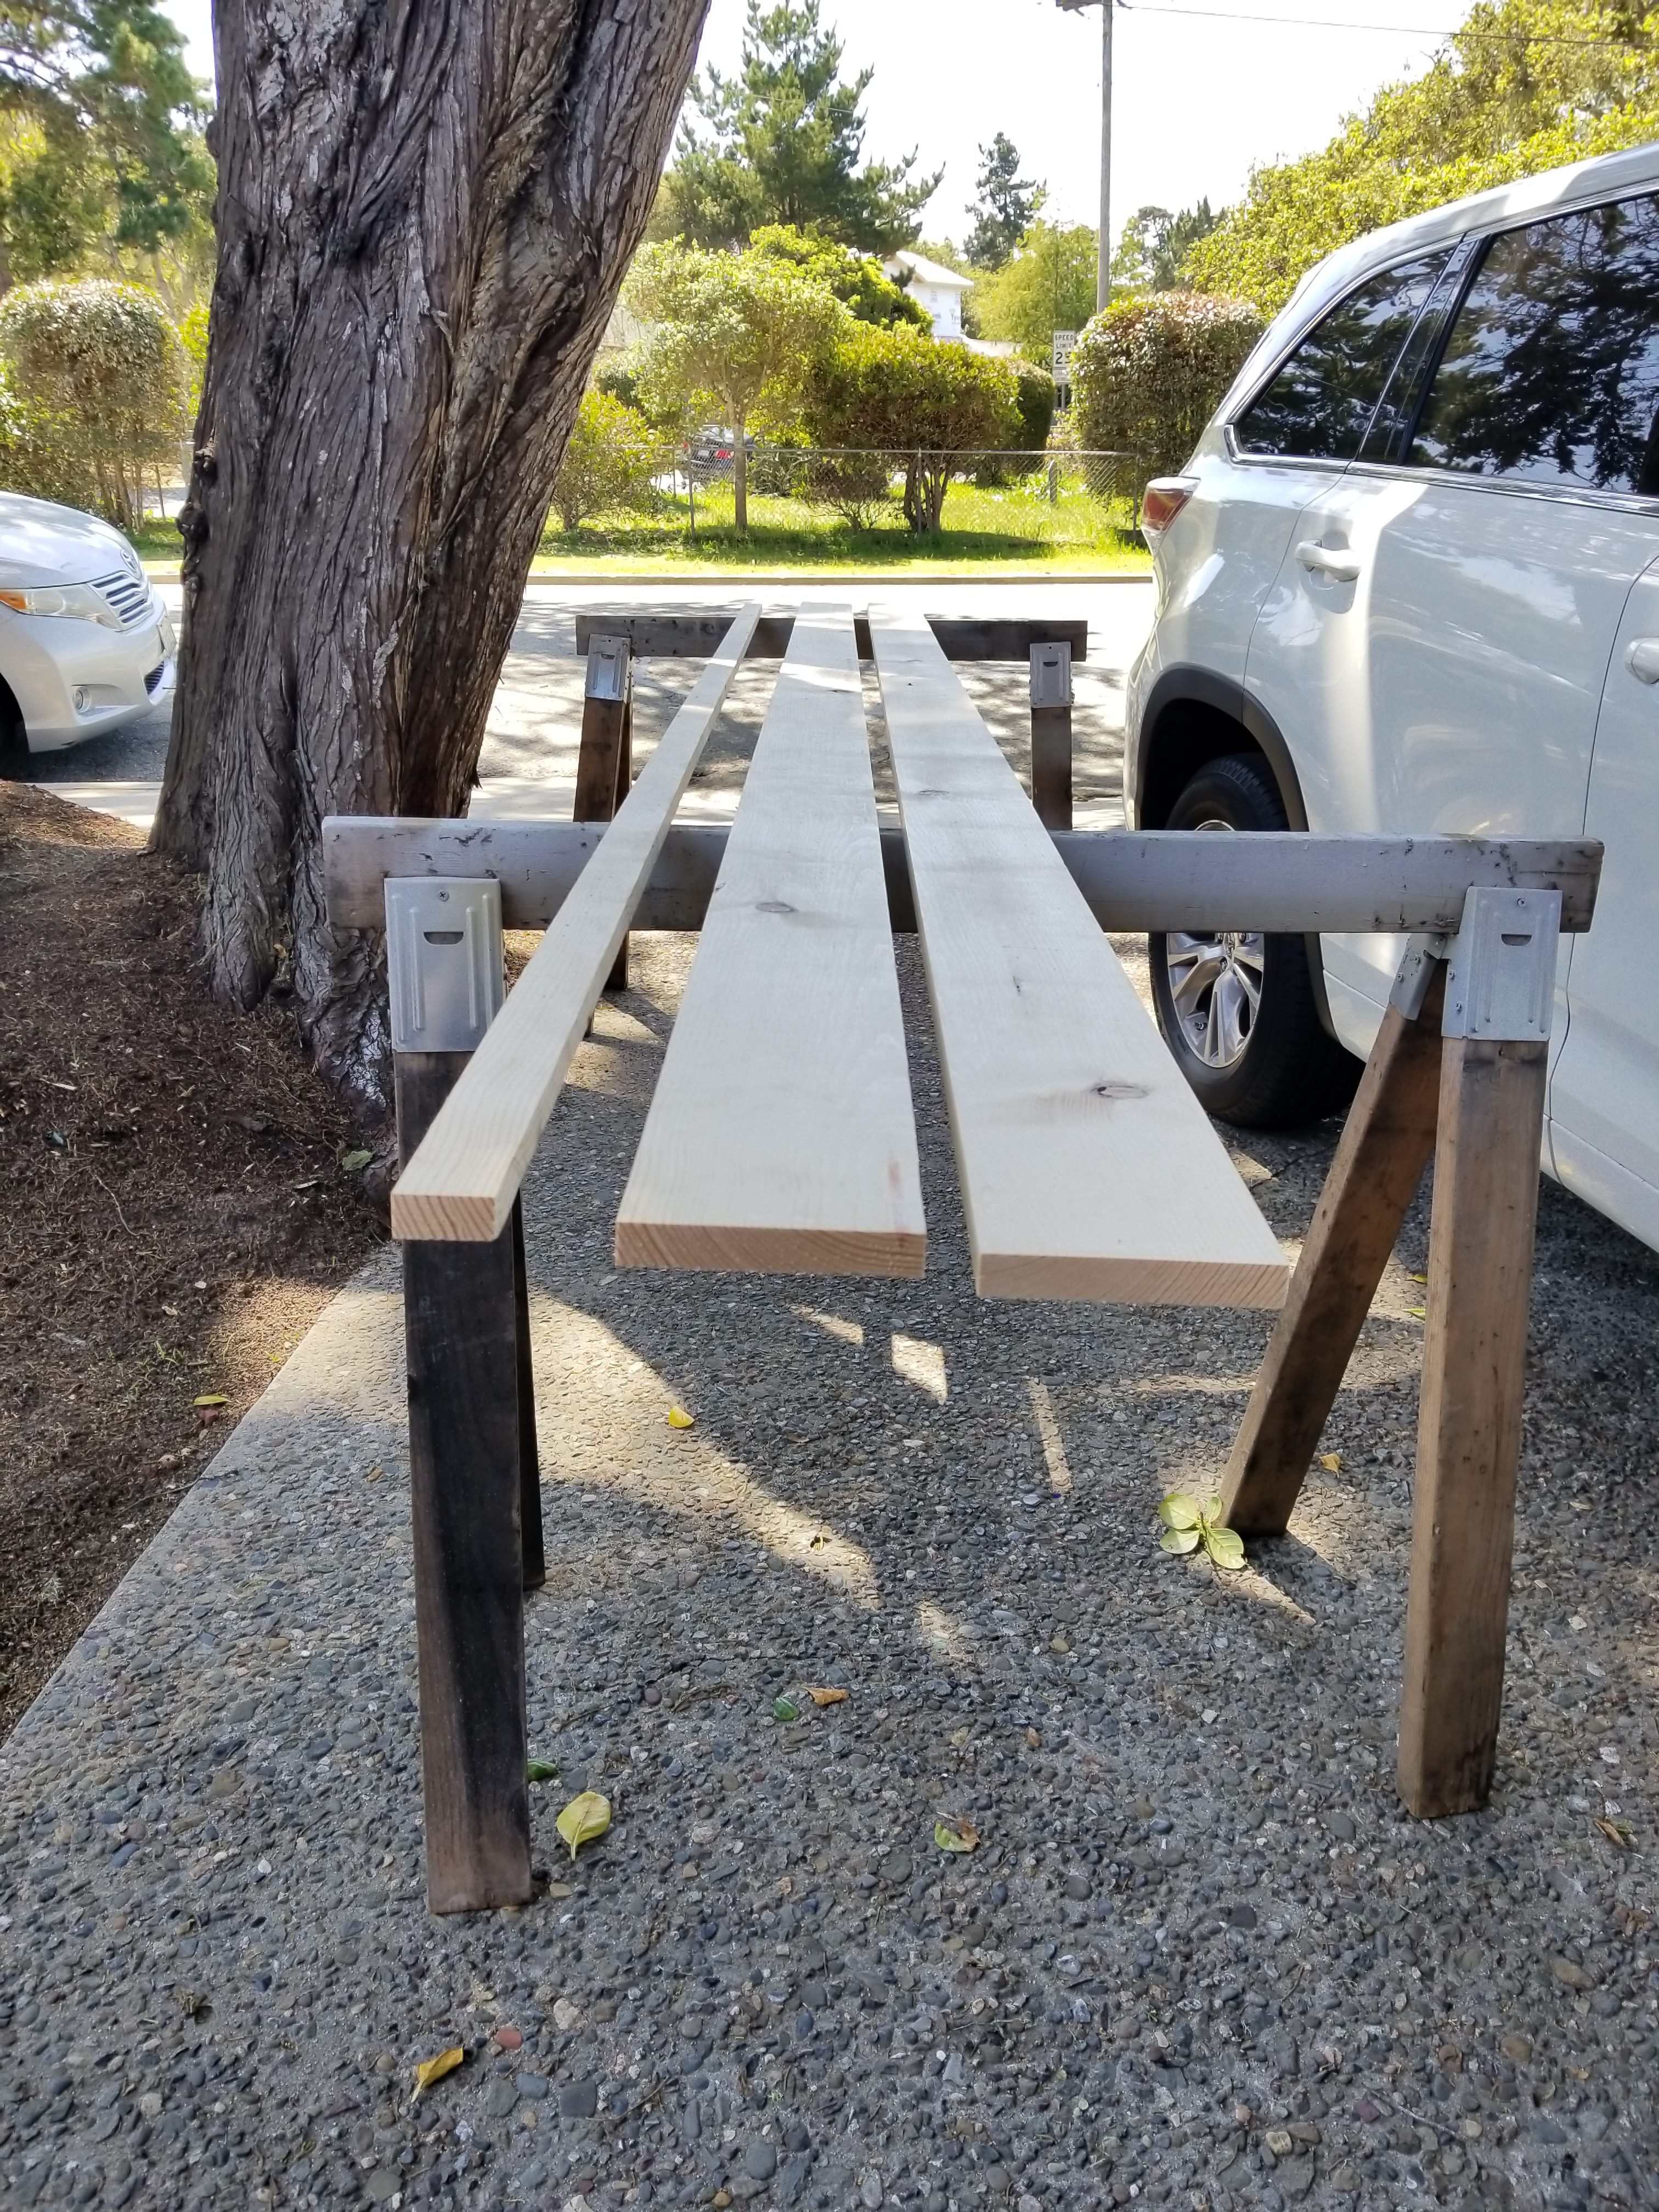
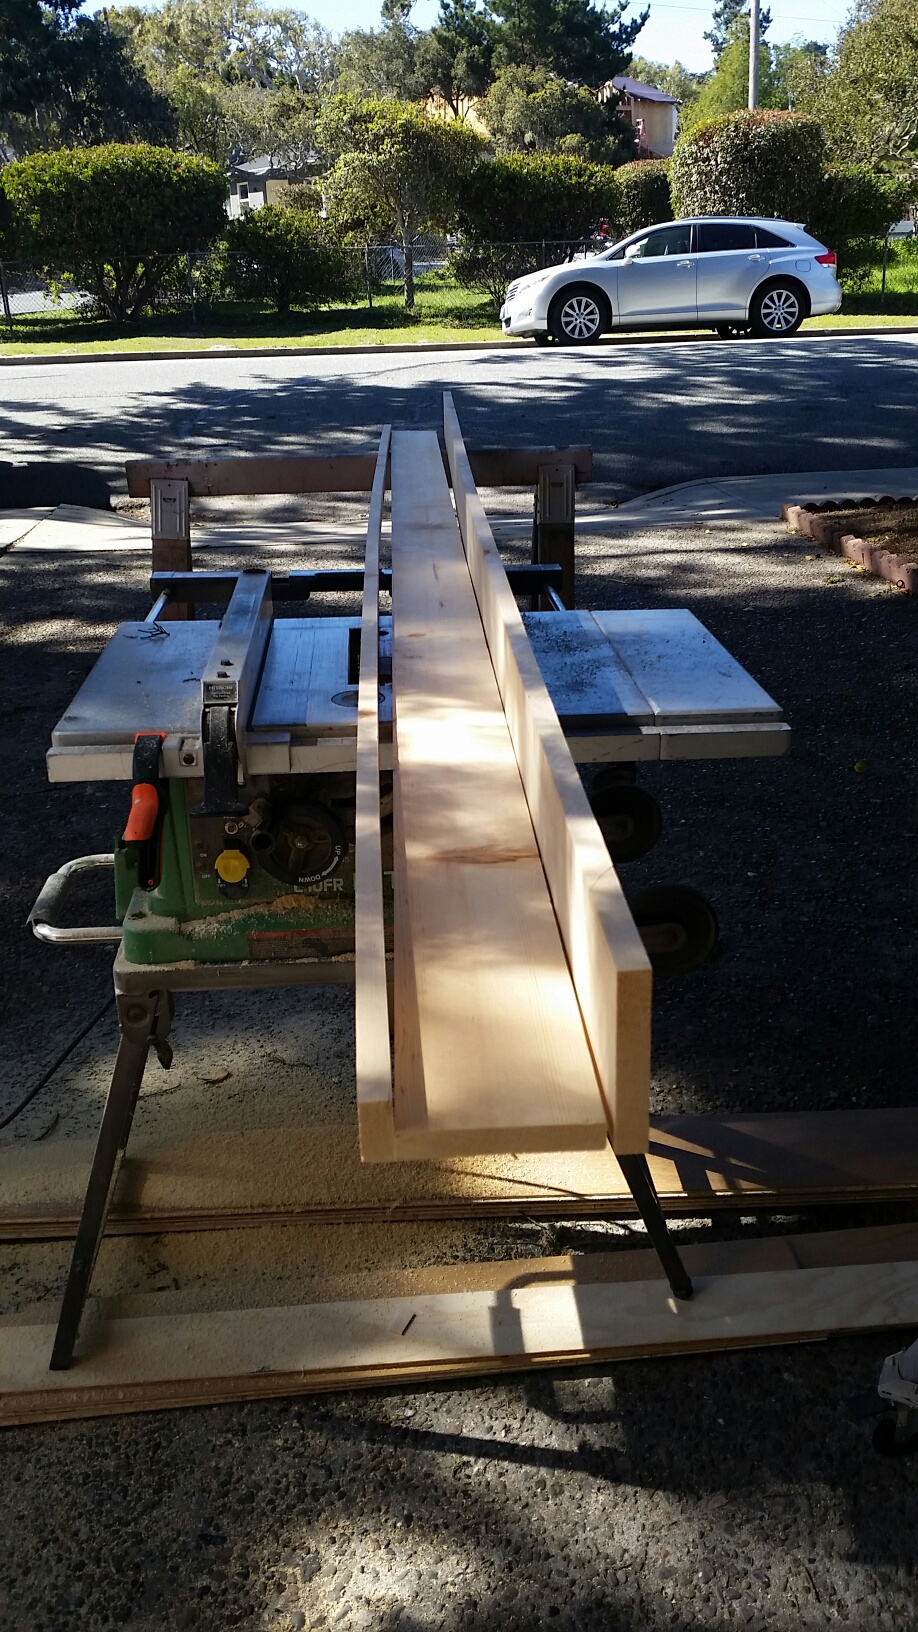
Step One:
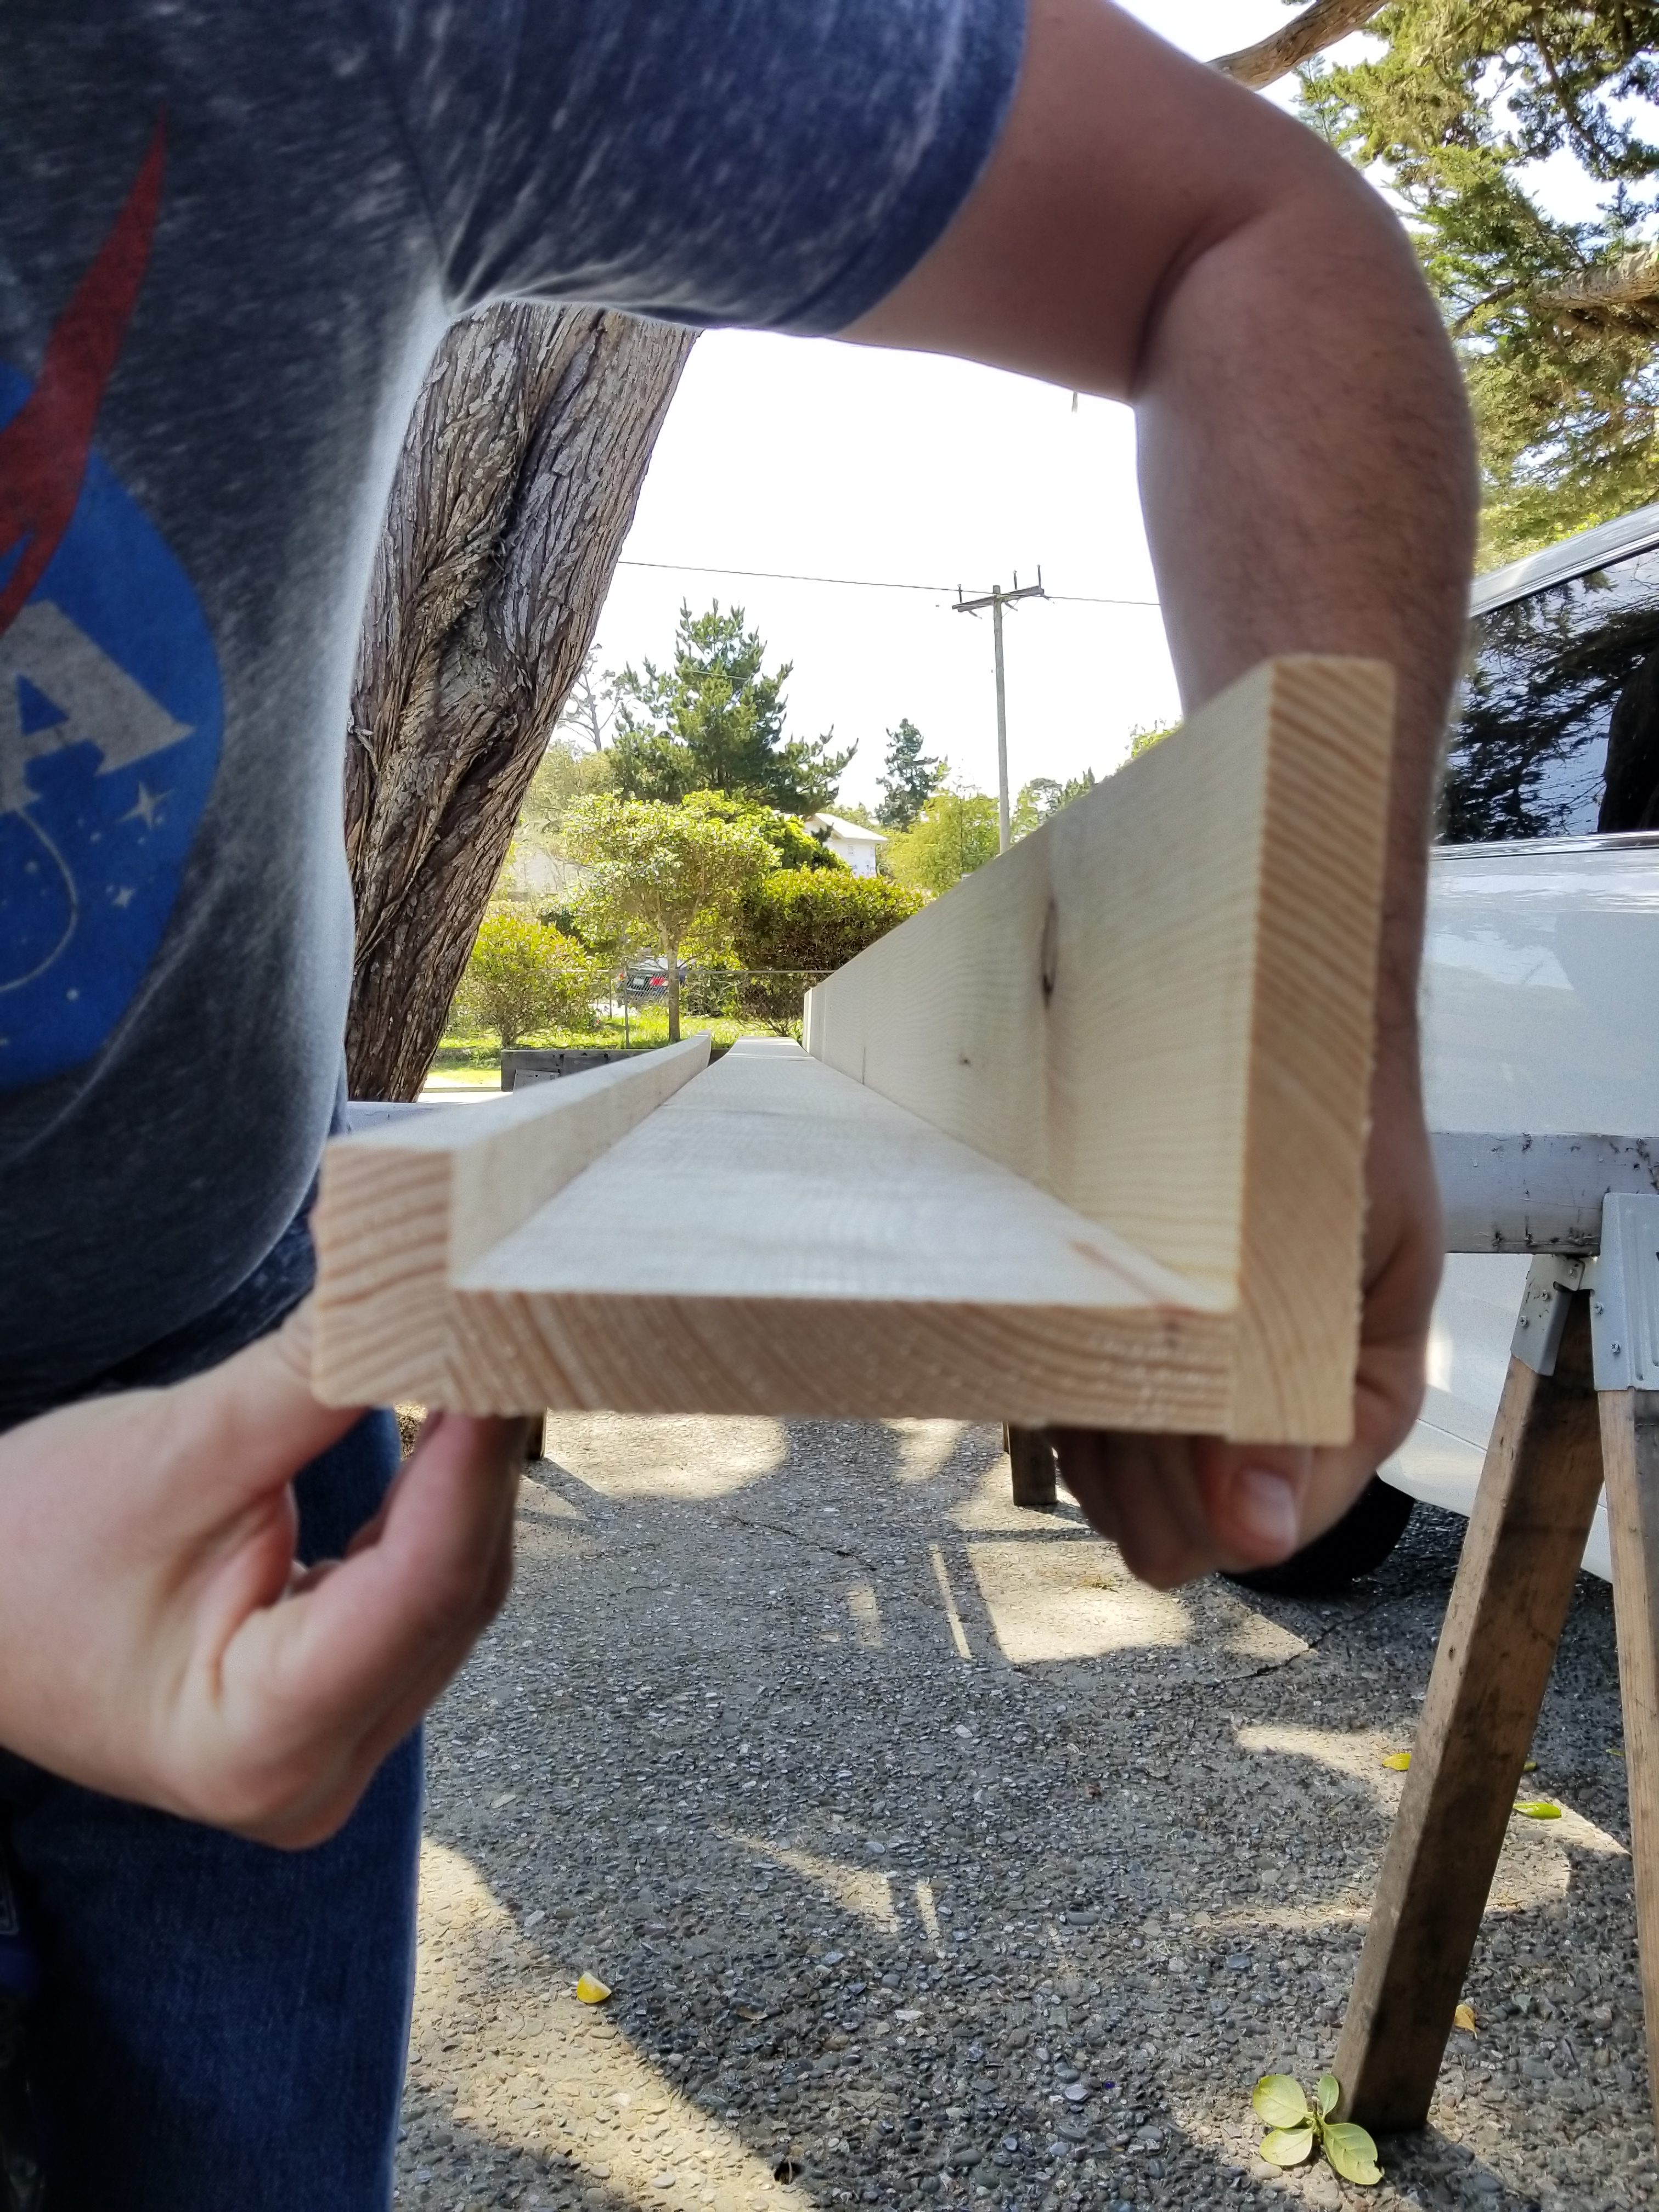
Cut wood into 3 pieces. Two- 4 3/4 inch wide boards, and the excess wood is the third piece/ front lip which should be aprx 2 inches wide *the lumber isn’t a true 12 inches wide to begin with*.
We kept the board lengths at 10 feet, you can cut down to length needed for your space
Step Two:
Sand any rough spots/edges. *very minimal sanding
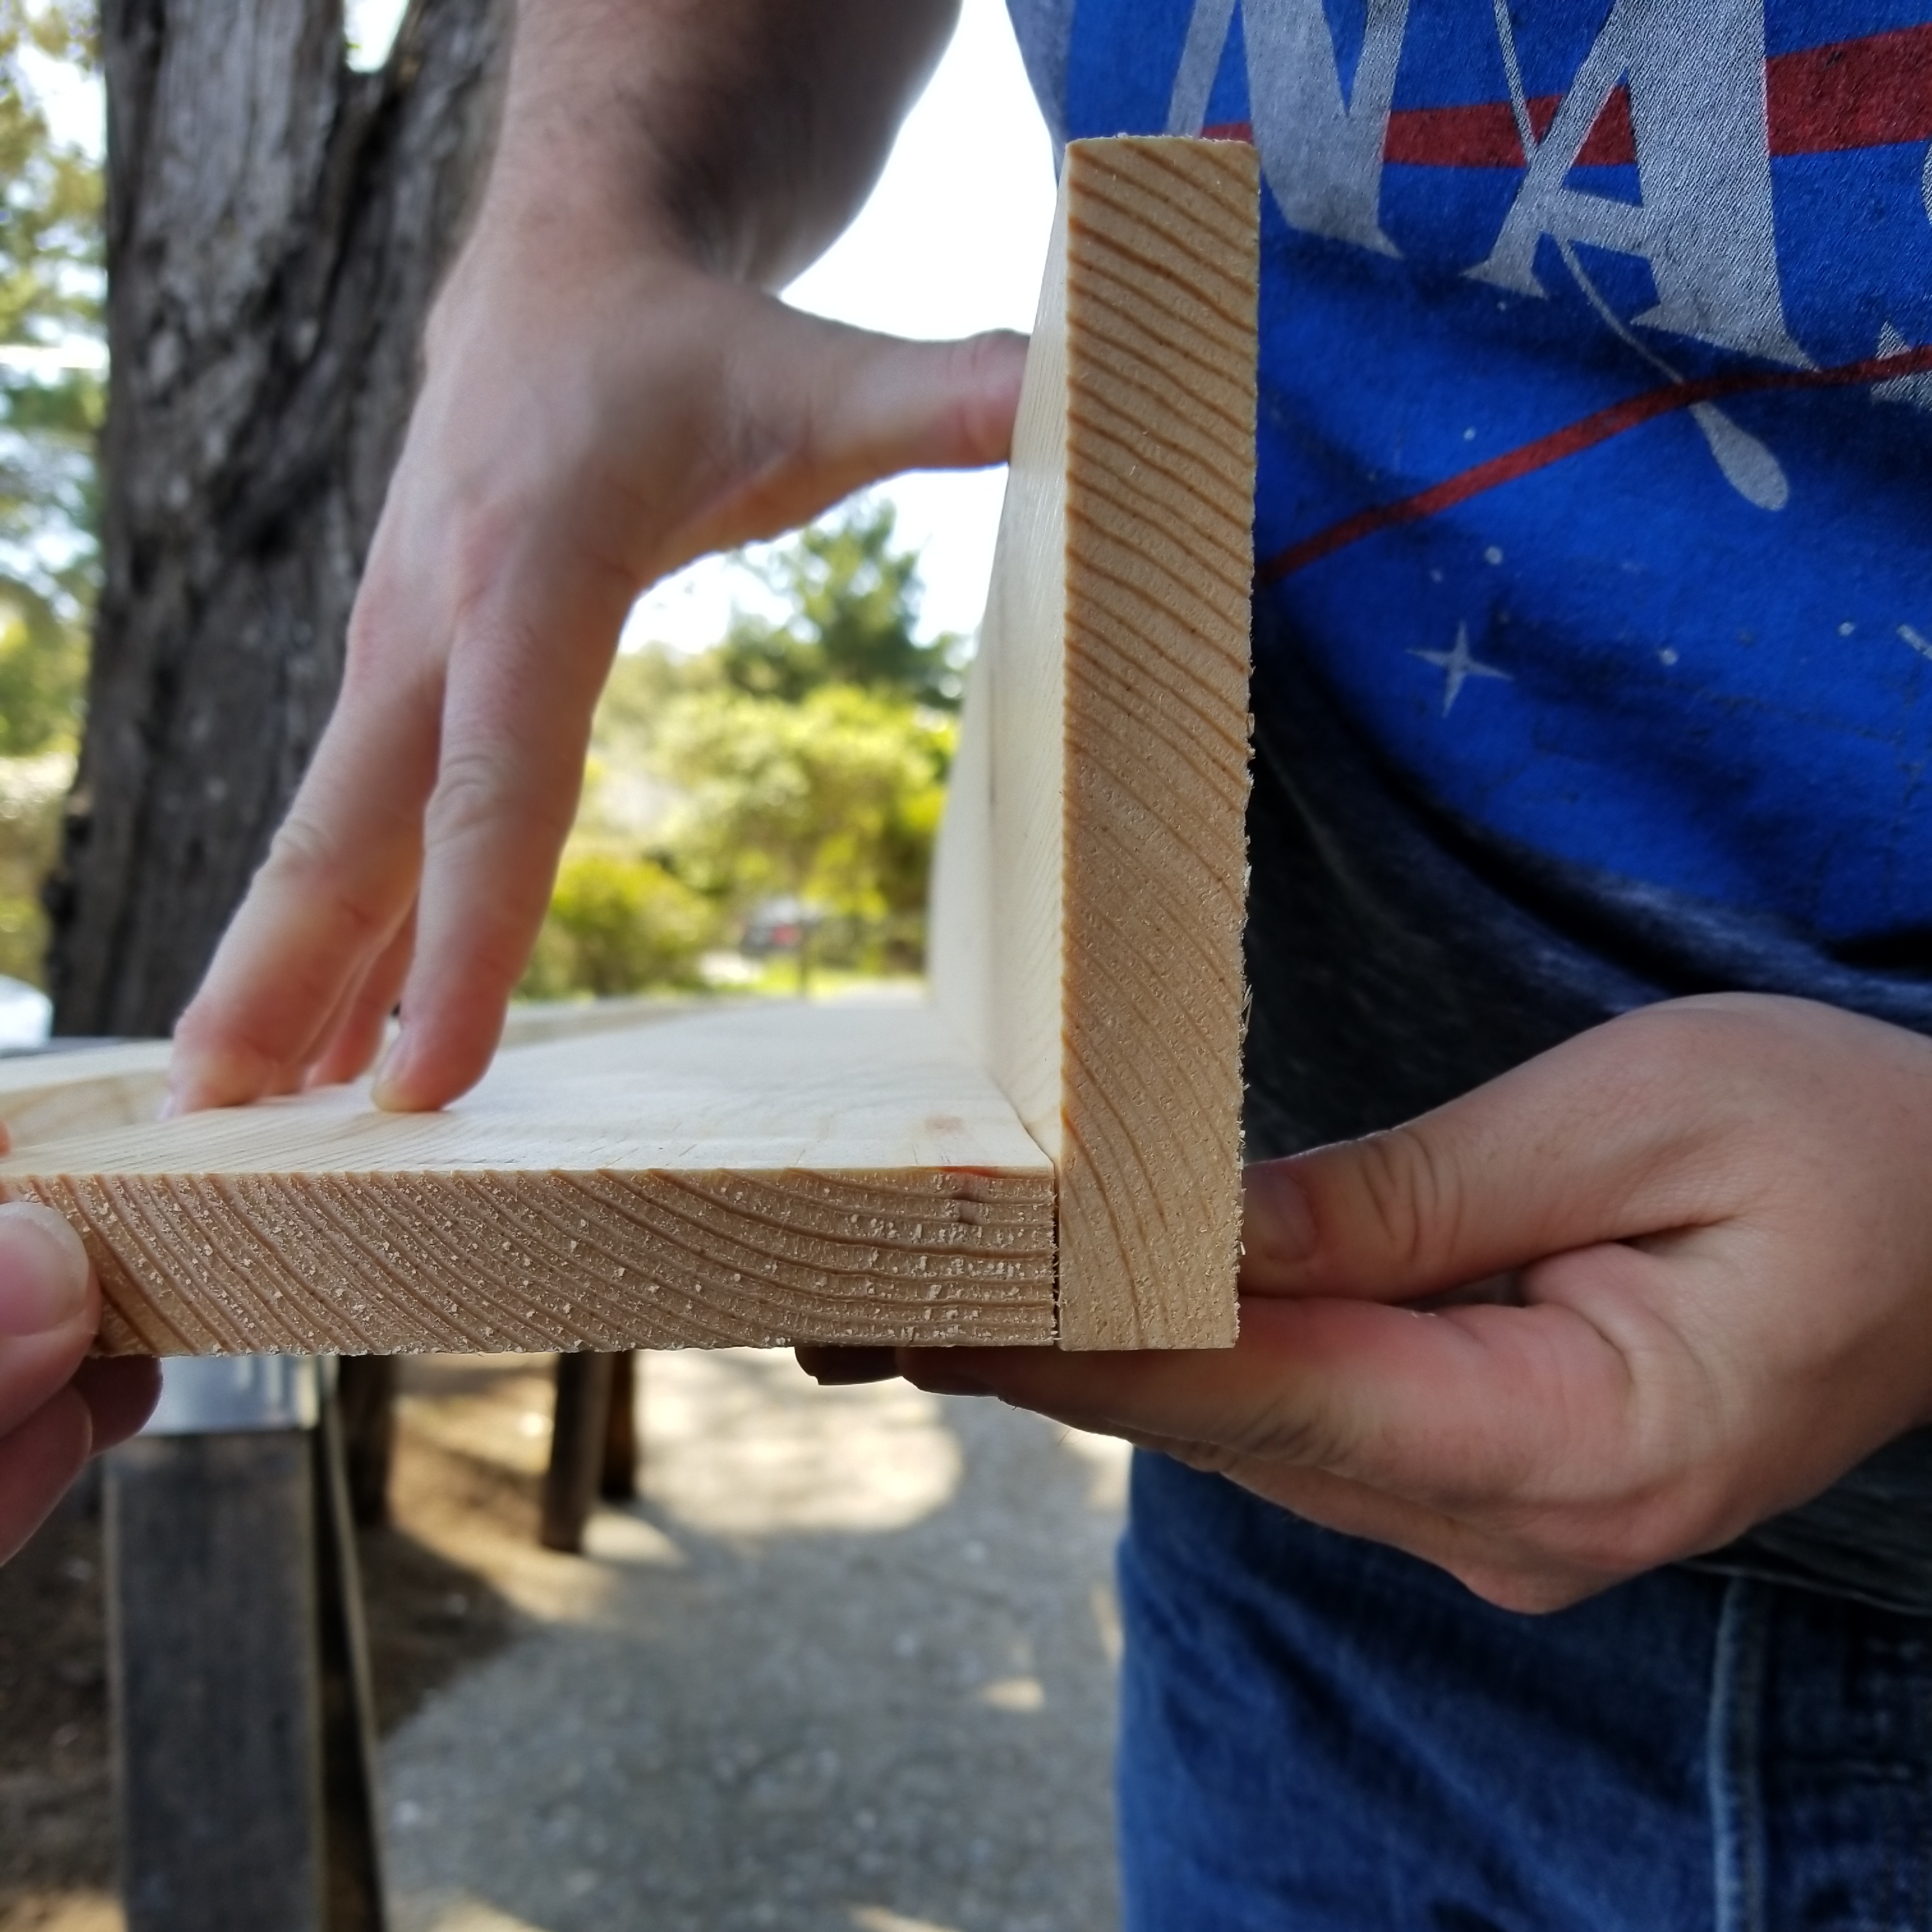
Step 3:
Glue the back ledge, one of the- 4 3/4″ boards, to the bottom ledge, the other- 4 3/4″ board, to create an L shape.
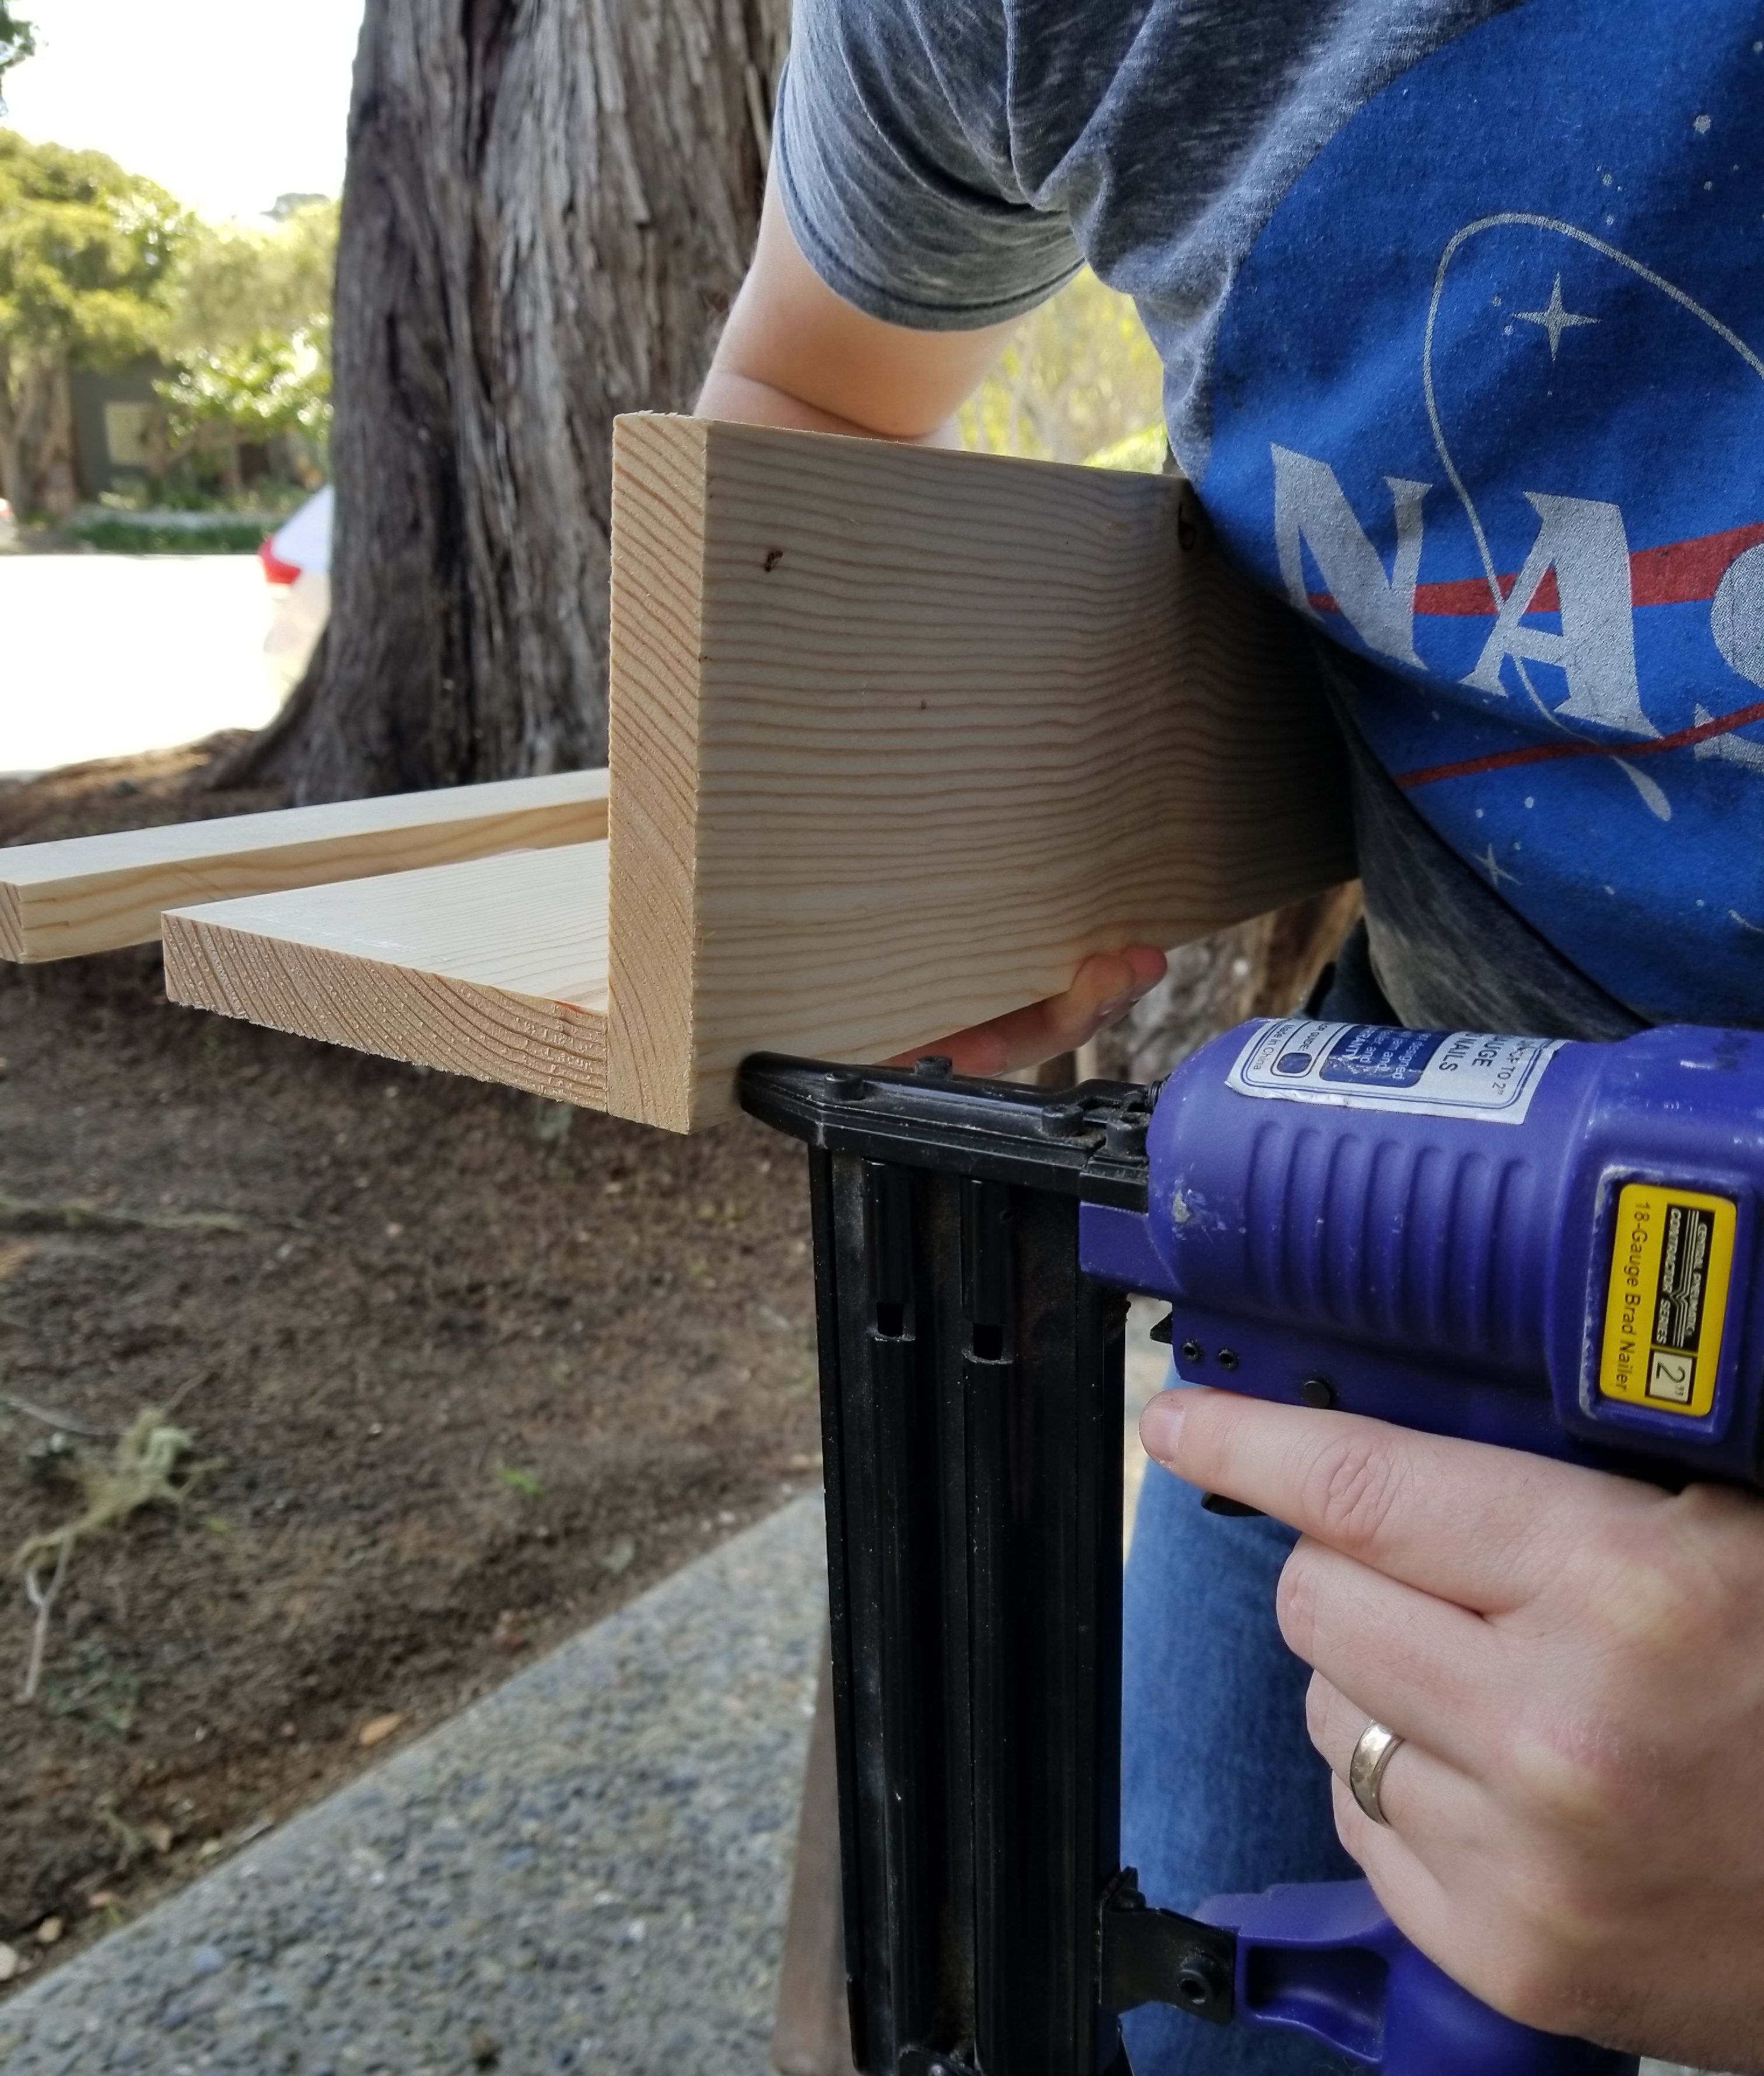
Step 4:
Use nail gun and finishing nails to secure the L in place by running nails along the length of what will be the back of your shelf.
Step 5:
Screw shelf together using the- 1 & 1/2″ and 3″ screws. Alternate screw sizes along the back of shelf about every 12 inches (3″ screw, 1 &1/2″ screw, 3″ screw, 1&1/2″ screw… and so on)

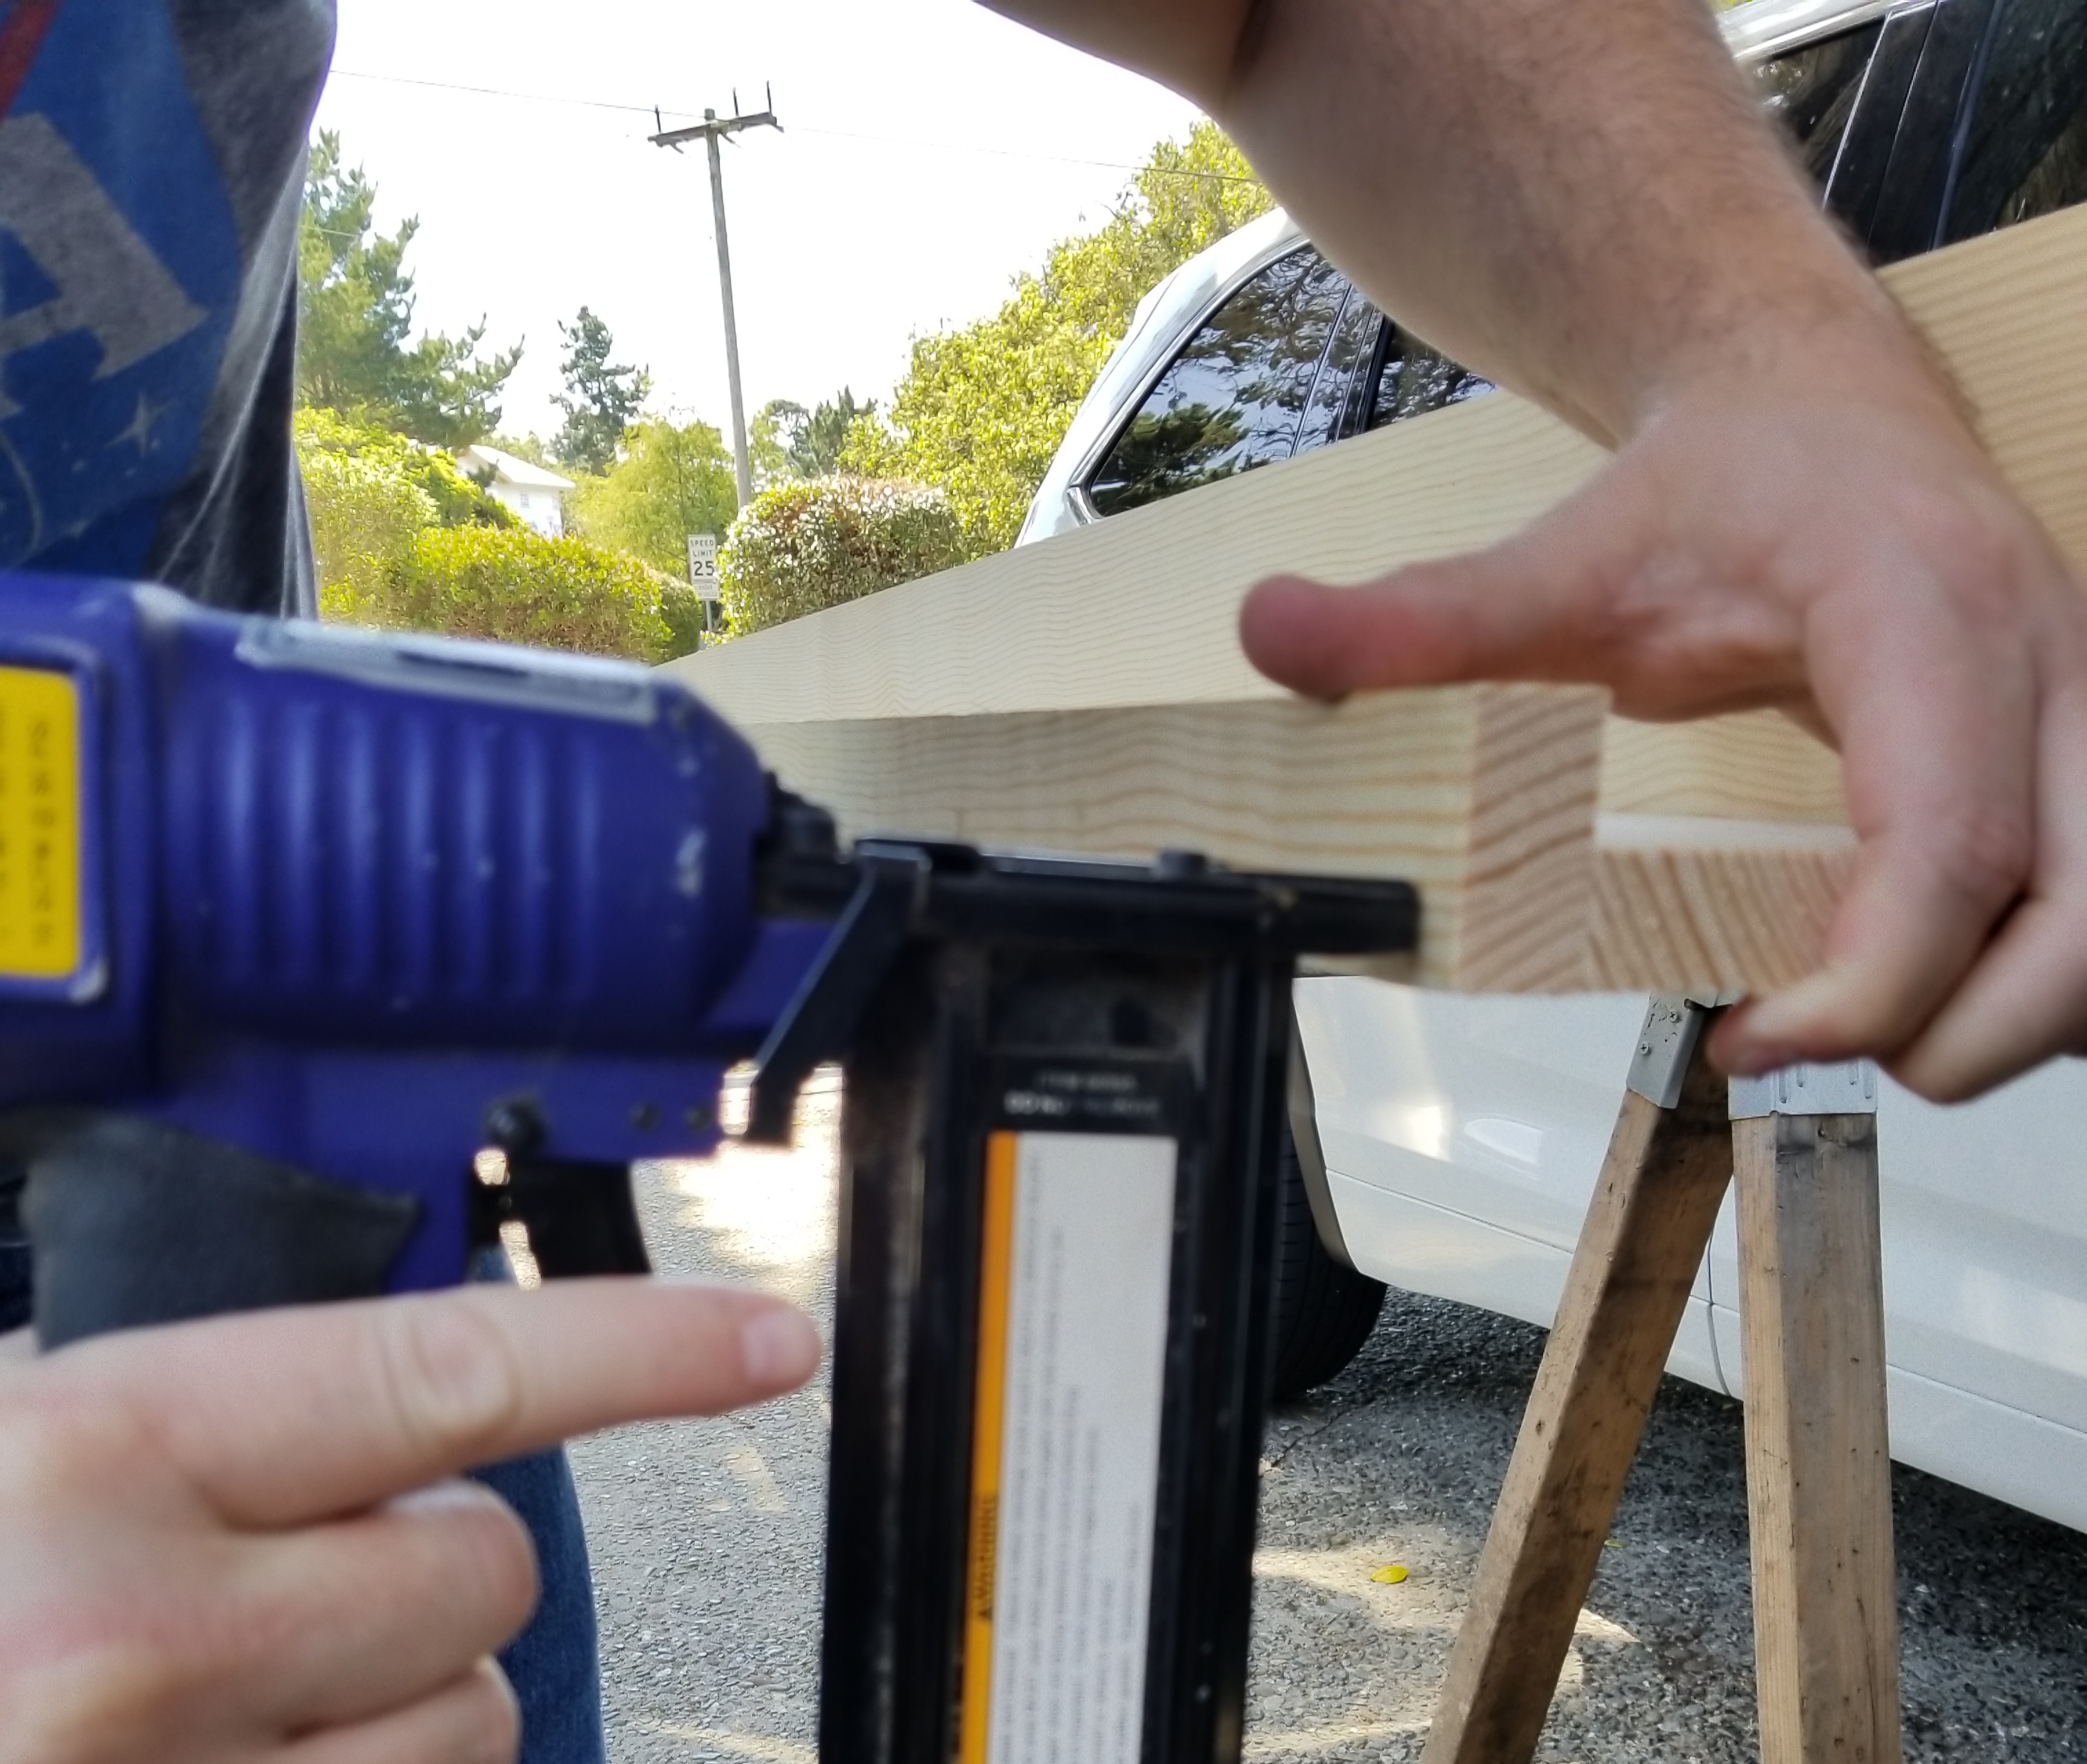
Step 6:
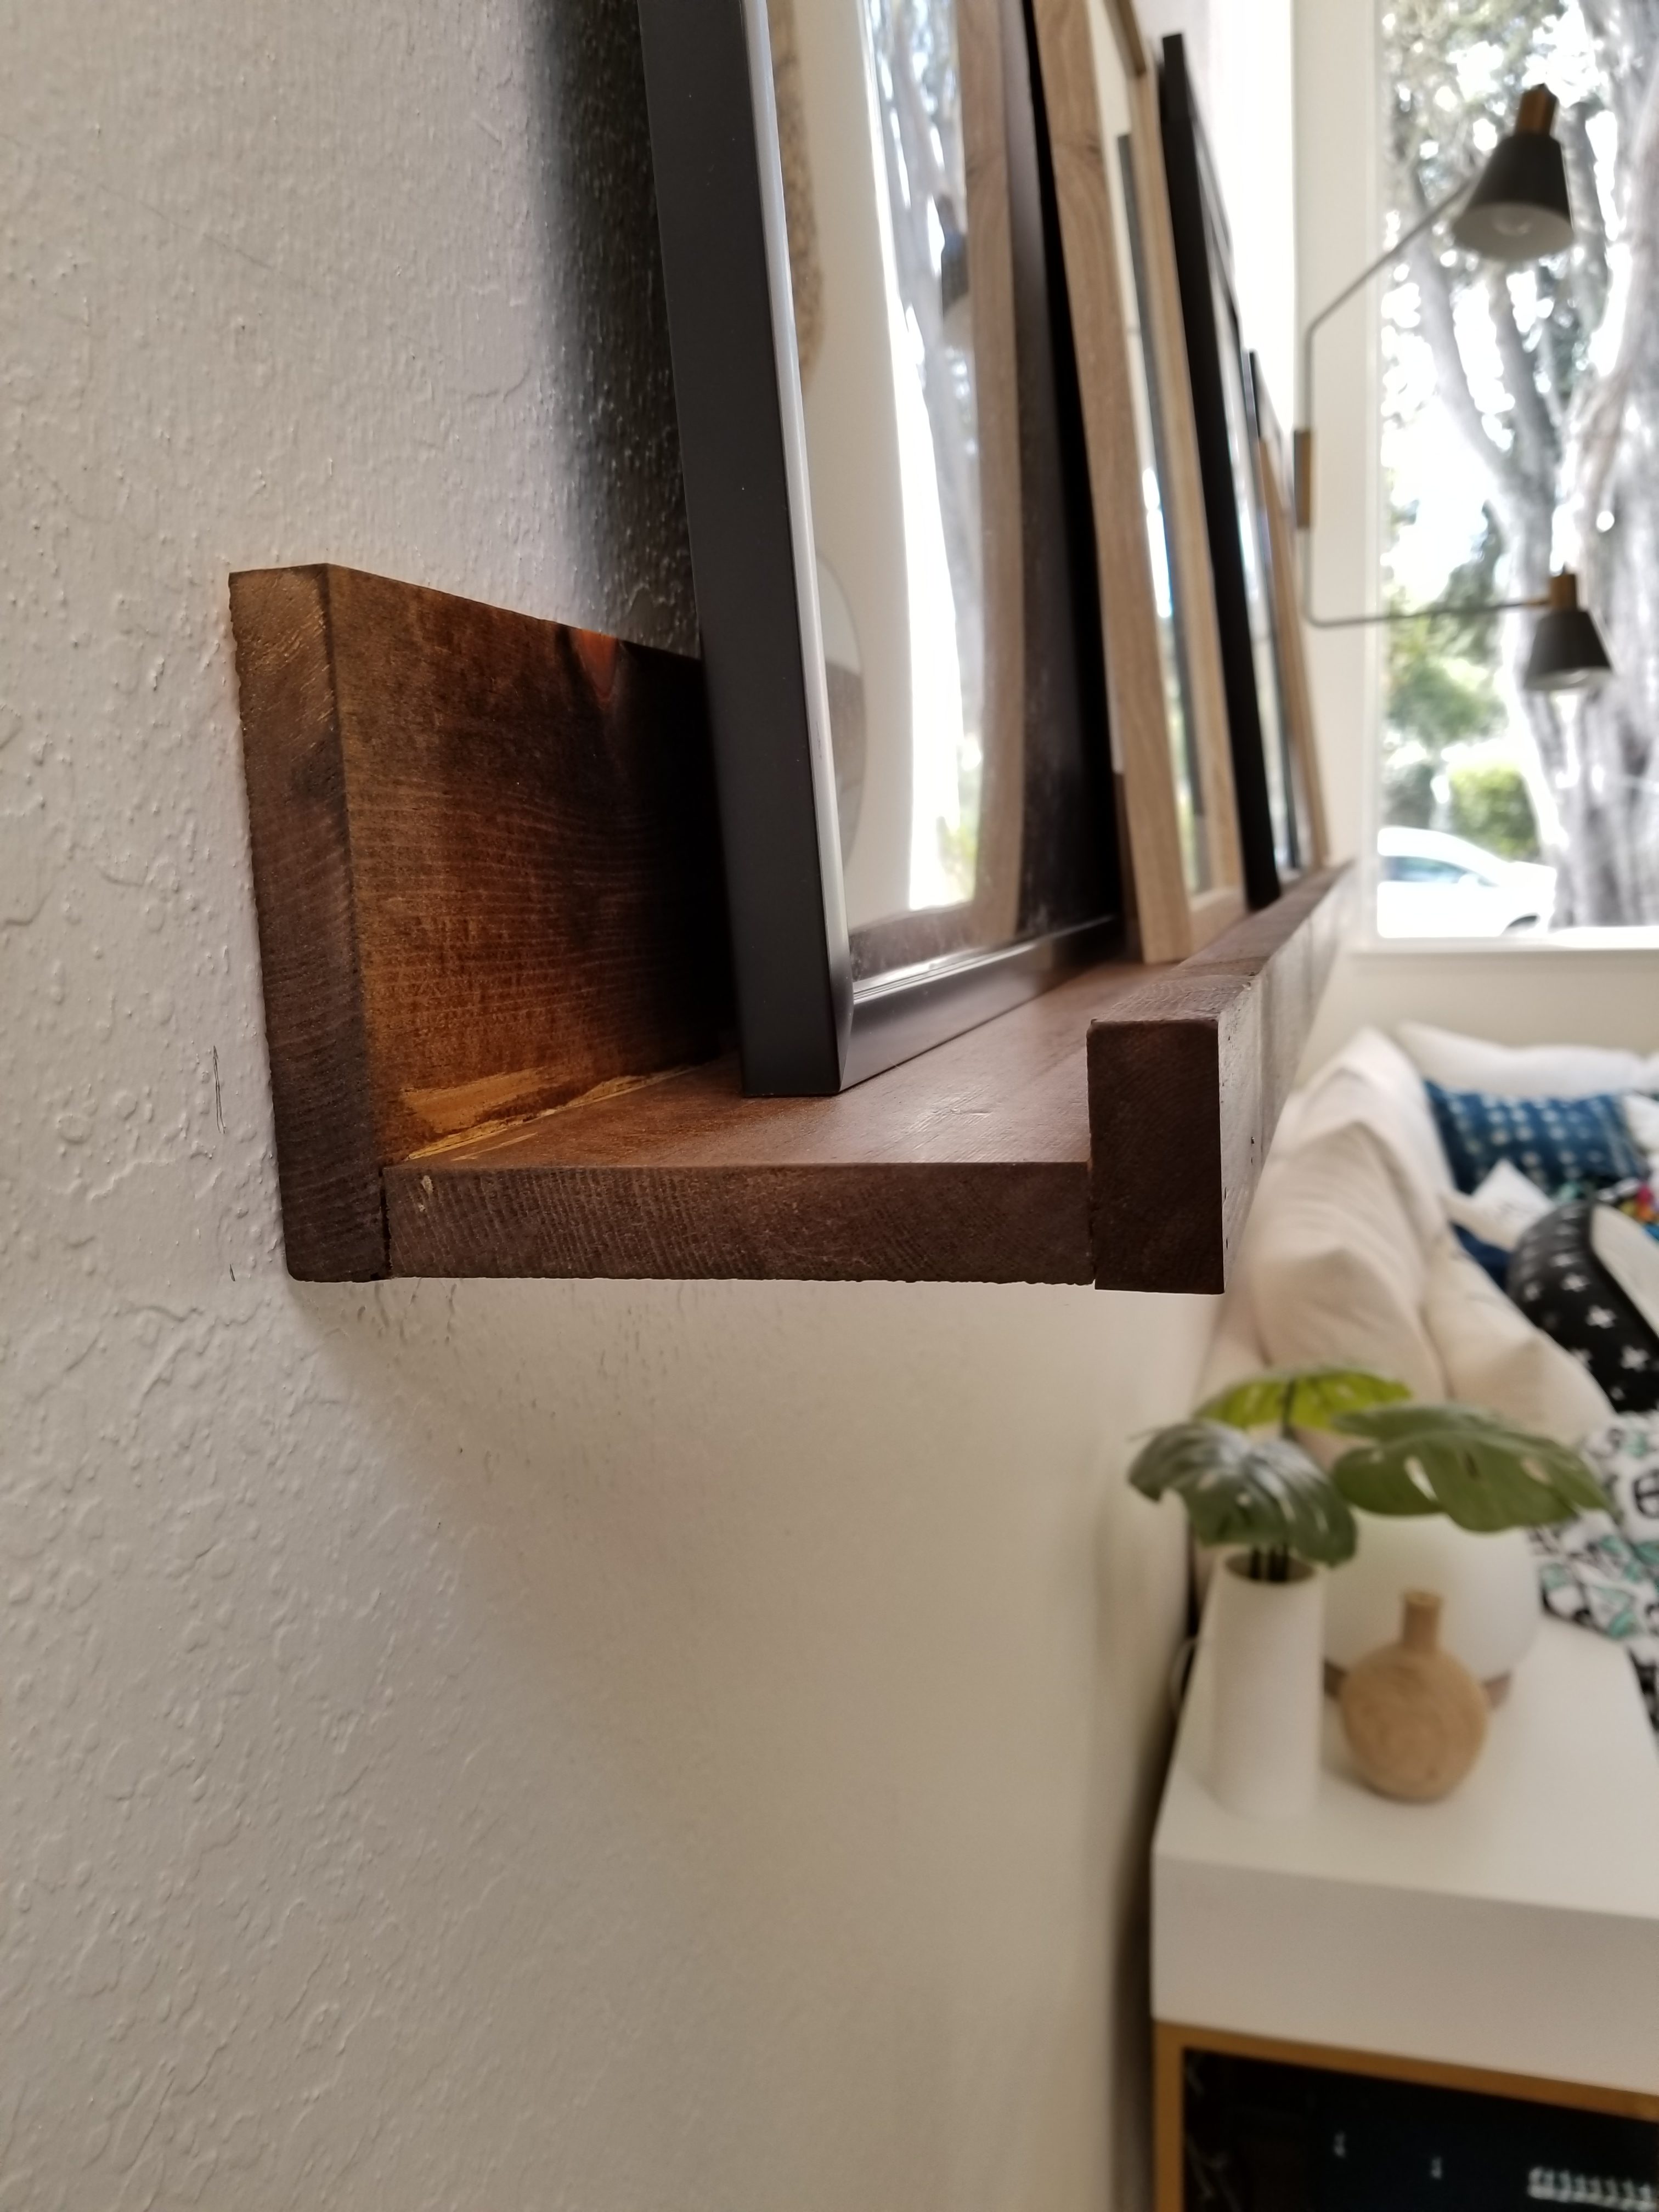
Repeat steps 1-4 to attach front lip. The front lip is the 2″ board. DO NOT USE STEP 5 HERE. You don’t want to see screws in the front. The finishing nails and glue are substantial to secure front lip and finishing nails disguise easily with stain.

Step 7:
Let glue dry
Step 8:
Sand off excess glue, wipe clean
Step 9:
Treat wood with Minwax pre-stain
Step 10:
Stain with Minwax Provincial 2 coats. Don’t apply second coat until first coat is dry.
YOU BUILT A PICTURE LEDGE!
For those who need it, I have included an installation “how-to”, below.
INSTALL INSTRUCTIONS
Step 1:
Find studs in your wall, these run vertically about every 16 inches, mark studs with pencil so you can find them again.
Step 2:
Bring in shelf and determine desired placement on wall, where does it look prettiest lol! Locate stud marks you made and determines which studs you can use to attach shelf on to. Mark these spots on wall and shelf.
Step 3:
Pre-drill the screw holes through shelf (off of the wall) so you don’t split the wood.
Step 4:
Line up pre-drilled holes to the stud marks on your wall, level and attach.
PRO TIP: Secure one screw in place on one side of shelf leaving other end mobile. Then shift other side up and down as necessary until perfectly level. This install is a 2 person job.
THAT’S IT… Happy Building!
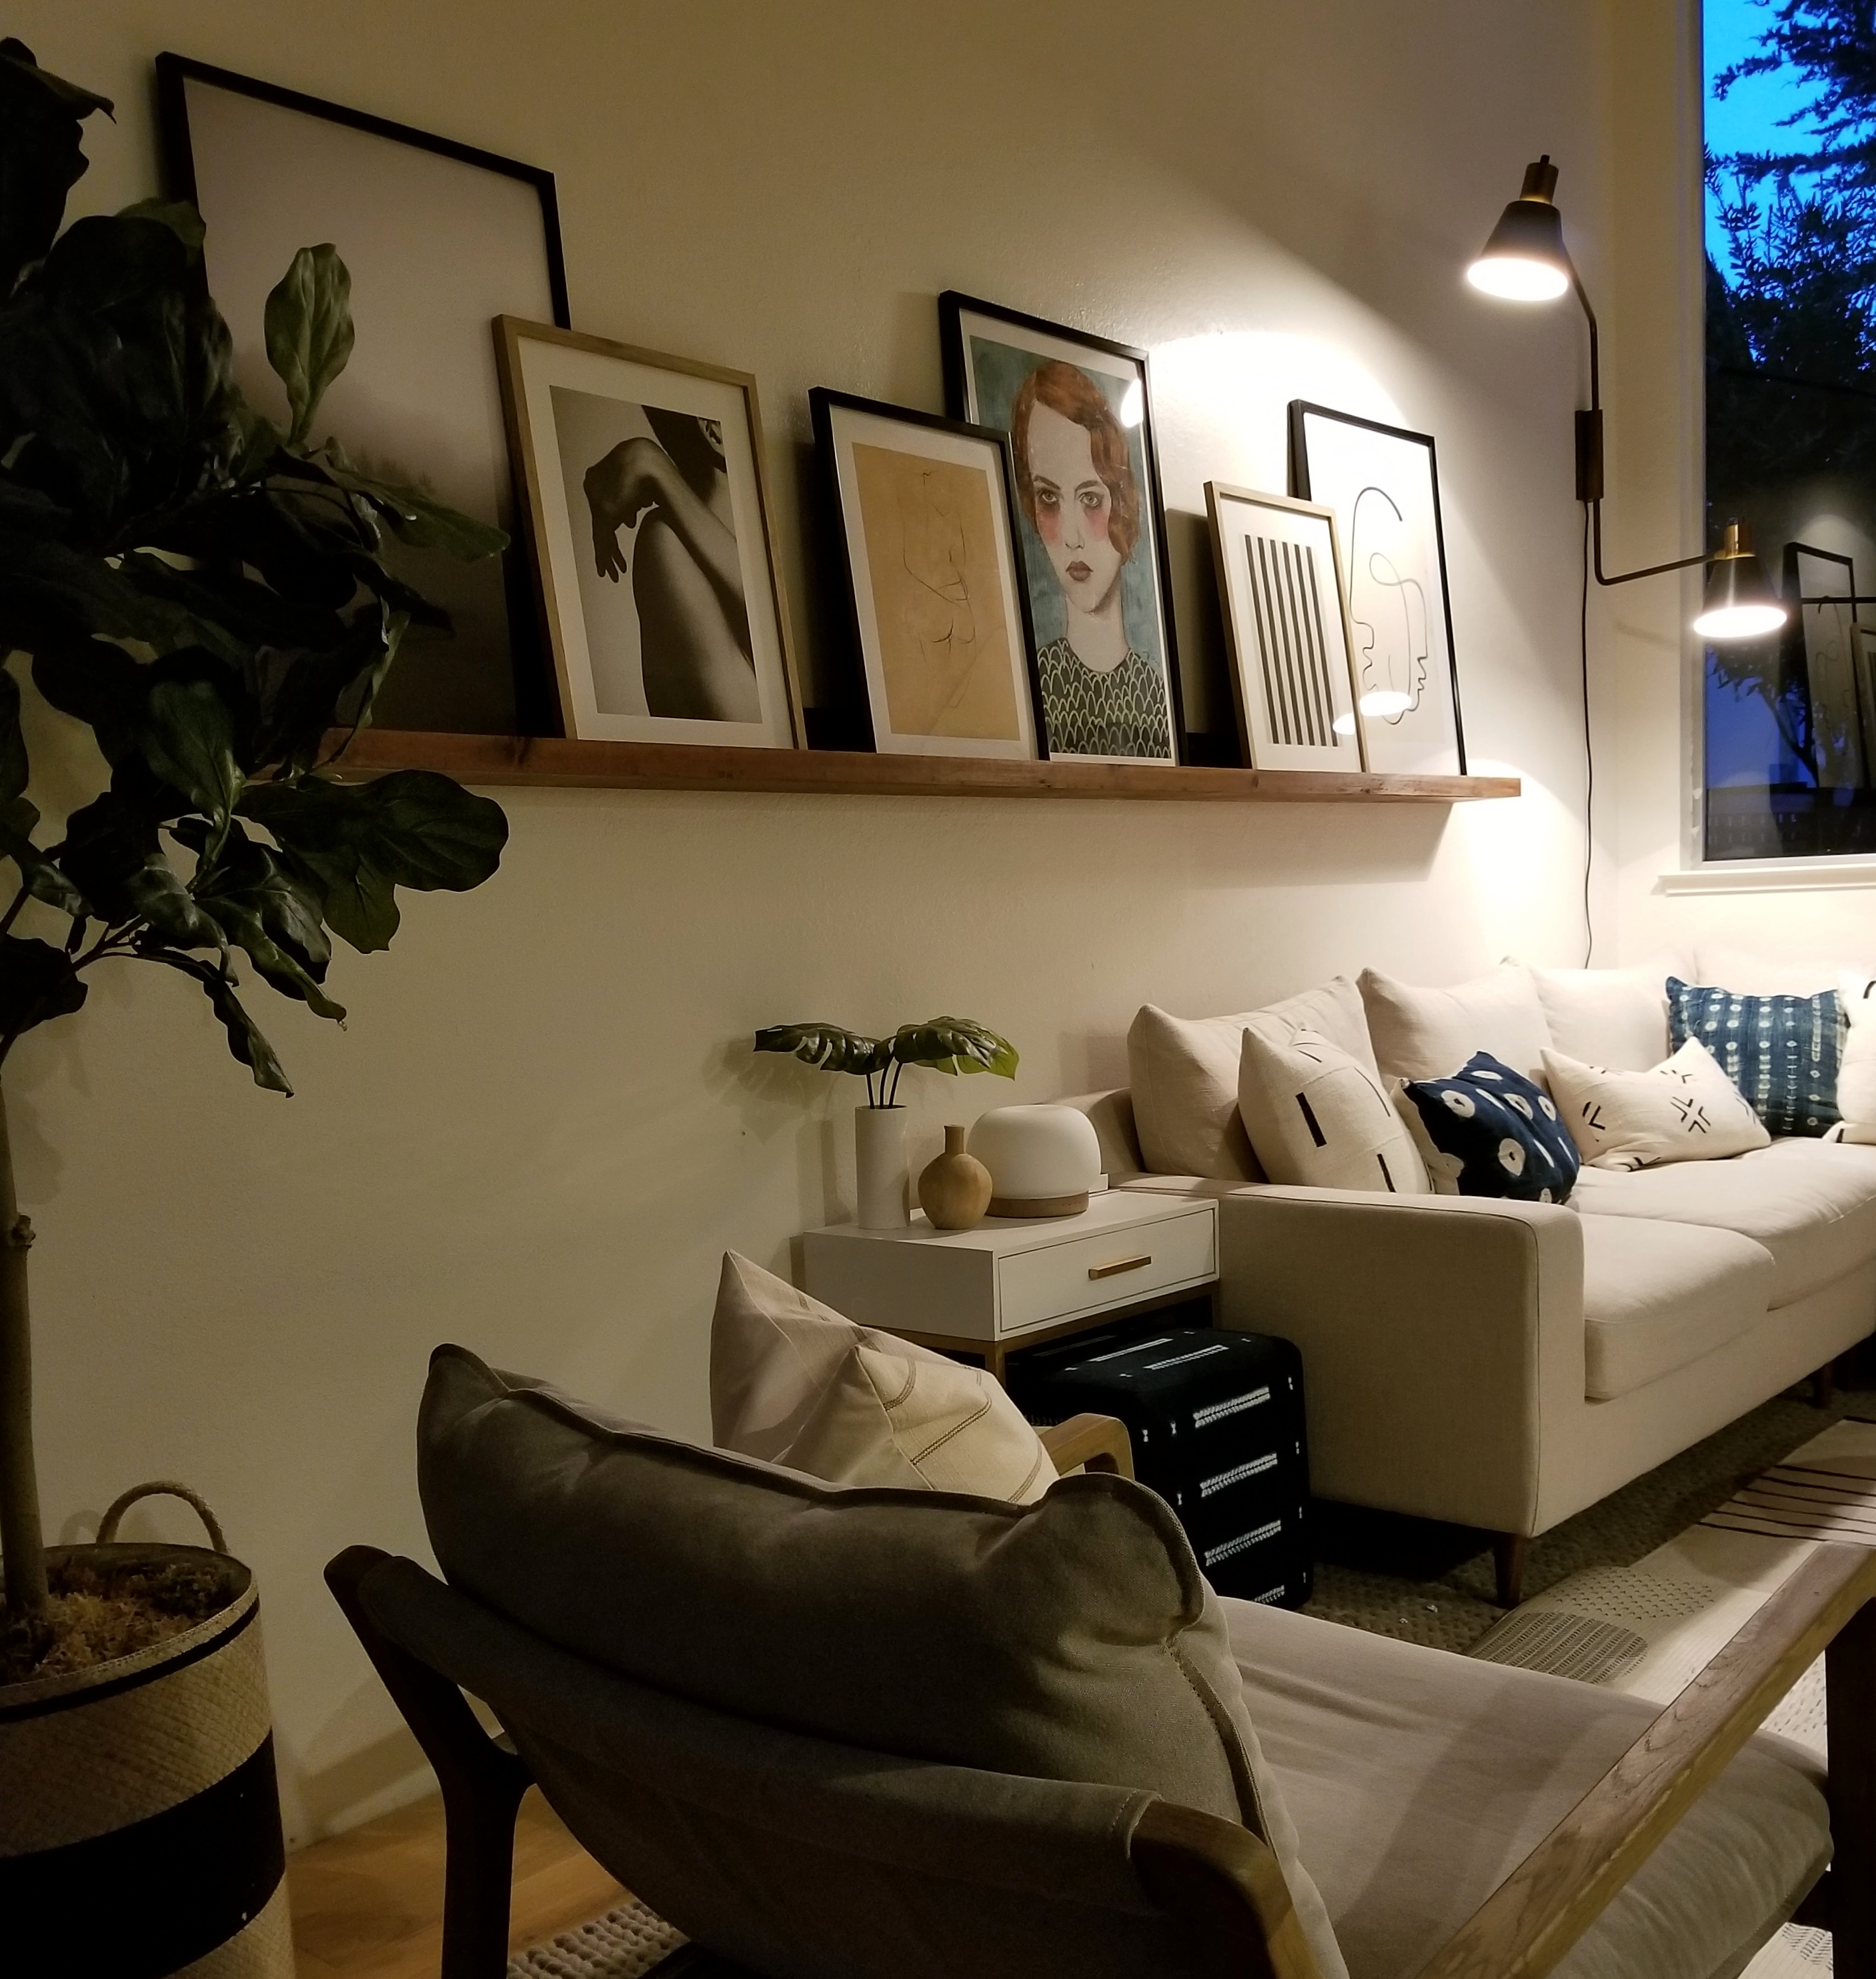
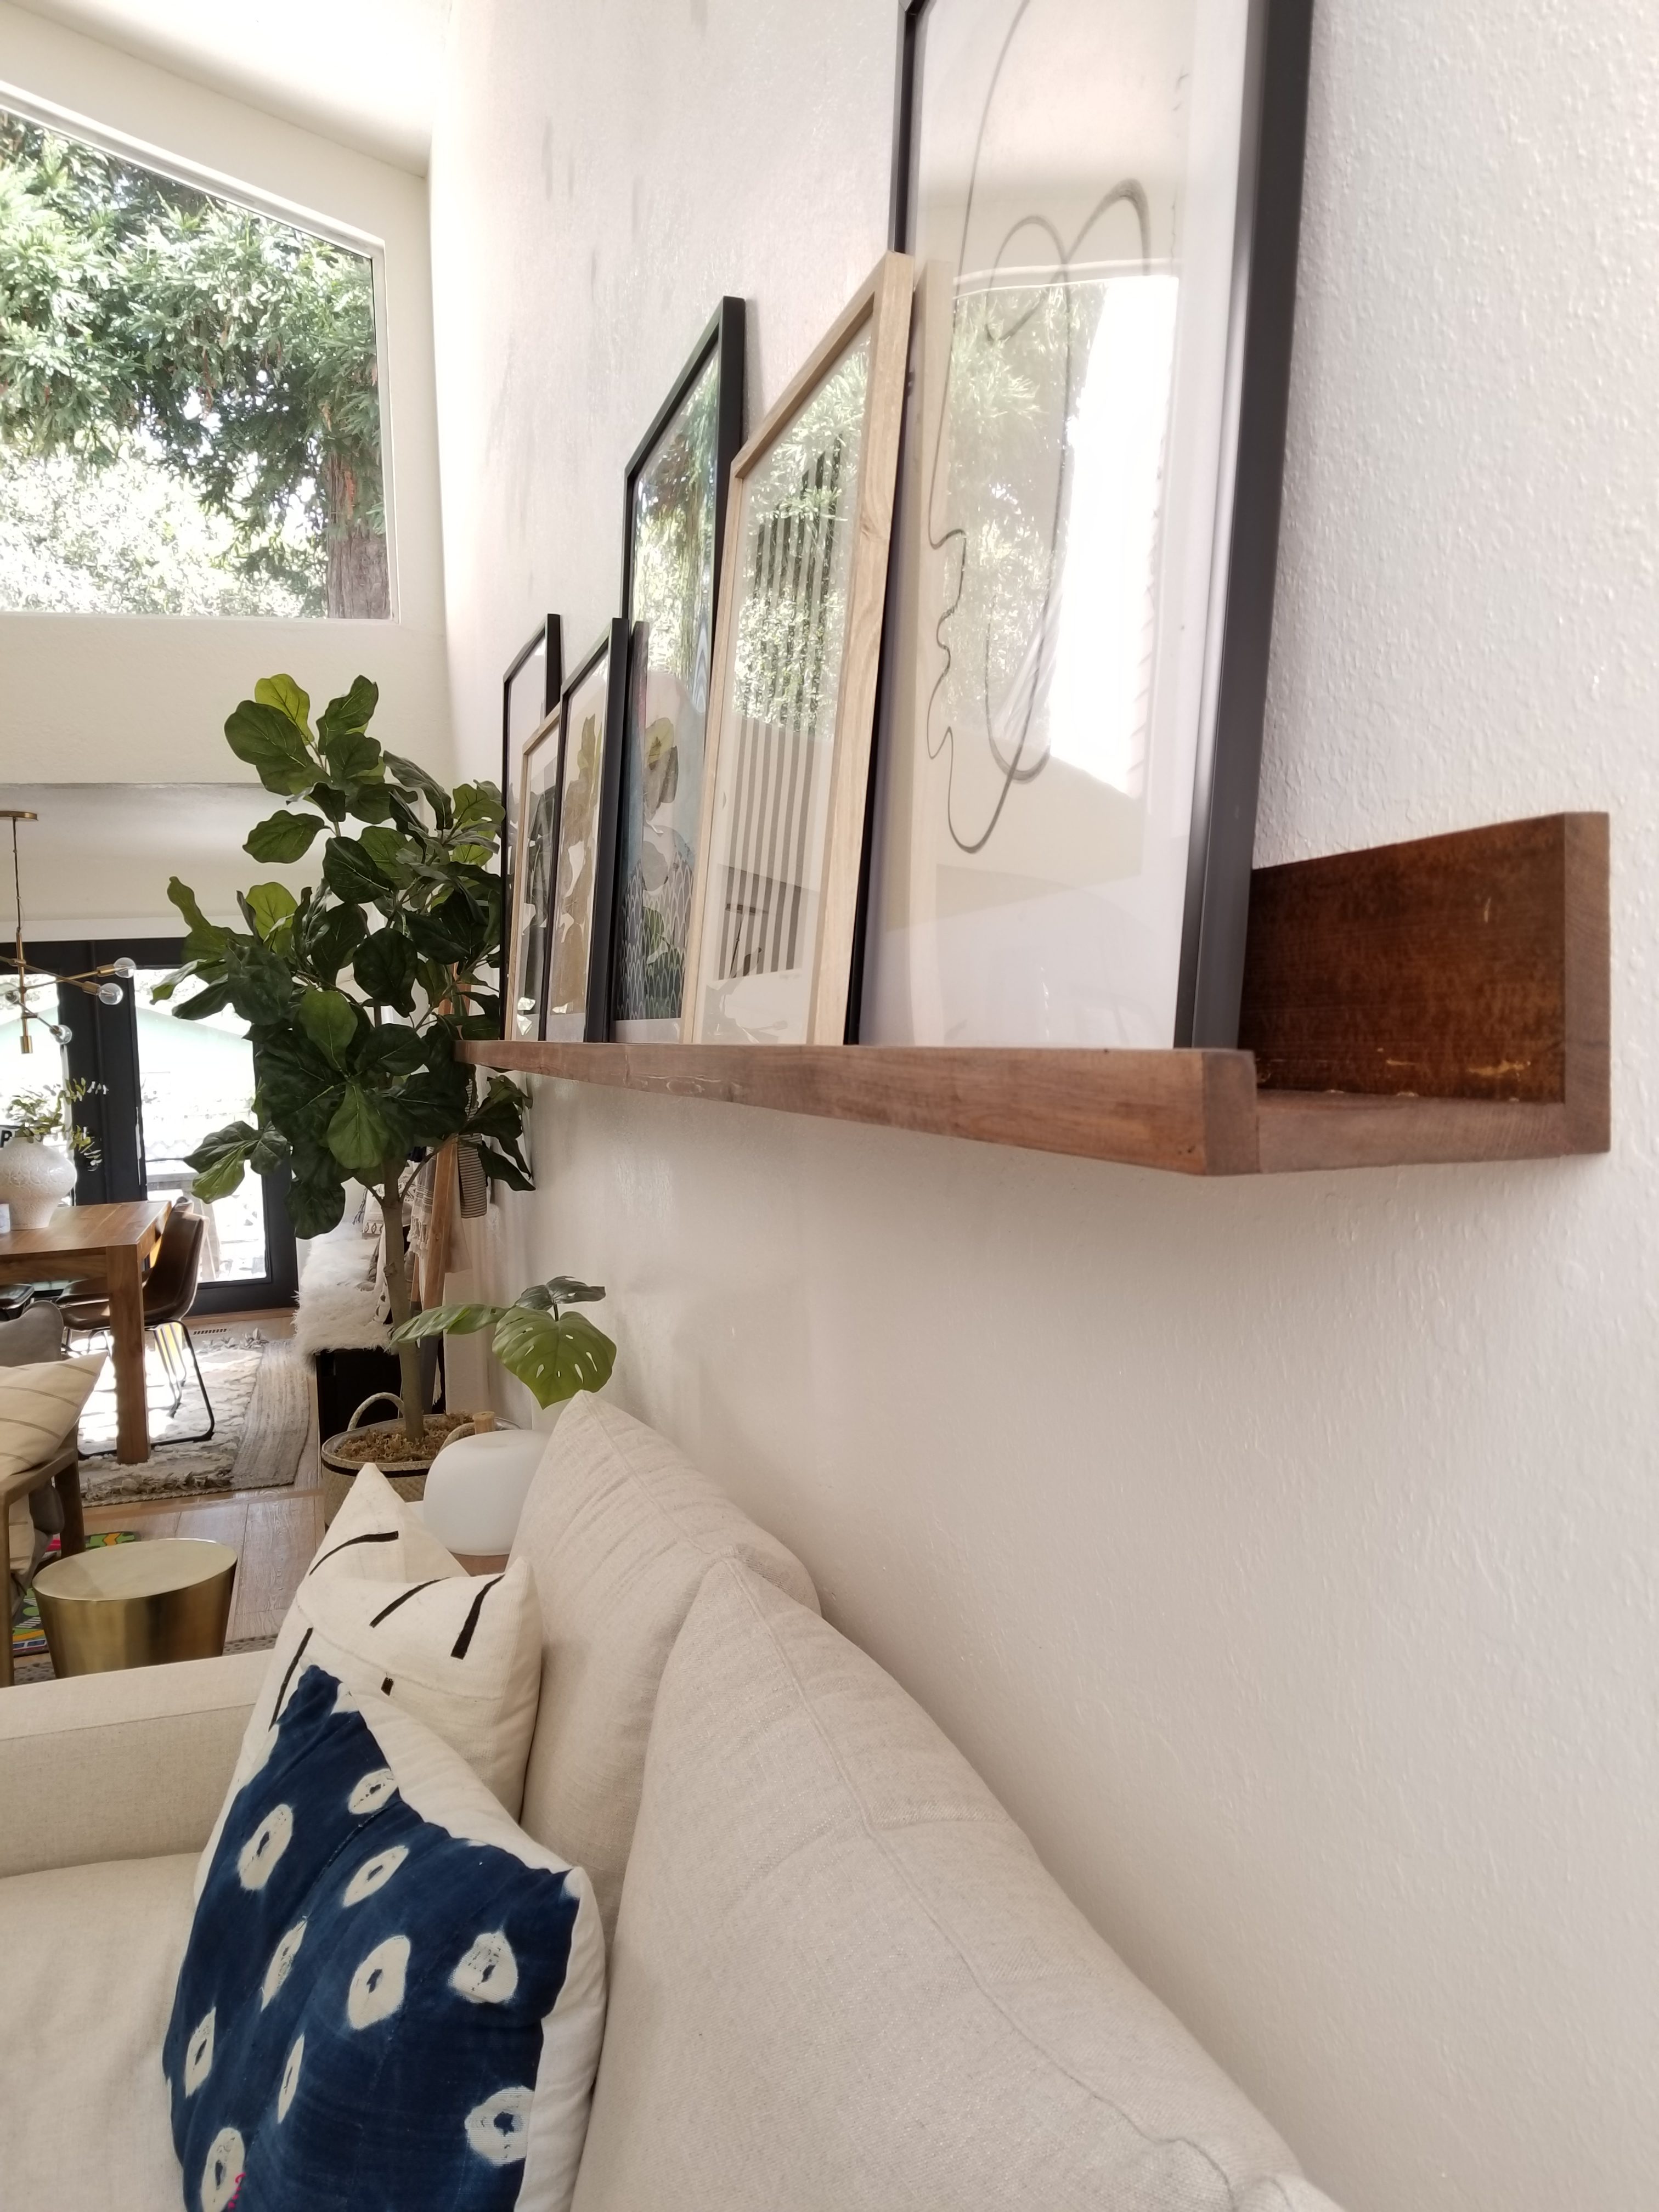
Note: this ledge is substantial enough to hold massive pieces of art. Our larger pieces are 30×20 inches.
