


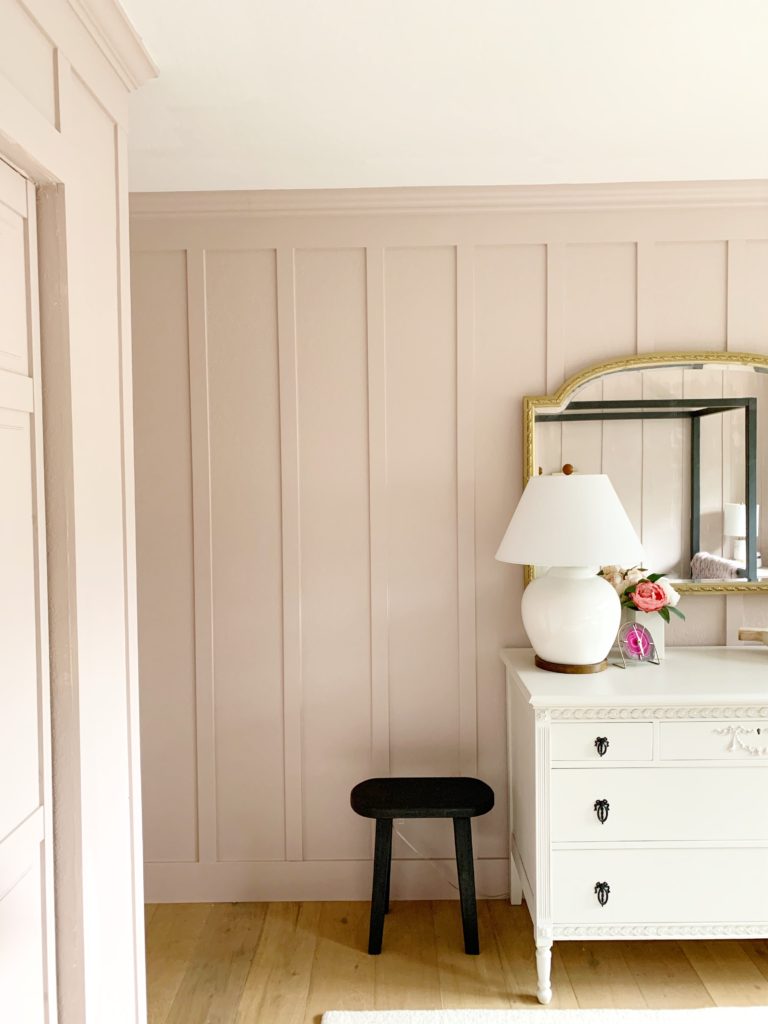
Step One: Start with a super boring box of a room that you’re tired of looking at 😉 Seriously though we did not know just how bad this room needed this decorative wall moulding until it was up. Night and day! Ever since we added it we have been asked a ton for this tutorial so here it is… finally! Sorry it took me a hot minute.
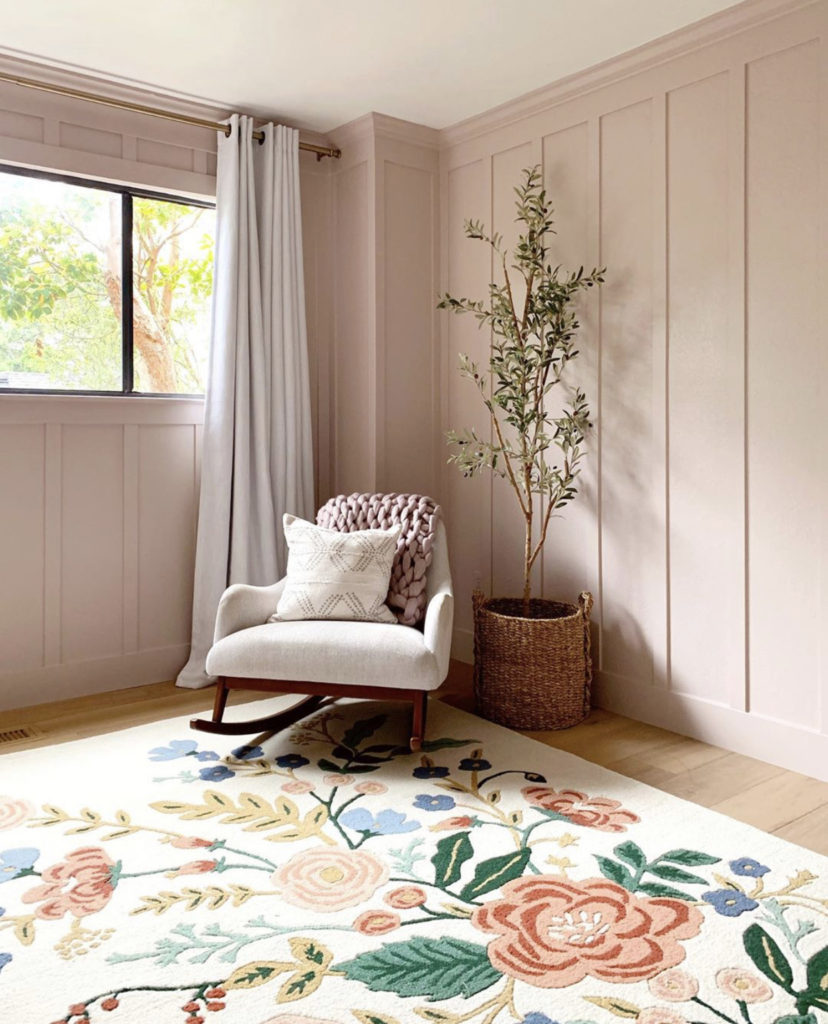
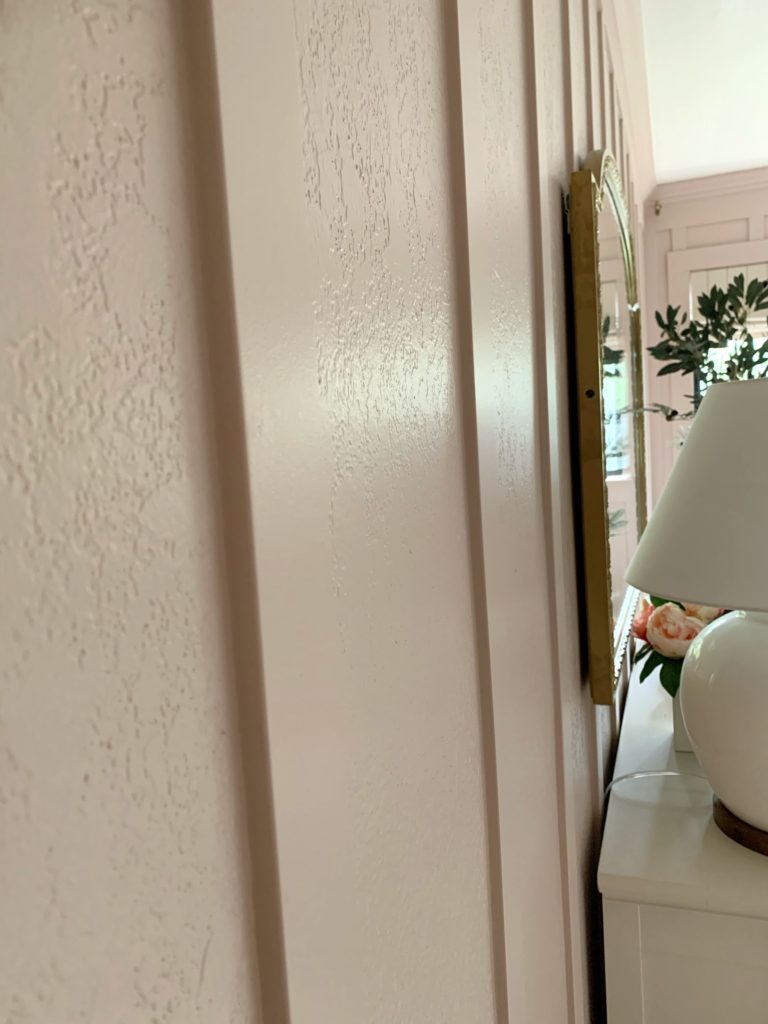
Now, before I get into it. I want to say, we have textured walls and we did not smooth coat or hide texture of walls under plywood (like we did for master bedroom). We added moulding directly on top of our textured walls and think it looks amazing. So if you also have textured walls, yes- you can still do this! See image for how ours looks up close with the texture.
Supplies
Baseboards- 5.5″ MDF
Battens- 2 1/4 x 3/8 MDF
Top Moulding- 5.5″ MDF and 3 & 3/4″ decorative crown MDF
Window & Closet Trim- 3 &1/2 x 1/2″ MDF
Liquid Nails
Wood putty
Nail hole filler
Caulk
Nail Gun
Chop saw
Install
Use nail gun to install 5.5″ baseboards first.
Use nail gun to install the 5.5″ boards for top moulding. We installed our 5.5″ boards 2 inches below the ceiling to help it look more substantial once crown installed over top.
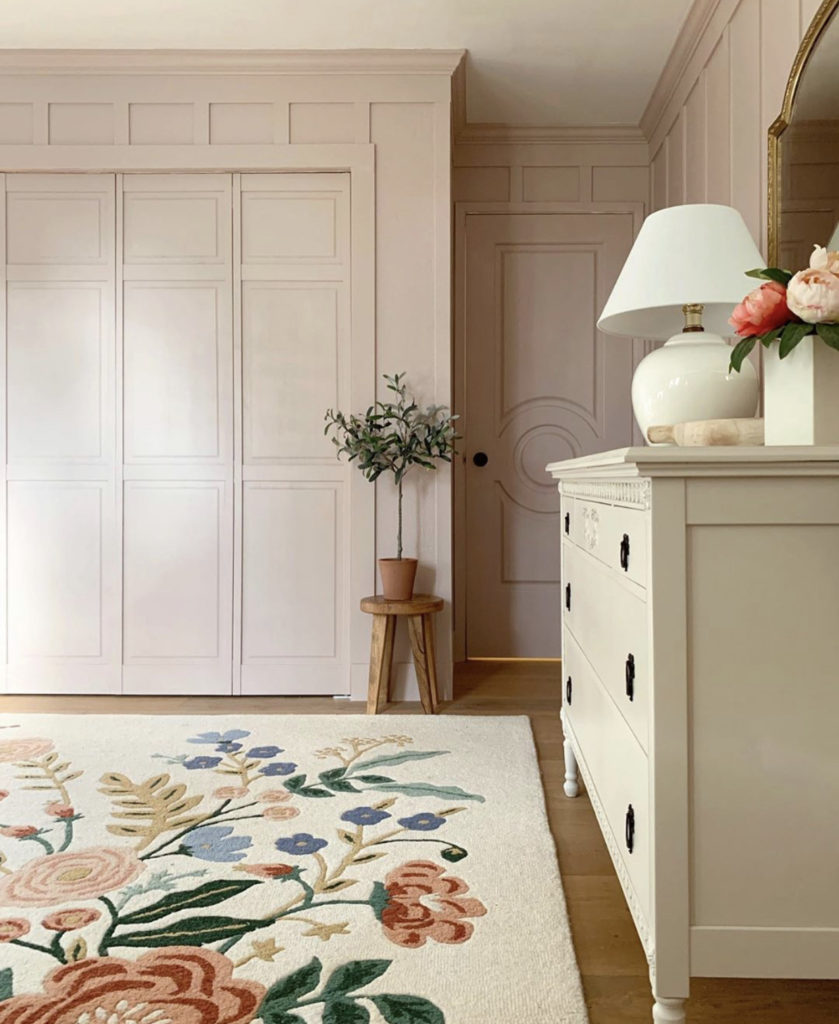
Use nail gun to install crown moulding over top of 5.5″ board. You’ll install this crown to the ceiling and bottom of crown will cover a small portion of the top of 5.5″ board that we installed in last step. See below image for clarification. (crown moulding sits at an angle between the ceiling and the wall, and is one of the more difficult DIY’s out there, too hard to try to explain here, but there are a ton of good videos on how to do this. like this one, HERE
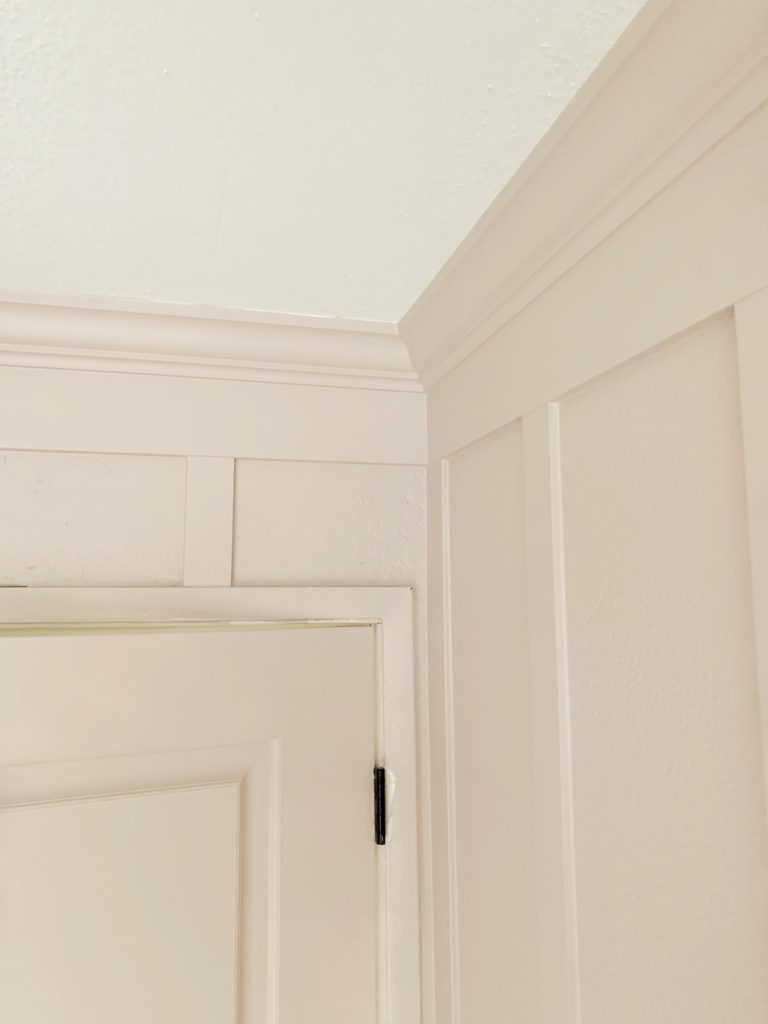
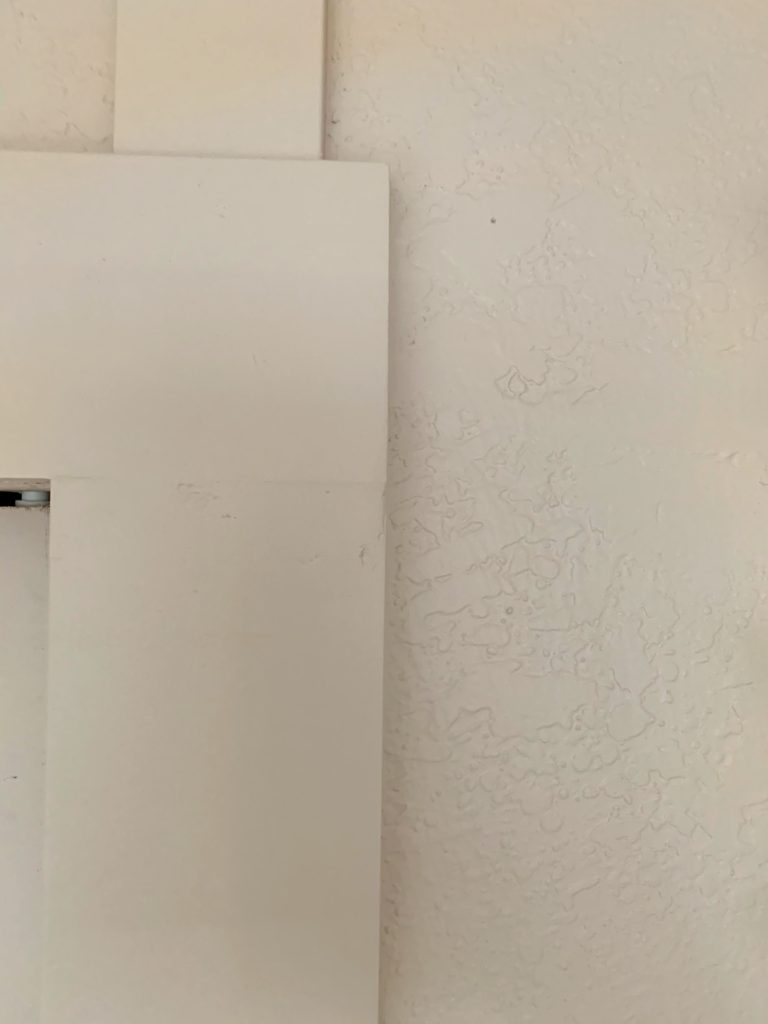
Use nail gun to install trim around the closets and windows. Use the 3 & 1/2 x 1/2 pieces for this. You can match corners with 45 degree angle cuts to make it easier to hide corners with caulk and appear seamless. Matt did a simple T joint for ours. See image below for clarification.
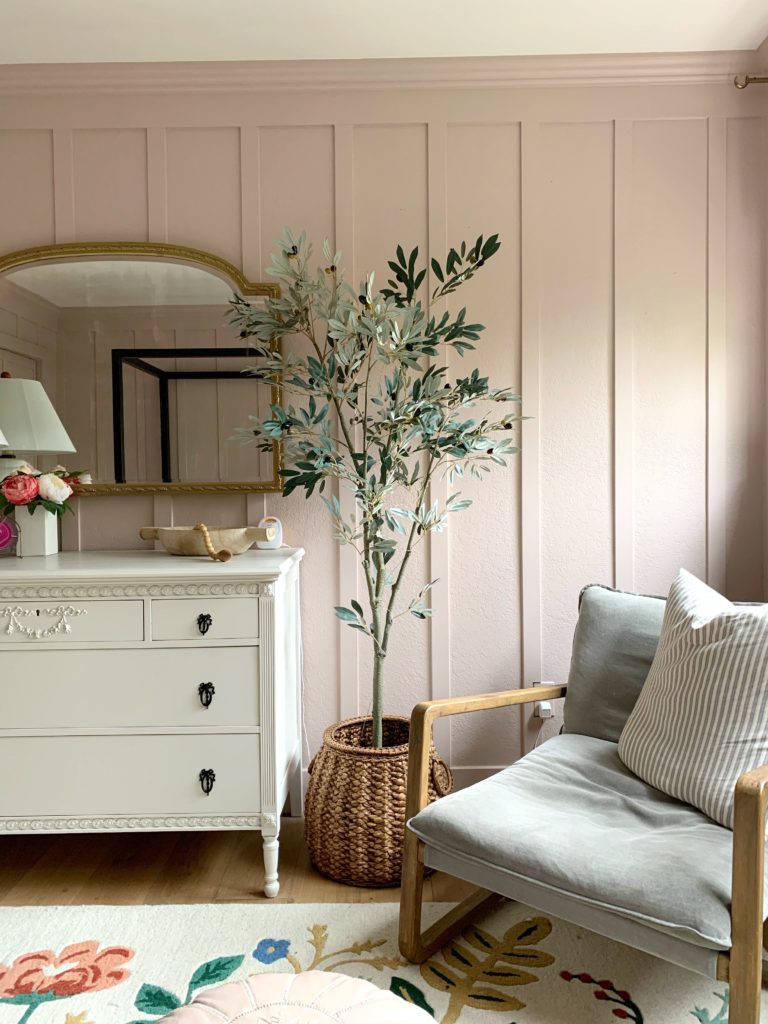
Next determine the length of each batten and cut to size to fit snuggly between the top of baseboard and the bottom of the 5.5″ top moulding. Only cut a couple battens to size at a time. Houses shift and walls bow, not all battens will be the same exact length in most cases.
Use liquid nails and nail gun to install the battens. Walls are often uneven and in our case, textured, so the liquid nails keeps them securely in place.
We installed our battens 9 & 3/4″ inches apart.
Use the wood putty to fill any larger holes or gaps in moulding.
Use Nail hole filler to fill all smaller holes.
Once dry wipe and/or sand off excess wood filler and nail hole filler smooth. Repeat these steps as many times as necessary until it looks seamless.
Use caulk along all of the edges where your trim and moulding pieces meet the walls.
Time for paint! We used HGTV Sherwin Williams Sweet Beige at 80% (30% lighter than full formula saturation) special request at Lowe’s.
These are the basic steps to recreate our look. Every room, size, height etc is different so we couldn’t get too specific, but if there is something we missed or you need further clarification on, let us know in the comments.
Happy DIYing!
