


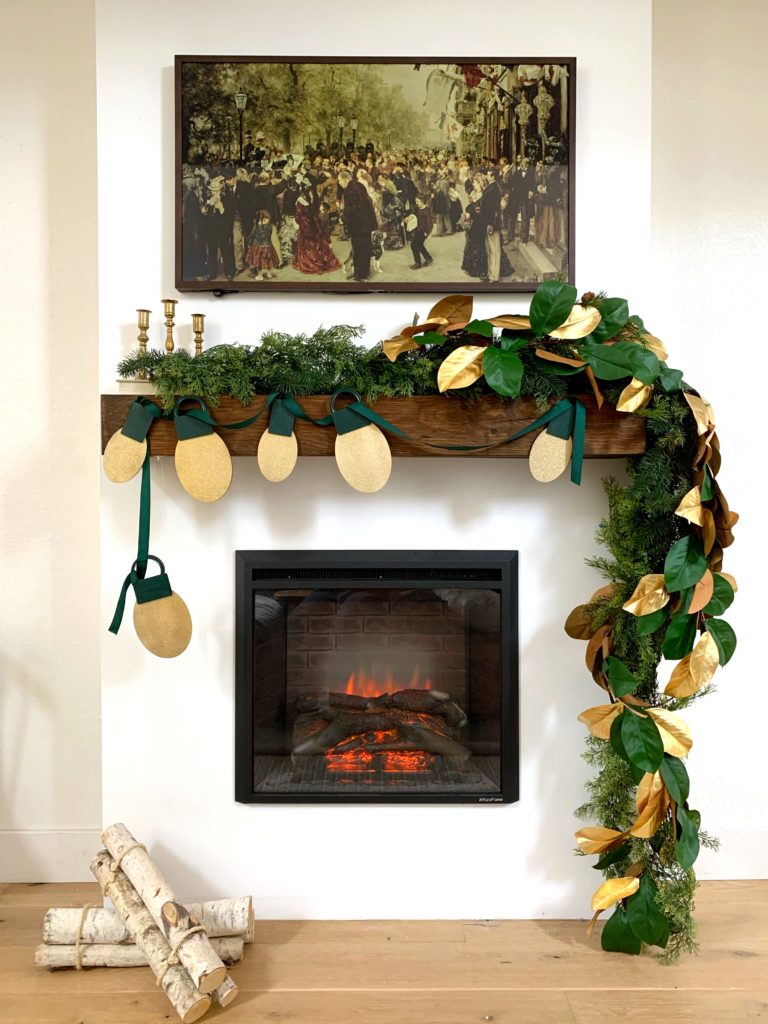
Hey friends! We just shared a fun, fast, budget and family friendly holiday DIY for you over on Instagram- Oversized Holiday Lights! Here is the full tutorial and supply list so you can try it out this year in your own spaces!
Step 1) Purchase supplies *list at the end of this post
Step 2) Set up your crafting station. There is paint and hot glue involve so we suggest a drop cloth and a well vented area (outdoors if possible)
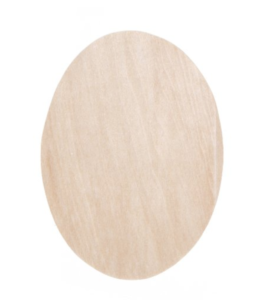
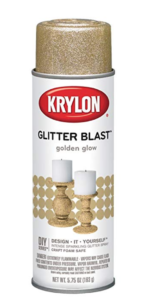
Step 3) Paint your “lights”, aka the oval craft wood boards, in your preferred colors. We used spray paint making it less kid friendly BUT you could absolutely use acrylic paints and brushes and really involve the kiddos. I went with a traditional warm glow look using gold glitter paint, but you can do classic Christmas colors or rainbow, the sky is the limit.
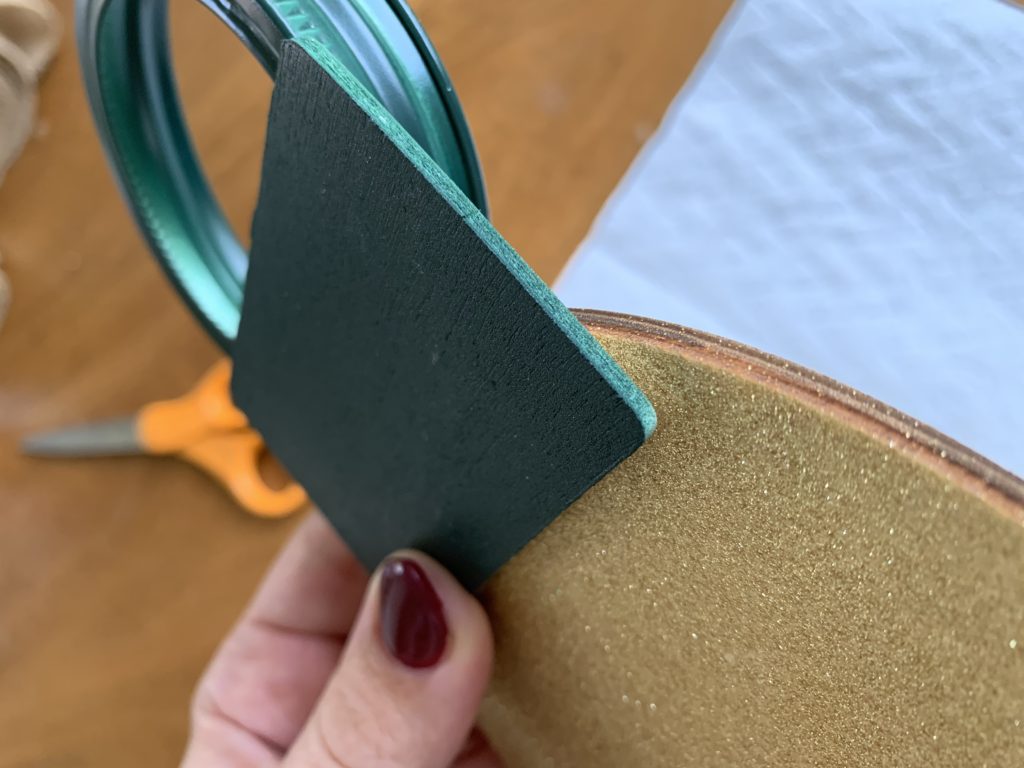
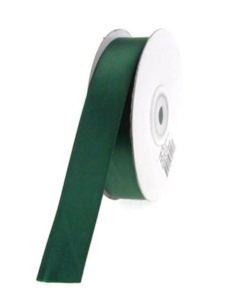
Step 4) Paint the “light topper”, aka the wood craft rectangles and ball jar lids (for large) or wood craft rectangles and key rings (for small). Paint these your preferred color. I went with the traditional hunter green color, but gold is fun and festive too.
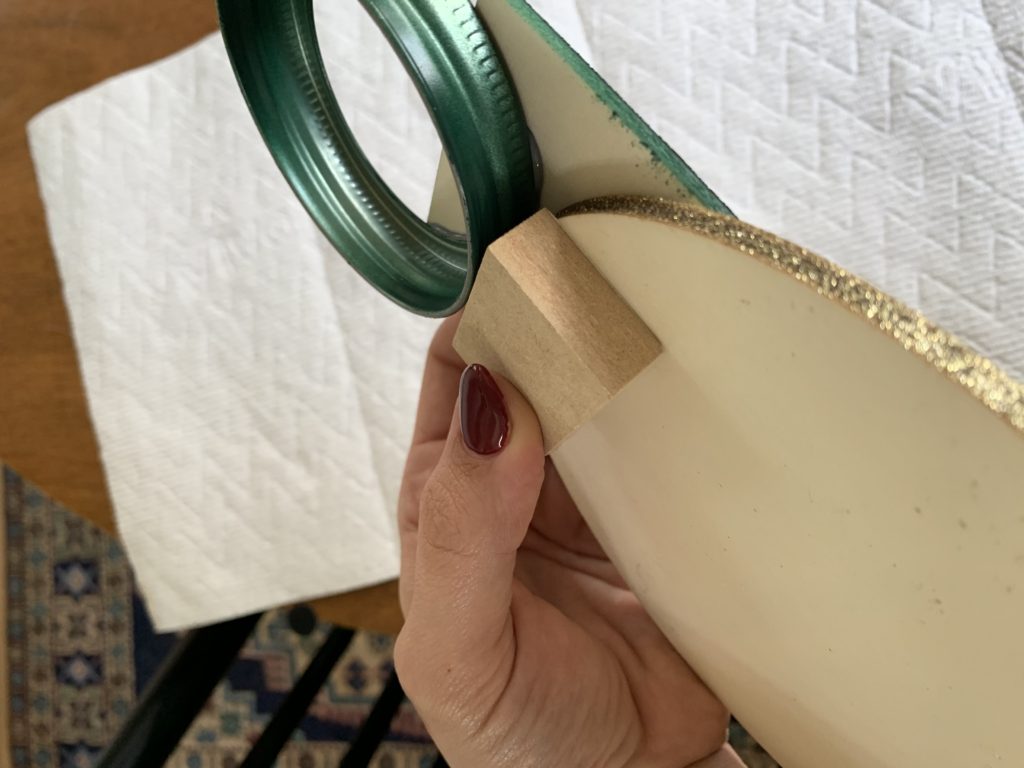
Step 5) Time for hot glue. First you will glue the wood rectangle block to the front the oval. (See image). Hold in place carefully to make sure it dries in place, dries quickly.
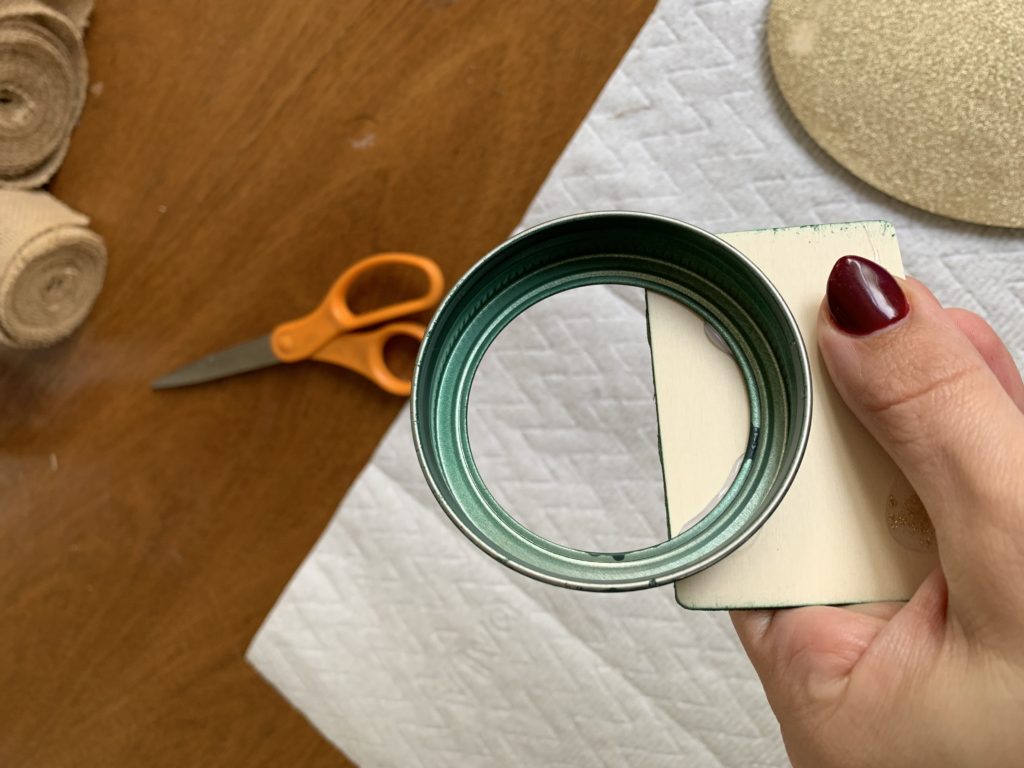
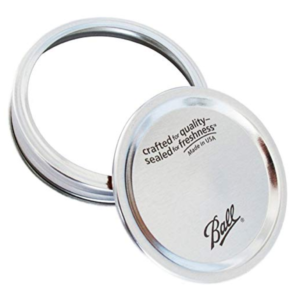
Step 6) Next you will glue hot glue the jar lid (or key ring for small lights) to back of the rectangle wood portion. (See image). Hold in place carefully to make sure it dries in place, dries quickly. for hot glue.
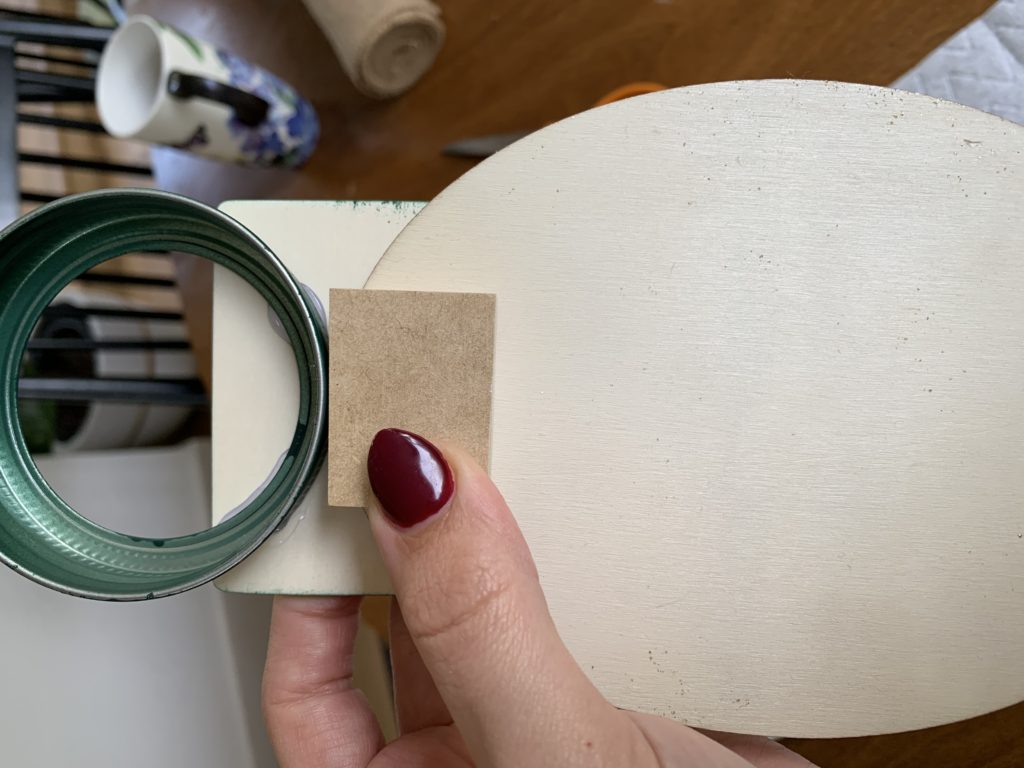
Step 7) You will hot glue a mounting block to the back of the wood oval underneath the jar lid. (See image) Hold in place carefully to make sure it dries in place, dries quickly. (omit this step for small “lights”).
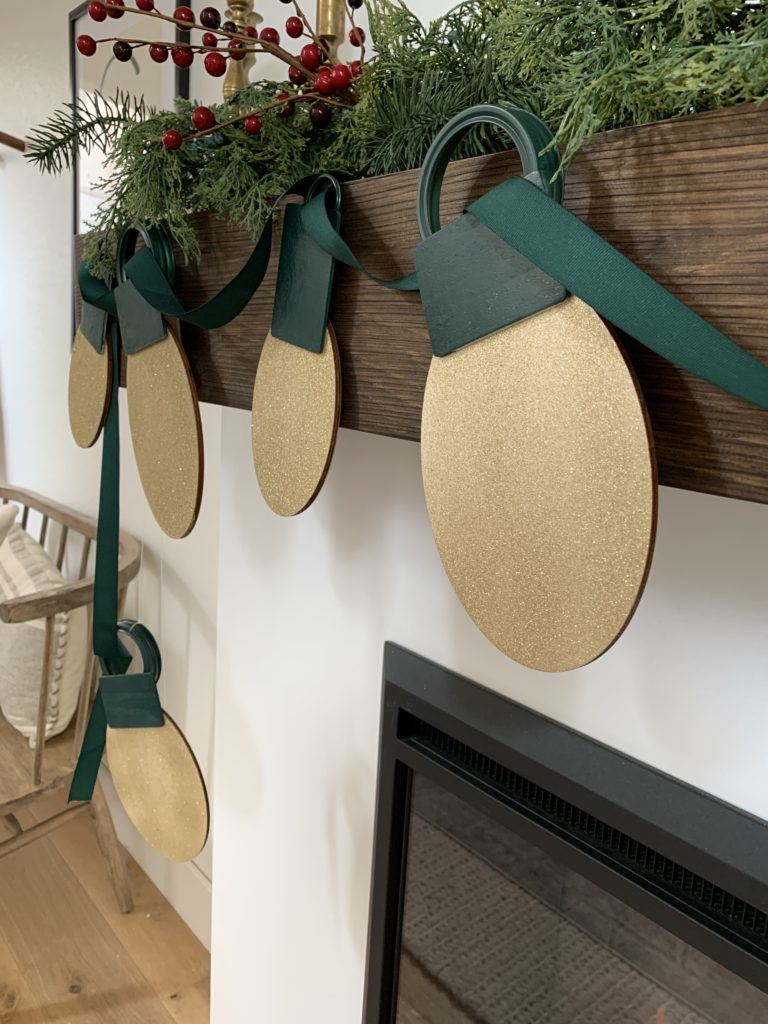
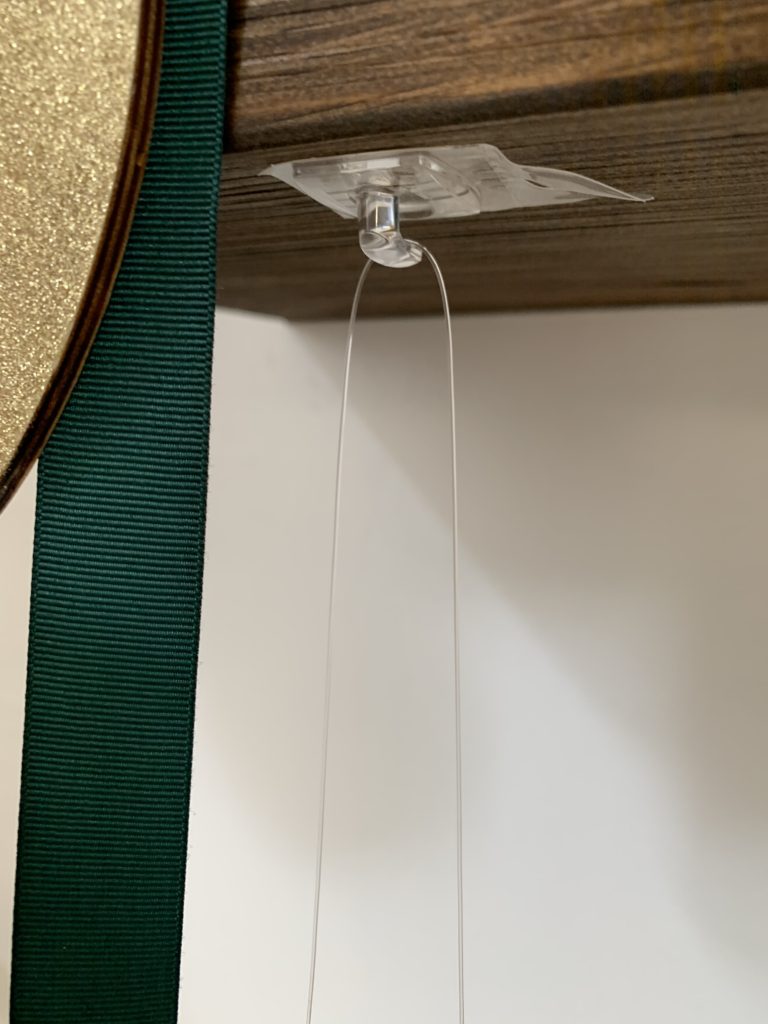
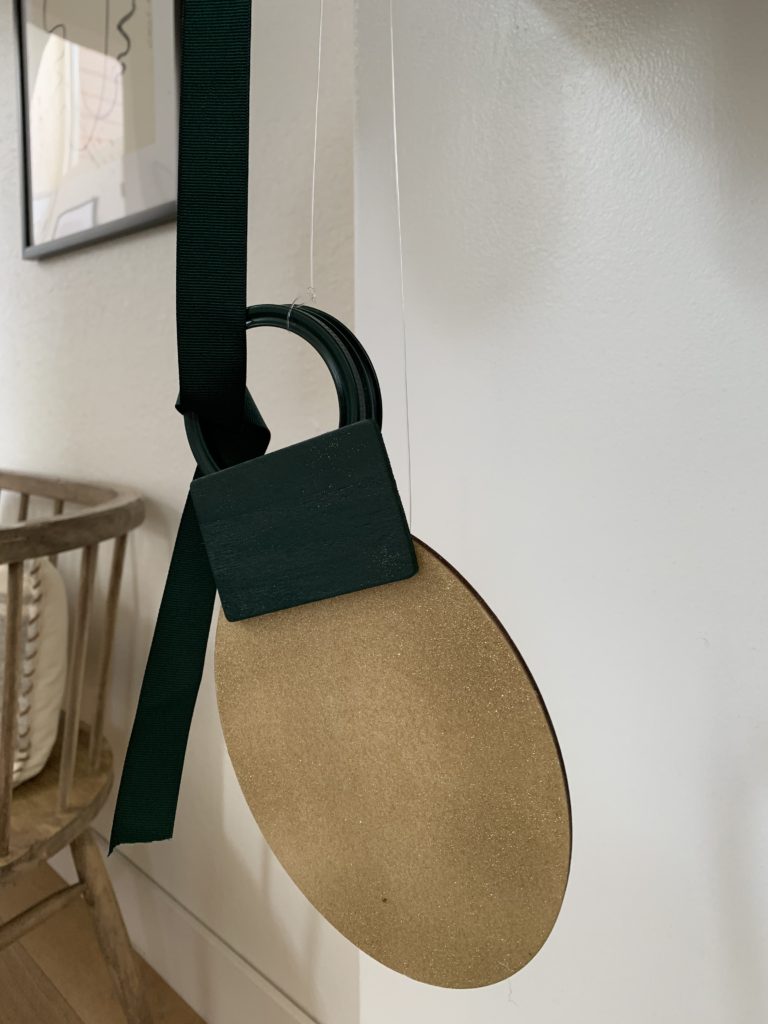
Step 8) Hang or mount your holiday oversized lights DIY wherever you please. We mounted our oversized lights to the fireplace using command strips attached to the mounting block and then wove a ribbon through the loops (loops created by the ball jar lids) to give is a “corded lights’ effect. (See image). We also dangle one of our lights from the mantle using a command hook and fishing line. (See images before)
NOTE: We made ours in 2 sizes large and small. The small topper is a key ring not a ball jar lid, but you follow the exact same instructions to build the small option except
- Small “lights” DO NOT need a mounting block because they are flat enough on back to attach command strip directly to back of the wood oval.
- The wood craft rectangle will be glued on vertically on the small “lights” not horizontally. (See image below you can see a small and large side by side).
YOU ARE DONE! We are loving the outcome of this budget friendly holiday DIY, let us know what you think in the comments below.
SHOPPING LIST (tap image to go direct to shop)
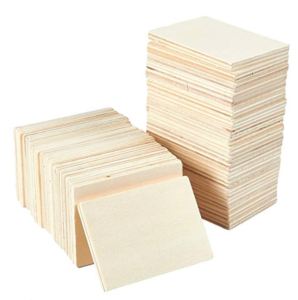
Craft Wooden Rectangles:
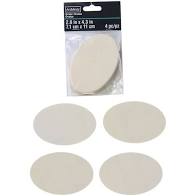
Large Wooden Craft Ovals:
Ball Jar Lids (topper for large ovals):
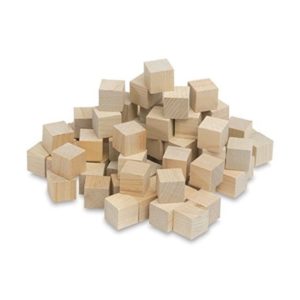
Mounting Block (for large “lights” only):
Small Wooden Craft Ovals:
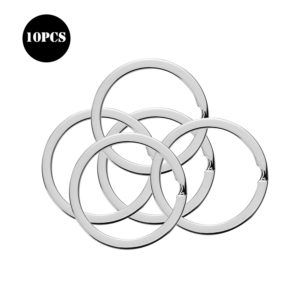
Key Rings (topper for small ovals):
Golden Glitter Spray Paint:
Hunter Green Spray Paint:

Hunter Green Ribbon:
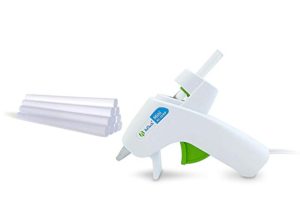
Hot Glue Gun/Glue:
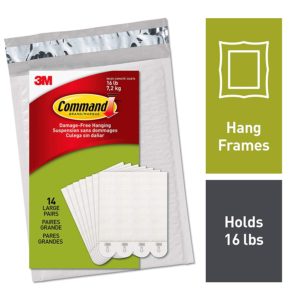
Command Hooks/Strips:
That’s all for this one friends! Please make sure you tag us on Instagram and share your versions of this fun DIY Holiday craft if you try it out!
