


Finally sharing a quick tutorial on our modern board and batten wall feature we added to our bedroom this past Spring.
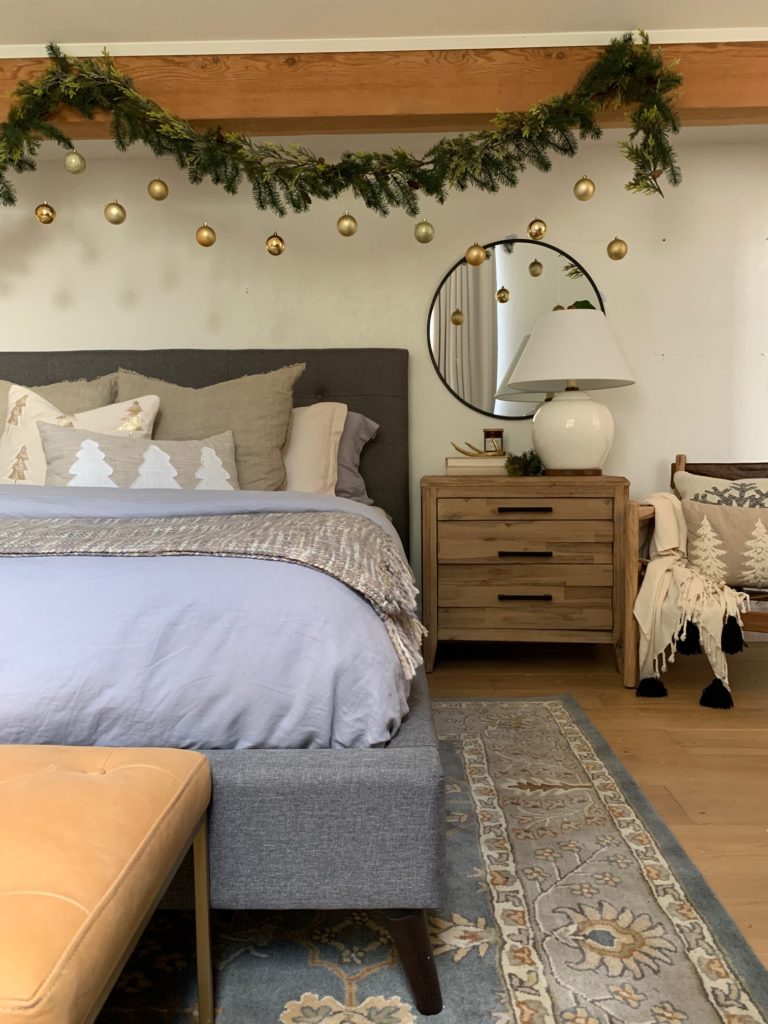
But first… here is a quick reminder of what the space looked like before! PLEASE ignore the holiday decor LOL. We totally spaced on taking before shots on this project so these are all I had. Rookie move!
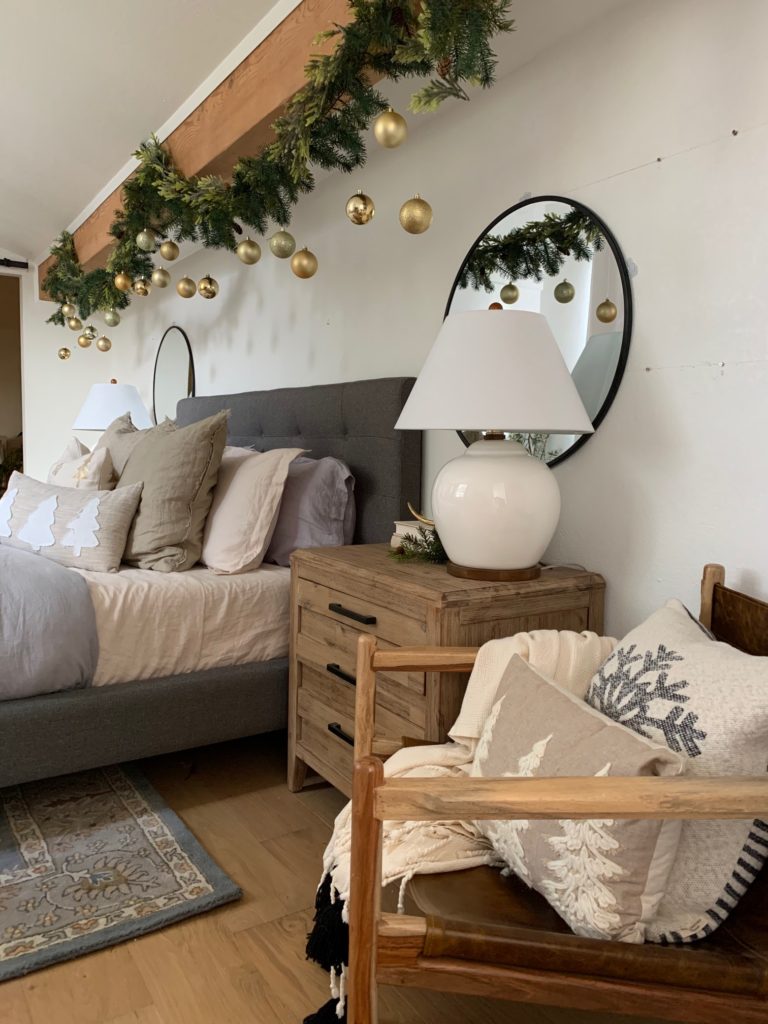
Here is the wall after!!!
Crazy difference isn’t it!?! We could not be happier and the best part is it’s pretty darn easy. Now, here is that easy “how-to” so you can go tackle this in your own spaces.
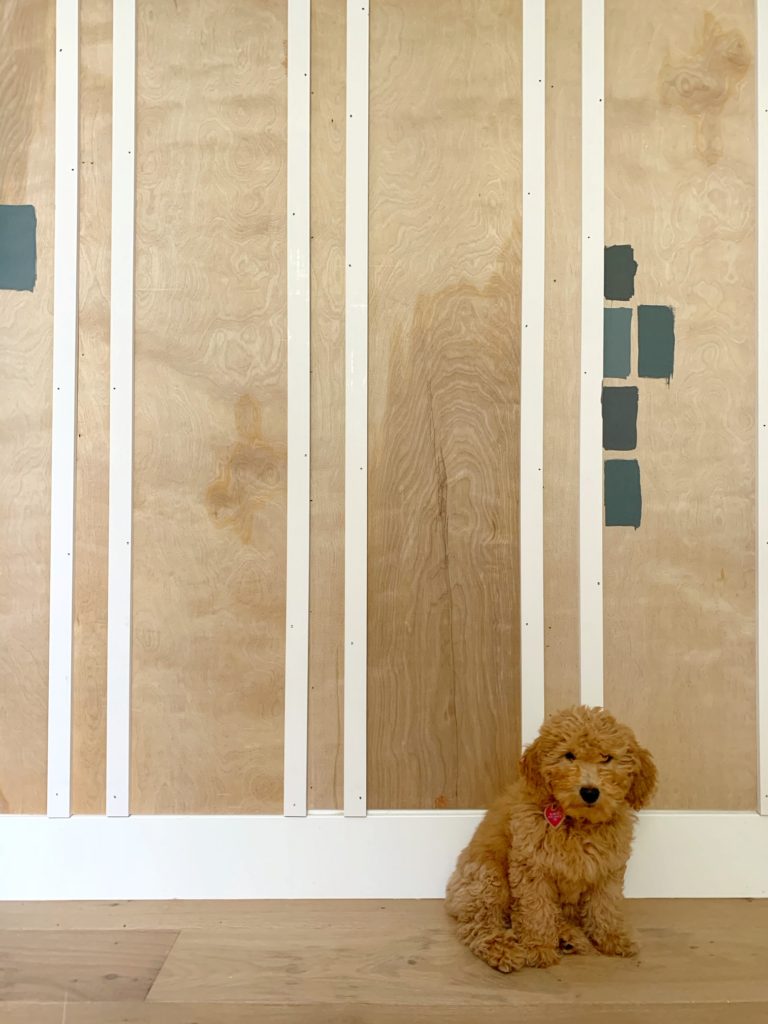
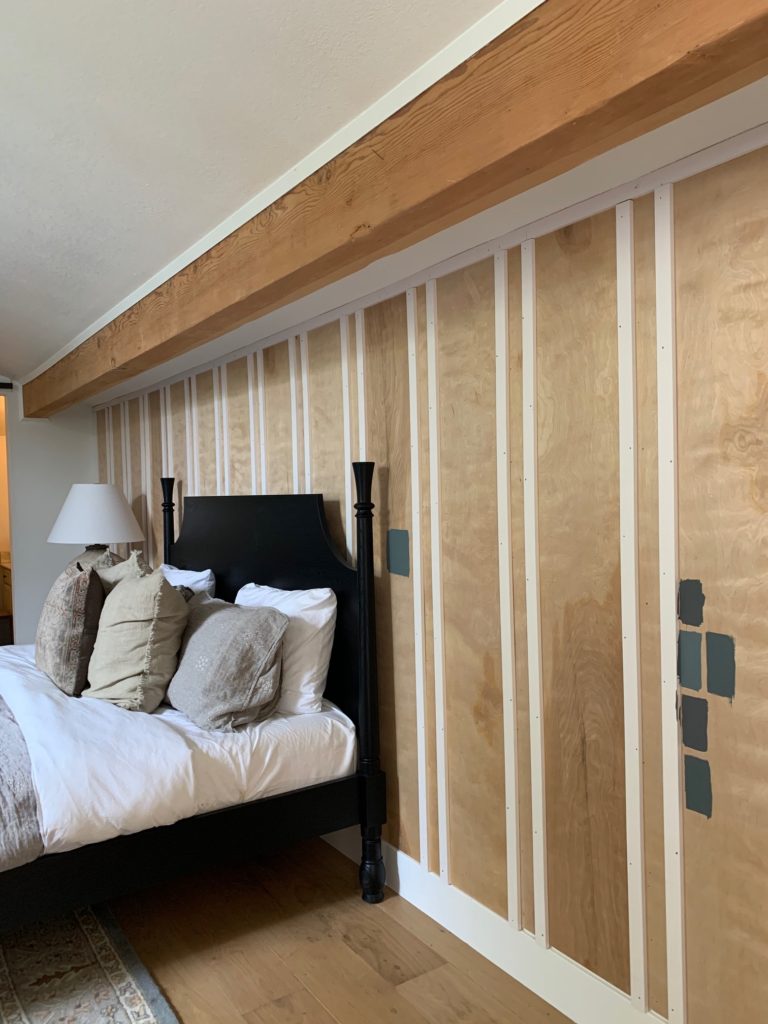
Note: We have textured walls that are uneven and are in need of lots of work to make them look just right. We opted to cover our accent wall with plywood before applying the battens. We did this instead of floating and smooth coating. We aren’t including the plywood portion of our project in this tutorial because we imagine it won’t be necessary for most who want to add this feature, most can and will be able to apply molding directly to the wall.
Step by Step Tutorial on how you can achieve this look!
Supplies List: Tape Measure, Nail Gun, Chop Saw, Punch, Hammer, Caulk, Caulk Gun, Spackle, Paint Brush, Paint Roller, Paint, 1/2 inch thick x 1 & 1/2 inch wide pine or mdf molding.
Step 1:
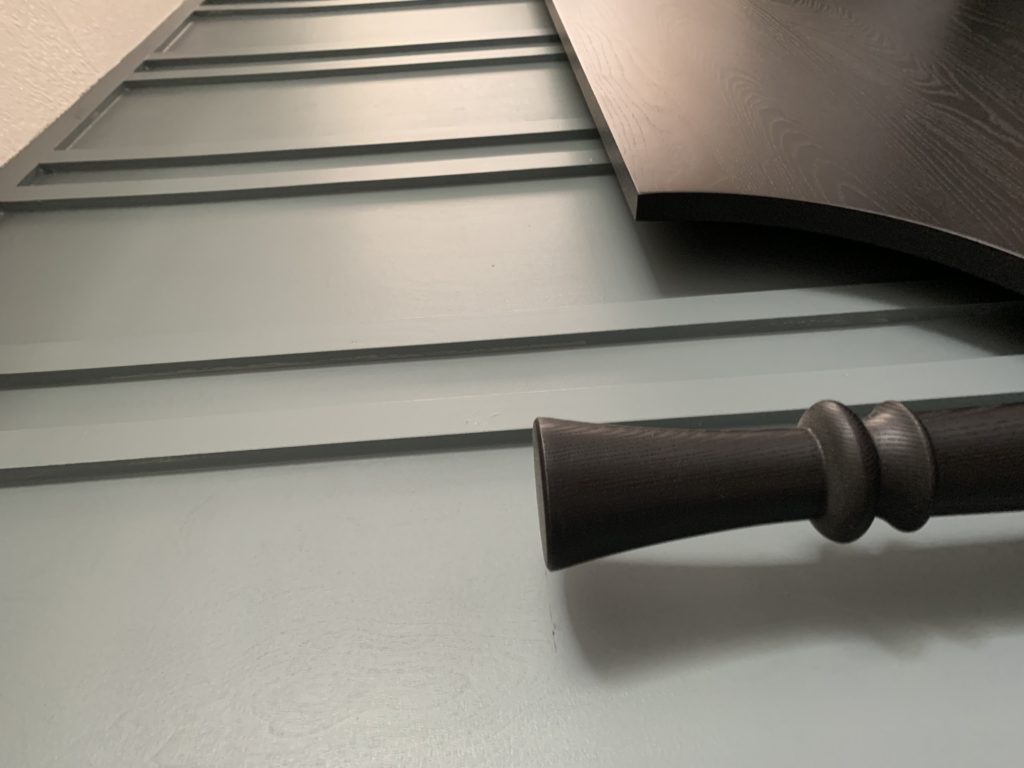
Use your tape measure to determine the height you will go up the wall with the batten. Once determined you will set your top trim piece (we used the same material as chosen for the battens- 1/2 inch thick x 1 & 1/2 inch wide molding). You can use whatever top trim you like i.e picture rail, crown molding etc. This top trim and your baseboard are the frame that the battens will run between.
Step 2:
Use your tape measure to determine the spacing of your battens. We opted for pairs of narrow battens spaced very closely together to achieve a more modern look. Our pairs are spaced 2 & 1/2 inches apart. Each pair is then 10 & 1/2 inches away from the next set/pair.
Step 3:
Use your chop saw to cut the battens to size. This is the length they will need to be to fit between the baseboard and top molding. Check your measurements every couple of battens, sometimes the spacing between your baseboard and top trim will vary simply because of house settling, dips in floor or ceiling etc. Matt would measure and cut 4 at a time (2 pairs).
Step 4:
Use your nail gun to attach the battens to the wall. Place a nail about every 8 inches alternating sides of the batten for best support. You can also place construction adhesive on the back of your battens before nailing to wall for extra strength if desired. We did not but it is certainly an option.
Step 5:
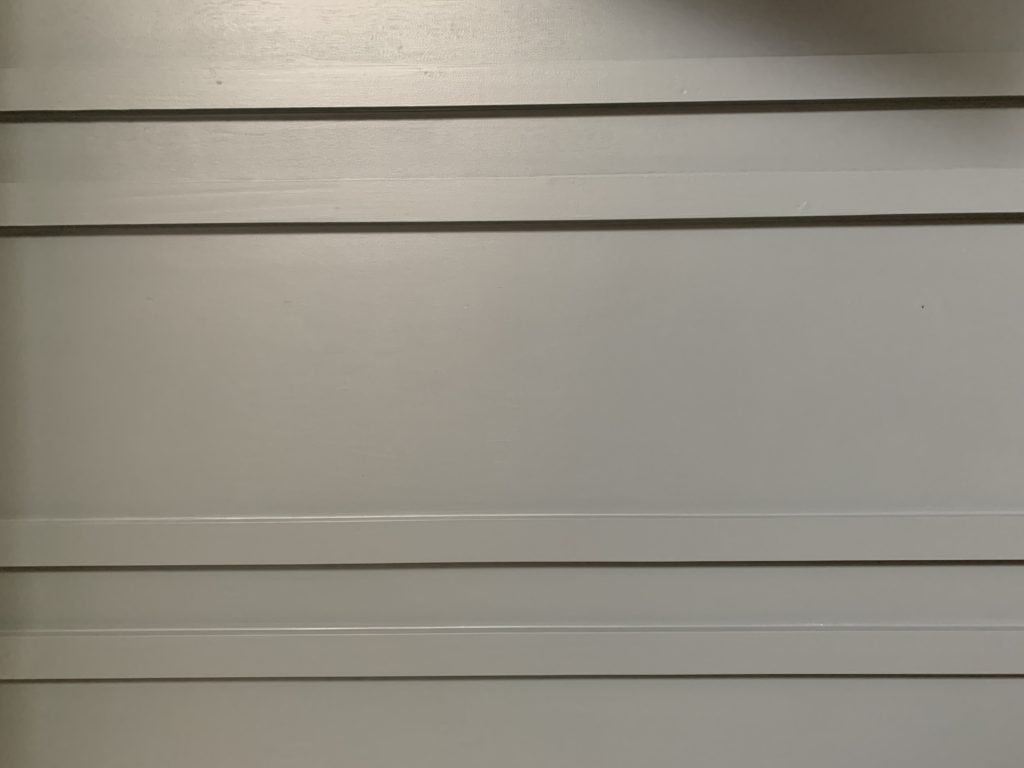
Use your punch and hammer to set the nails. Fill the nail holes with the spackle and let it dry. Once dry wipe excess with a damp cloth or lightly sand with 220 grit paper. This step ensures none of the nails or their holes are visible creating a smooth paint surface.
Step 6:
Use your caulk and caulk gun to fill all of the space between battens and wall and the seams of the top rail molding and baseboards.
Step 7:
Time for paint. We opted for De Nimes by Farrow & Ball. Use your paint brush for cut in and paint roller for the overall coverage. We used two coats of paint.
You did it! Now be prepared to love it and want to add wall features to every room!
